Basler Electric / Kohler BE1-11g Generator Protection Relay G5A3M2J2N0E000
Basler Electric / Kohler BE1-11g Generator Protection Relay G5A3M2J2N0E000
Output Logic Settings
BESTlogic, as implemented in the BE1-GPS100. supports up to 16 output expressions. The output
expressions are called virtual outputs to distinguish them from the physical output relays. VOA and VO1
through VO5 drive physical outputs OUTA (failsafe alarm output) and OUT1 through OUT5. respectively.
The rest of the virtual outputs can be used for intermediate logic expressions.
For example, OUT 1 is wired to the trip bus of the circuit breaker. To set up the logic to trip the breaker,
the BESTlogic setting command might be SL-VO1=VO11+101T+BFPU for Set Logic - Virtual Output 1 =
to Virtual Output 11 (which is the intermediate logic expression for all of the function block tripping
outputs) or (+) 101T (the trip output of the virtual breaker control switch) or (+) BFPU (the pickup output of
the breaker failure function block that indicates that breaker failure has been initiated).
User Interfaces
Three user interfaces are provided for interacting with the BE1-GPS100 relay: front panel HMI, ASCII
communications, and BESTCOMS for BE1-GPS100. The front panel HMI provides access to a subset of
the total functionality of the device. ASCII communications provides access to all settings, controls,
reports, and metering functions of the system. BESTCOMS for BE1-GPS100 is software used to quickly
develop setting files, view metering data, and download reports in a user-friendly, Windows based
environment.
Front Panel HMI
The front panel HMI consists of a two line by 16 character LCD (liquid crystal display) with four scrolling
pushbuttons, an edit pushbutton, and a reset pushbutton. The EDIT pushbutton includes an LED to
indicate when edit mode is active. There are five other LEDs for indicating power supply status, relay
trouble alarm status, programmable major and minor alarm status, and a multipurpose Trip LED that
flashes to indicate that a protective element is picked up. The Trip LED lights continuously when the trip
output is energized and seals in when a protective trip has occurred to indicate that target information is
being displayed on the LCD. A complete description of the HMI is included in Section 10. Human-Machine
Interface.
The BE1-GPS100 HMI is menu driven and organized into a menu tree structure with six branches. A
complete menu tree description with displays is also provided in Section 10. Human-Machine Interface. A
list of the menu branches and a brief description for scrolling through the menu is in the following
paragraphs.
1. REPORT STATUS. Display and resetting of general status information such as targets and
alarms.
2. CONTROL. Operation of manual controls such as virtual switches, selection of active setting
group, etc.
3. METERING. Display of real-time metering values.
4. REPORTS. Display and resetting of report information such as time and date, demand registers,
breaker duty statistics, etc.
5. PROTECTION. Display and setting of protective function setting parameters such as logic
scheme, pickups, time delays, etc.
6. GENERAL SETTINGS. Display and setting of non-protective function setting parameters such as
communication, LCD contrast, and CT ratios.
Each screen is assigned a number in the HMI section. The number indicates the branch and level in the
menu tree structure. Screen numbering helps you to keep track of where you are when you leave the
menu tree top level. You view each branch of the menu tree by using the RIGHT and LEFT scrolling
pushbuttons. To go to a level of greater detail, you use the DOWN scrolling pushbutton. Each time a
lower level in a menu branch is reached, the screen number changes to reflect the lower level. The
following paragraphs and Figure 2-2 illustrate how the display screens are numbered in the menu tree.
Viewing the 47 pickup and time delay settings of Setting Group 1 involves the following steps:
1. At the top level of the menu tree, use the LEFT or RIGHT scrolling pushbuttons to get to the
PROTECTION logic branch (Screen 5).
2. Press the DOWN scrolling pushbutton to reach the SETTING GROUP level (Screen 5.1).
3. Scroll RIGHT to the SETTING GROUP 1 branch (Screen 5.2).
4. From Screen 5.2. scroll down to the next level of detail which is the 24 SETTINGS (Screen 5.2.1).
5. Scroll right to the 47 SETTINGS (Screen 5.2.7) and then down to reach the 47 pickup and time
delay settings (Screen 5.2.7.1).
ADLINK / 8112HG, 2R-I1333-960226L / Multi-Funtion DAS Card
ADLINK CPCI-6860 6860A Industrial Control Motherboard
ADLINK NUPRO-A40H 51-41807-1A30 Industrial Control Computer Motherboard
ADLINK Mini ITX Industrial Motherboard AmITX-AL-I-E3940 Intel Atom 4G
ADLINK Matrix PMC1- MXC-6322D(G)
LK4470 Board Adlink PCI-7432 Rev 004
ADLINK PCI-7853 High Speed Link Master Controller Card PCB Board
ADLINK PCI-8164 Motion control card
Tarjeta De Interfaz PCB Adlink Technology 51-37111-0C1 cPCI-R8217 cPCI-R3700A
ADLINK motherboard NuPRO-E315
ADLINK PCI-8164 Motion control card By
ADLINK baseboard 51-44823-0A20 AVBX-6000 #YY
ADLINK motherboard NUPRO-E320LV
ADLINK ETX-BT-E3815/SK ASH-ETX-BT-E3815/S2G/SK-4920X
board ADLINK EBP-9E2 industrial computer motherboard
ADLINK NUPRO-865 NUPRO865 REV:1.1 478 3.0GHz 2GB Industrial Motherboard
ADLINK NUPRO-E72 NUPROE72 51-41808-0A30 LGA-1150 INDUSTRIAL SBC
ADLINK NUPRO-E320LV industrial control motherboard to send CPU memory
ADLINK CompactPCI cPCI-7432R Digital I/O Module
ADLINK NuPRO-852LV Control Board
Adlink Multi-Function DAQ PCI-9112 00A0 51-12252-0D20 GP PCB-I-E-1505=6EX2
ADLINK motherboard NuPRO-965DV
ADLINK base plate HPCI14S REV.B1
| User name | Member Level | Quantity | Specification | Purchase Date |
|---|



-
 SELSEL-T401L Ultra-High-Speed Line Relay
 -
 SEL SEL-T400L Time-Domain Line Protection
 -
 SEL SEL-2664S Stator Ground Protection Relay
 -
 SEL SEL-787-2/-3/-4 Transformer Protection Relay
 -
 SEL SEL-787 Transformer Protection Relay
 -
 SEL SEL-751 Feeder Protection Relay
 -
 SEL SEL-700G Generator Protection Relay
 -
 SEL-487E Transformer Protection Relay
 -
 SEL-400G Advanced Generator Protection System
 -
 SEL SEL-387E Current Differential and Voltage Relay
 -
 SEL SEL-387A Current Differential and Overcurrent Relay
 -
 SEL SEL-387 Current Differential and Overcurrent Relay
 -
 SEL SEL-300G Generator Relay
 -
 SEL SEL-700BT Motor Bus Transfer Relay
 -
 CTI 2500 Series® Slice Ethernet Remote I/O System
 -
 CTI 2500 Series® Compact Programmable Automation Control System
 -
 CTI 2500 Series® Classic Programmable Automation Control System
 -
 CTI 2500 Series® Bases
 -
 SHINKAWA VM-25 Condition Monitoring System UPDATED
 -
 SHINKAWA VM-5 SERIES OPTIONS
 -
 ABB SACO 64D4 Annunciator unit
 -
 ABB SPAU 140 C Synchro-check relay
 -
 EATON Instructions for the FP-5000
 -
 HONEYWELL TDC 3000X Advanced Process Manager
 -
 HONEYWELL ENHANCED MICRO TDC 3000
 -
 VIBRO-METER VM600Mk2/ VM600 RPS6U rack power supplies
 -
 VIBRO-METER VM600Mk2/ VM600 ABE056 slimline rack
 -
 VIBRO-METER VM600Mk2 RLC16Mk2 relay modules
 -
 VIBRO-METER VM600Mk2 MPC4Mk2 + IOC4Mk2 machinery protection and condition monitoring modules
 -
 VIBRO-METER VM600Mk2 CPUMMk2 + IOCNMk2 rack controller and communications interface module
 -
 VIBRO-METER VM600Mk2 CPUMMk2 + IOCNMk2 rack controller and communications interface module
 -
 ADLINK PCI/PCIe-7300A, cPCI-7300 32-CH 80 MB/s High-Speed Digital I/O Cards
 -
 ADLINK cPCI-7248/7249R 48-CH DIO & Timer/Counter Cards
 -
 ADLINK PCI-7230/7233/7234. LPCI/LPCIe/cPCI-7230 32-CH Isolated DIO Cards
 -
 ADLINK cPCI-6965 Series Value 6U CompactPCI® Intel® Core™2 Duo
 -
 ADLINK cPCI-6910 Series 6U CompactPCI® Dual-Core Intel® Xeon® Processor LV / ULV Universal Blade
 -
 ADLINK CPCI-6670 6U CompactPCI Low Power Pentium® III SBC
 -
 ADLINK cPCI-6625/6 Series 6U CompactPCI® PlusIO blade with Intel® Core™ i7/i3 Processor
 -
 ADLINK 3U CompactPCI CPU Modules
 -
 ADLINK CM-435 Extreme Rugged™ PC/104 Single Board Computer
 -
 ADLINK PCI-8254/8258 DSP-based 4/8-axis Advanced Motion Controllers
 -
 ADLINK NuPRO-E43 PICMG® 1.3 Full-Size LGA1151 with 6th/7th Generation Intel® Core™ i7/i5/i3
 -
 ADLINK DLAP-211-JNX/DLAP-211-JT2/ DLAP-211-Nano
 -
 Hirschmann RS30-1602O6O6SDAE compact OpenRail managed Ethernet switches
 -
Hirschmann RS30-0802O6O6SDAE Ethernet switch
-
 Hirschmann RS20-1600T1T1SDAE Management-type Ethernet switch
 -
 Hirschmann OCTOPUS 24M Limited Availability/Passive
 -
 Hirschmann MSP30-24040SCZ9MRHHE3A
 -
 Hirschmann MAR1040-4C4C4C4C9999SMMHRHHXX.X. Gigabit Ethernet Switch configurator
 -
 Hirschmann Industrial Ethernet Rail Switch SPIDER II, SPIDER II Giga, SPIDER II PoE
 -
 Hirschmann Industrial Ethernet Firewall EAGLE One
 -
 Hirschmann Industrial Security Router EAGLE20/30
 -
 Hirschmann Description and operating instructions RS2-xTX/xFX EEC
 -
 Basler Electric DECS-200 Digital Excitation Control System
 -
 Basler Electric GENERATOR PROTECTION SYSTEM BE1-GPS100
 -
 Jaquet FT3000 Speed measurement system
 -
 Hirschmann Industrial Ethernet Ruggedized Switch MACH1000 Family
 -
 Basler Electric BESTCOMSPlus®
 -
 ETEL AccurET MODULAR 300 EA-P2M-300-xxxxxA controller
 -
 Basler Electric ES Series Protection Relays
 -
 ABB Multifunction Protection and Switchbay Control Unit REF542plus
 -
 EMERSON AMS 2140 Machinery Health Analyzer
 -
 Hirschmann Industrial Ethernet Rail Switch RS20 Basic Family
 -
 GE Grid Solutions P40U Px40 USB Adaptor
 -
 ABB ontinuous Gas Analyzers AO2000 Series AO2040CU Ex Central Unit in Category 2G
 -
 ABB Advance Optima AO2000 Series Continuous gas analyzers Models AO2020. AO2040
 -
 Advance Optima Module Uras 14
 -
 SAACKE control optimization
 -
 SAACKE se@vis efficiency monitor
 -
 SAACKE se@vis pro
 -
 SAACKE se@vis eco
 -
 SAACKE se@vis compact
 -
 HIRSCHMANN Industrial ETHERNET Switch MICE MS20/MS30
 -
 HIRSCHMANN MICE Media modules
 -
 Kongsberg GL-10 Level Switch
 -
 B&R ACOPOSinverter P74 frequency converter
 -
 Beckhoff CX2020 | Basic CPU module (service phase)
 -
 Beckhoff CX1010 | Basic CPU module (service phase)
 -
 Beckhoff CX5120 | Embedded PC with Intel Atom® E3815
 -
 Beckhoff CP69xx-xxxx-0010 | Economy built-in Control Panel with DVI/USB Extended interface
 -
 Beckhoff CP29xx-0000 | Multi-touch built-in Control Panel with DVI/USB Extended interface
 -
 SAACKE Monoblock Rotary Cup Burner SKVJ-M
 -
 ABB Plantguard Fault Tolerant Technology Architecture and Software
 -
 OMRON H8PR-8/H8PR-8P H8PR-16/H8PR-16P H8PR-24/H8PR-24P Rotary Positioner
 -
 ABB PFSA107-Z42 DTU Stressometer Digital Transmission Unit
 -
 Nidec Mentor MP
 -
 IBA ibaNet-E
 -
 IBA FO Connection to Reflective Memory
 -
 IBA FO Connection to Siemens Systems
 -
 IBA Interface Cards For Fiber Optic Connections
 -
 IBA Field and Drive Buses
 -
 IBA ibaPADU-S Modular System
 -
 IBA ibaMAQS
 -
 STUCKE SYMAP®ARC
 -
 STUCKE SYMAP®R
 -
 STUCKE SYMAP®Compact
 -
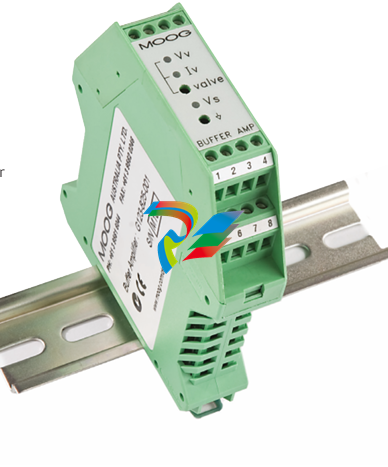 MOOG G123-825-001 BUFFER AMPLIFIER
 -
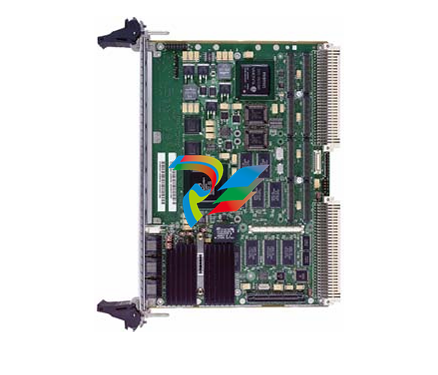 Motorola MVME5100 Series VME Processor Modules
 -
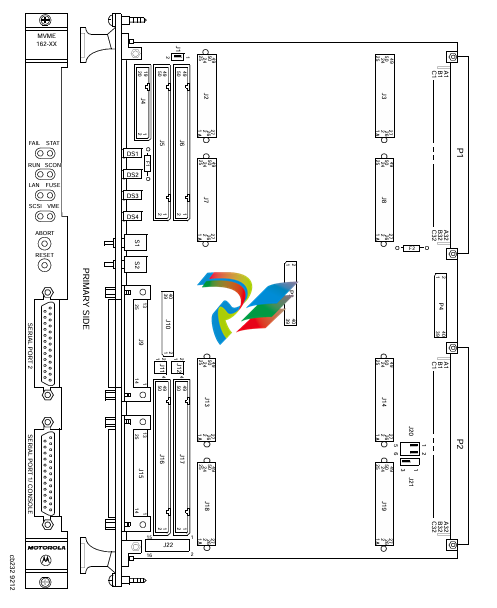 Motorola MVME162 Embedded Controller
 -
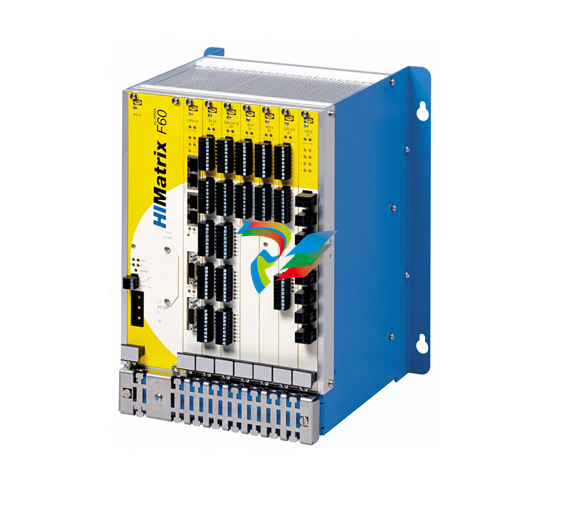 HIMatrix Safety-Related Controller System Manual for the Modular Systems
 -
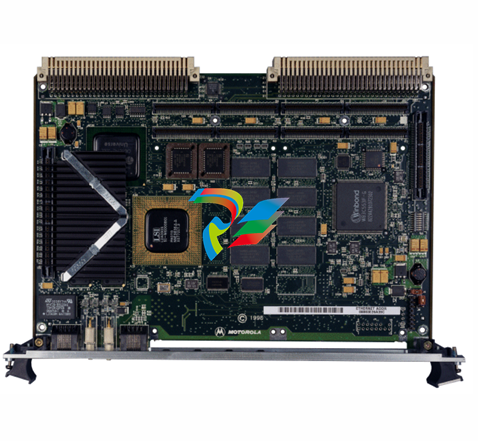 Motorola MVME2400 Series VME Processor Module
 -
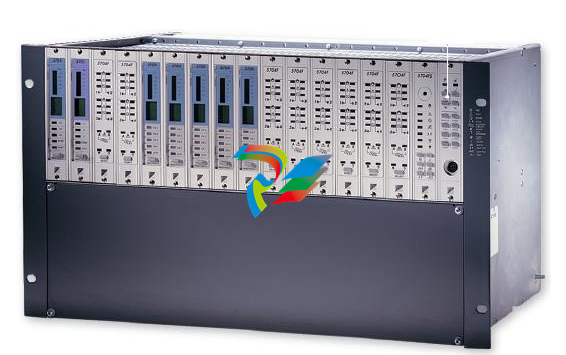 Sieger System 57
 -
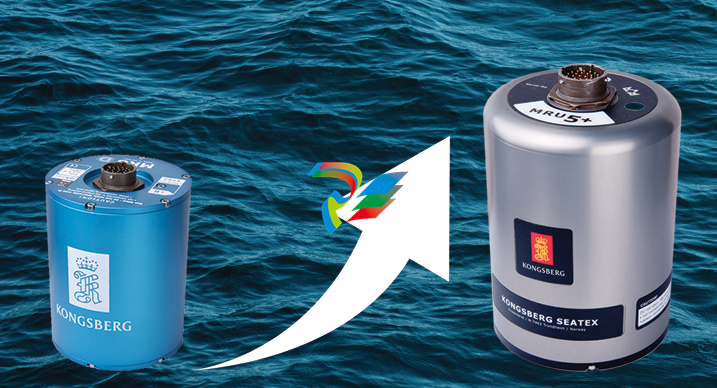 KONGSBERG MRU product line continuation
 -
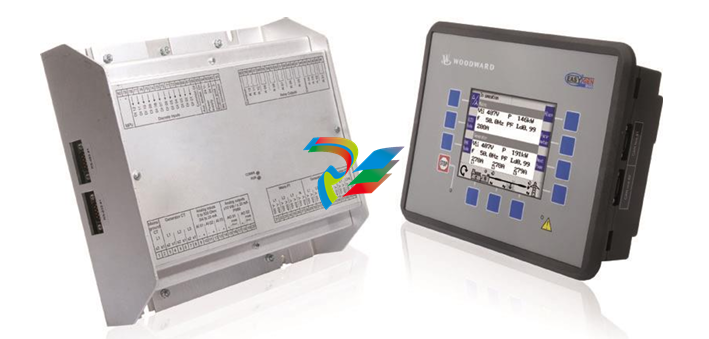 Woodward easYgen-3100/3200 Genset Control for Multiple Unit Operation
 -
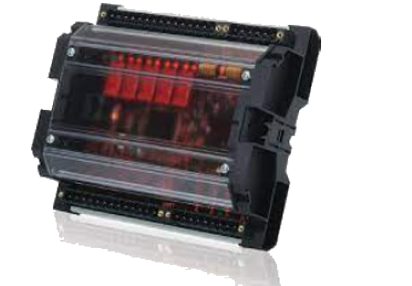 Woodward MFR 300 Multifunction Relay / Measuring
 -
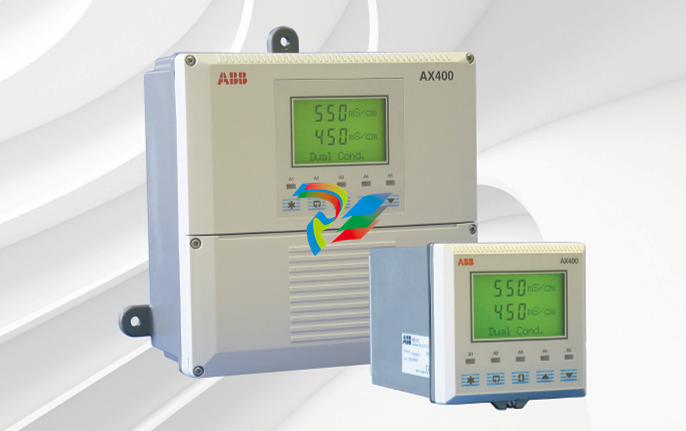 ABB AX410, AX411, AX413, AX416, AX418, AX450, AX455 and AX456 Single and dual input analyzers for low level conductivity
 -
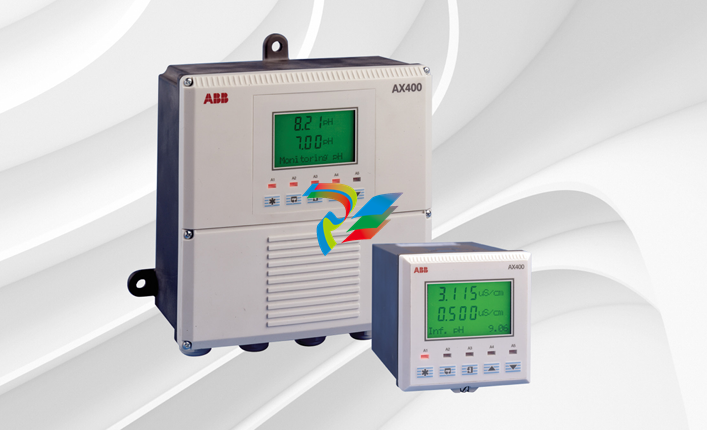 ABB AX410, AX411, AX416, AX450 and AX455 Single and dual input analyzers
 -
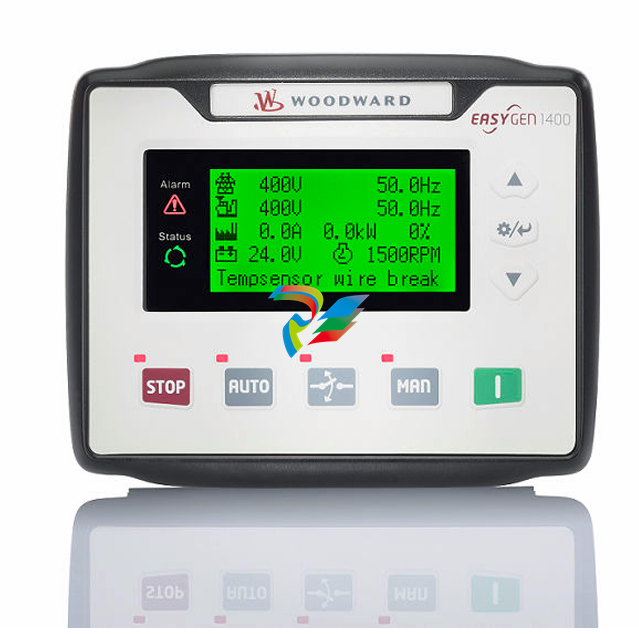 Woodward easYgen-1400 Technical Manual Genset Control
 -
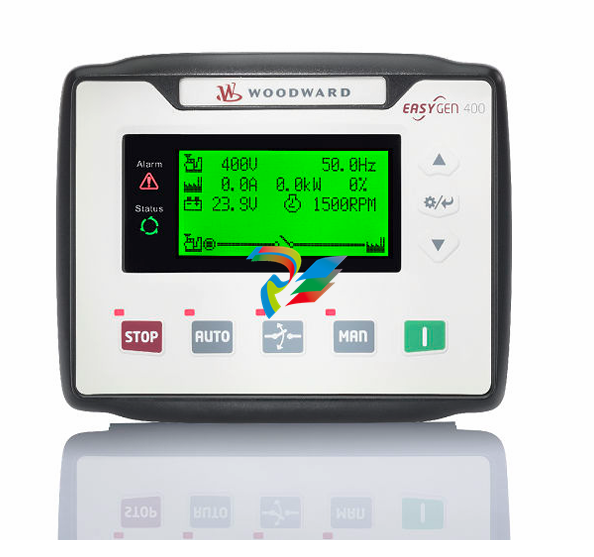 Woodward easYgen-400 Operation Manual Genset Control
 -
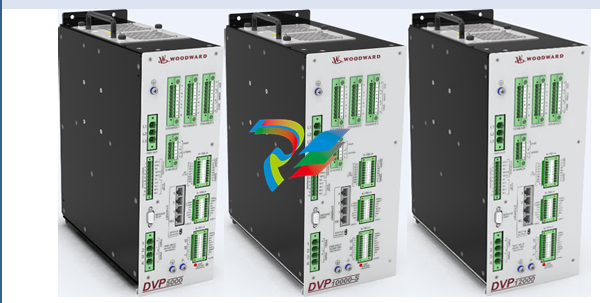 Woodward High Output Digital Valve Positioner (DVP)DVP5000/DVP10000/DVP12000
 -
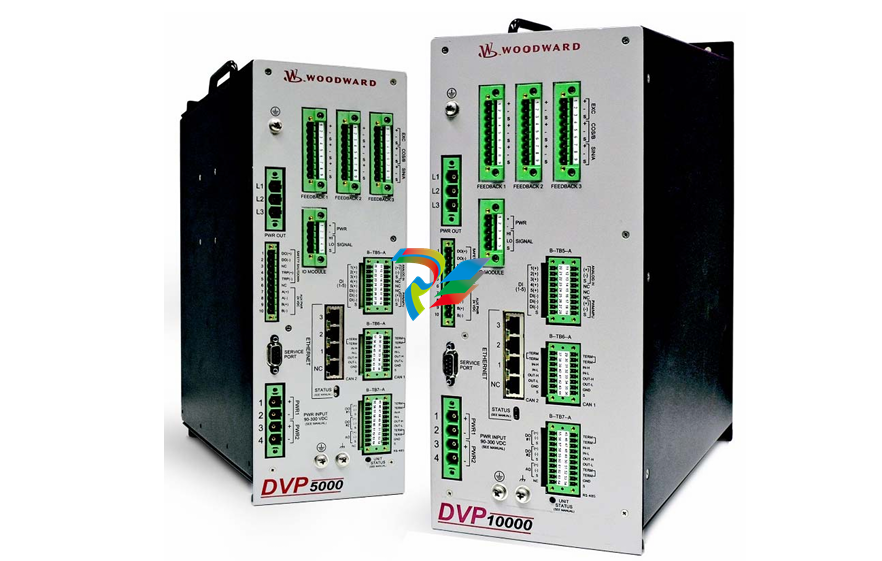 Woodward High Output Digital Valve Positioner DVP5000 and DVP10000
 -
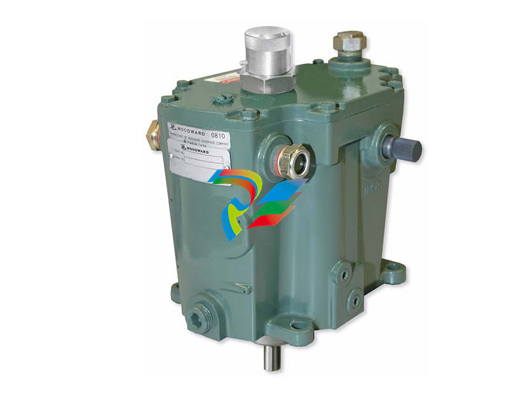 Woodward TG611-13/-17 Overspeed Test Device Conversion Kit
 -
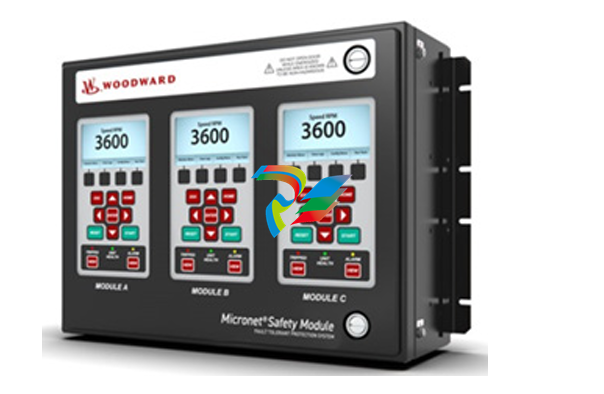 Woodward MicroNet Safety Module (MSM)
 -
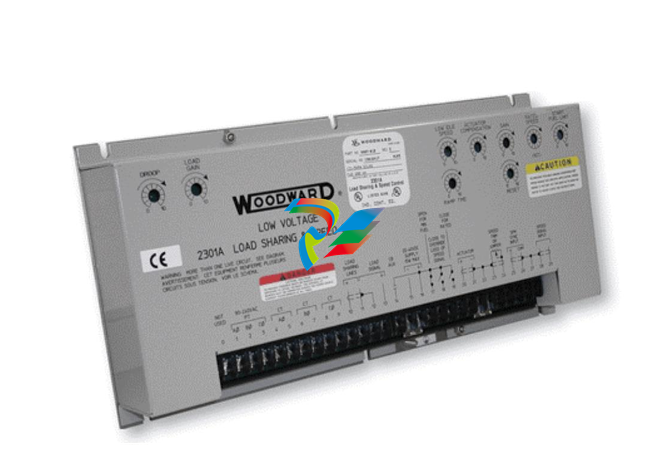 Woodward 2301A Electronic Load Sharing and Speed Control 9905/9907 Series
 -
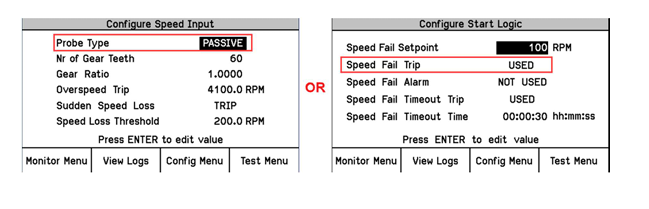 Woodward-Service Bulletin 01671
 -
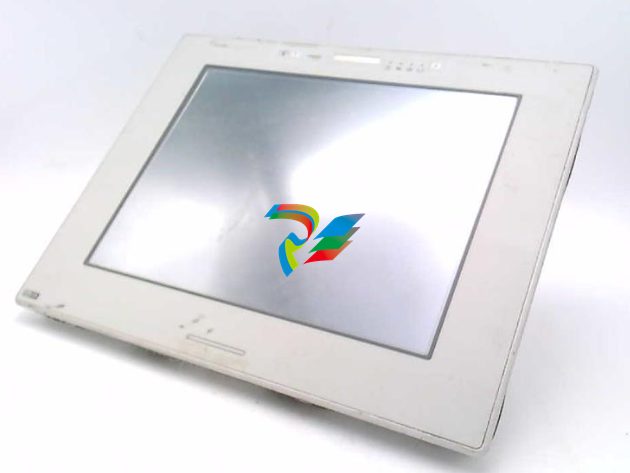 UniOP eTOP40B 12.1” TFT color display
 -
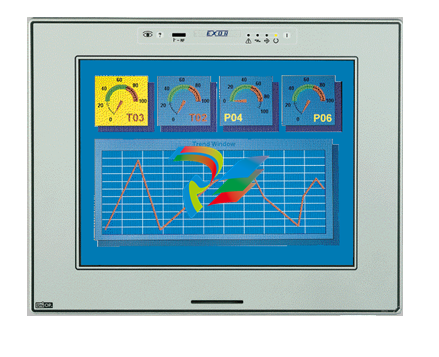 UniOP eTOP40 TFT Color display
 -
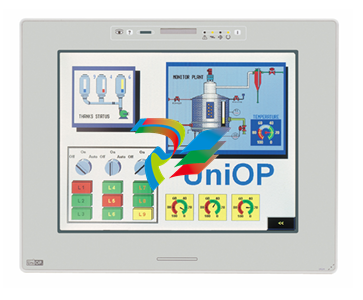 UniOP eTOP33B 10.4” TFT color display
 -
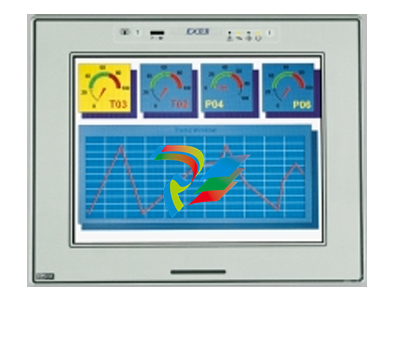 UniOP eTOP33C eTOP33-0050 Resistive touchscreen
 -
UniOP eTOP30. eTOP32 eTOP32-0050 Human-machine interface equipment
-
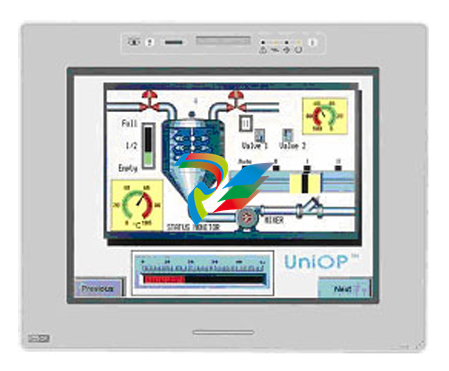 UniOP eTOP20B and eTOP21B eTOP20B-0050
 -
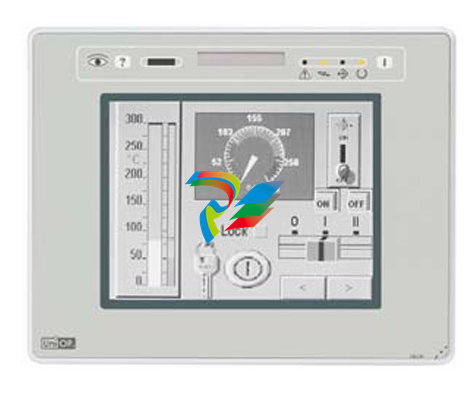 UniOP eTOP12 eTOP12-0050 Advanced human-machine interface equipment
 -
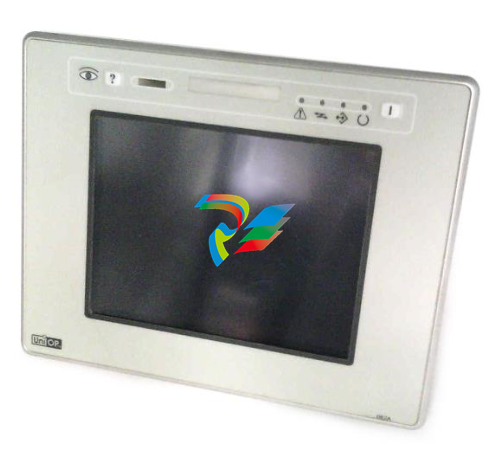 UniOP eTOP11 eTOP11-0050 HMI
 -
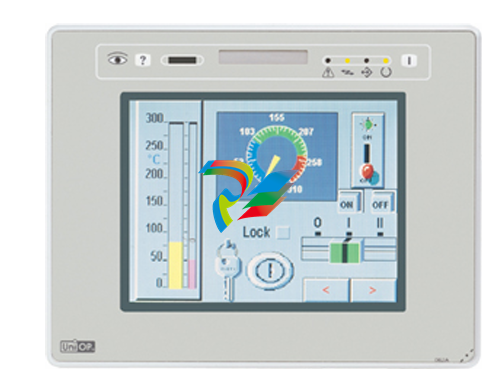 UniOP eTOP06C HMI
 -
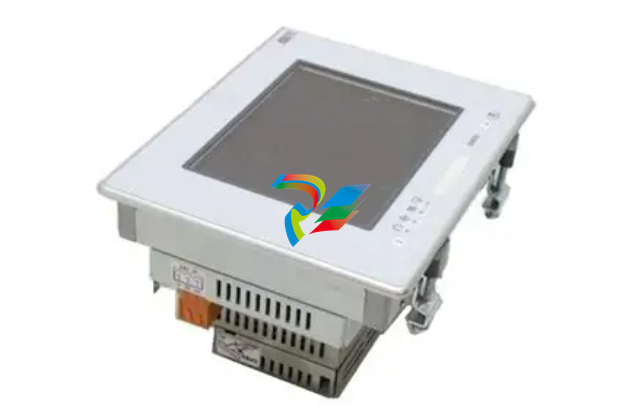 UniOP eTOP06 HMI
 -
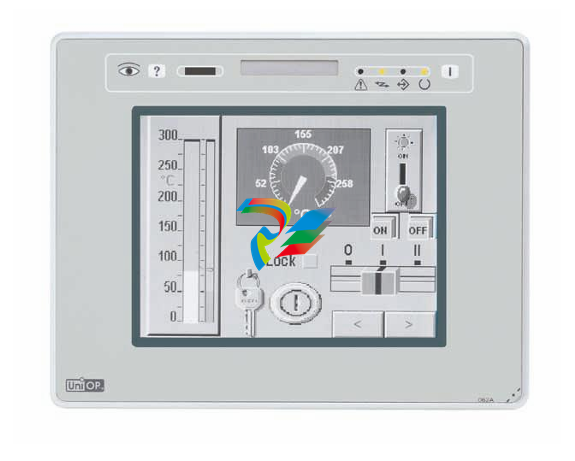 UniOP eTOP05EB eTOP05EB-DF45 HMI
 -
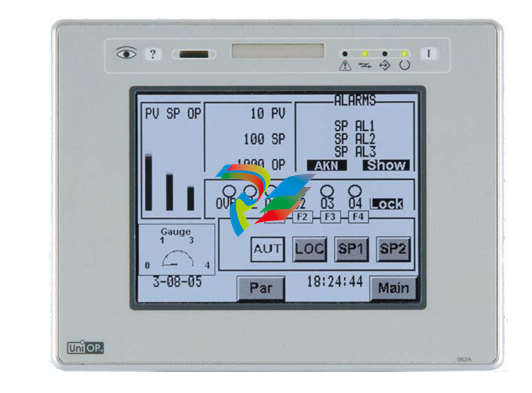 UniOP eTOP05. eTOP05P Human-machine interface equipment
 -
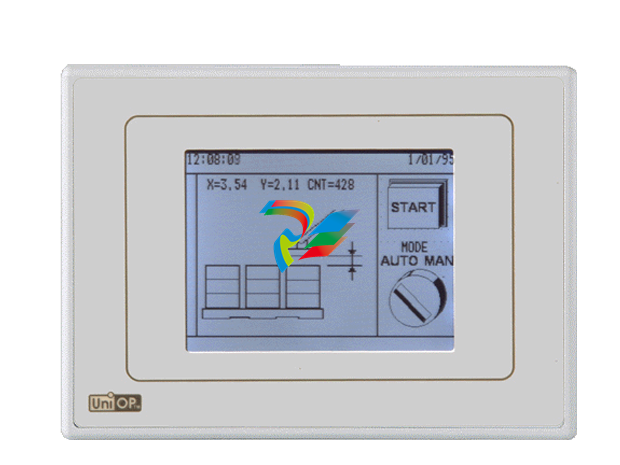 UniOP eTOP03 eTOP03-0046