Honeywell TDC‑3000 BASIC,XLCNE2 LCN Extender,51305508‑100.Coaxial LCN
TDC‑3000 BASIC,XLCNE2 LCN Extender,51305508‑100.Coaxial LCN
EPDGP I/O boards (see Figures 2-10 and 2-11) interface nearly all the peripherals of the
Enhanced Micro TDC3000 Control System. You are now going to connect those cables
which could not be installed at the factory
The EPDGC I/O is the EMC Directive board version used to interface with the monitor,
keyboard, touchscreen, SCSI cartridge drives and printers. The EMC Directive version is
shown in Figures 2-12 and 2-13. All the connectors have been converted to D-type
connectors with full 360 degree shielding. The connectors are bulkhead mounted into the
board face plate which provides a contiguous shield from module to cable. The cabling of
peripheral devices are connected at this face plate. The Touchscreen and Trackball cables
are connected to the cabinet bulkhead shown in Figure 2-7.

The background color of the monitor can be selected as one of four colors as shown in
Figure 2-13. The pinning shown is for the default background color. Pin the board for
desired background color. The pinned background color selection is only in force until the
station is loaded with software.
The sync pulse requirements of the monitor used is pinned at J6 (factory set) as shown in
Figure 2-13. The pinning of J6 will determine the tab number of the board and is factory
set. The monitor sync pulse source will either be direct (Tab 100) or inverted (Tab 200)
Operator Keyboard Cabling
Connect the keyboard cable to the connector on the face plate of the EPDGC I/O board (see
Figure 2-11). Use a small screwdriver to tighten the screws (2) on the connector.
2.7.6 Printer Cabling
The printer cable (51303631-003) has similar connectors on each end.
1. Connect the end of the cable marked PIC to the connector on the face plate of the
EPDGC I/O board marked PRINTER in Figure 2-11. Use a small screwdriver to tighten
the screws (2) on the connector.
2. Connect the other end of the printer cable (marked PRINTER) to the back of the printer.
Using a small screwdriver, tighten the screws (2) on the connector.
2.7.7 Color Monitor Cabling
Connect the cable from the color monitor to the EPDGC I/O face plate connector marked
VIDEO in Figure 2-11. on the upper transition panel. Using a small screwdriver, tighten
the screws (2) on the connector. Finally, attach the power cord to the monitor and plug it
in.
| ABB | REF601CE446BB1NH 24-240V 50/60Hz |
| ABB | UFC765AE102 3BHE00364R0102 |
| bently | 3500/60 |
| PROCONTROL P | GJR2395500R1210 83SR50 |
| PROCONTROL P | 5102-MCM4-DFCM4 |
| ABB | 81943A059-1 |
| ABB | 81943A059-2 |
| ABB | A419471 |
| ABB | AINT-14C |
| bently | 3500/92-02-01-01 |
| bently | 3500/32-01-01 |
| bently | 3500/33-01-01 |
| bently | 3500/25-01-01-00 |
| bently | 3500/40M-01-01 |
| bently | 3500/22M-01-02-01 |
| Meggitt | CA202 – 144-202-000-203 |
| Meggitt | TQ402 – 111-402-000-012 |
| bently | 3500/92-02-01-01 |
| bently | 3500/32-01-01 |
| bently | 3500/33-01-01 |
| bently | 3500/25-01-01-00 |
| bently | 3500/40M-01-01 |
| bently | 3500/22M-01-02-01 |
| bently | 26530-12-10-02-018-038-22-04-00 |
| bently | 3500/15-05-05-01 106M1079-01 +106M1081-01 |
2.7.8 Engineer’s Keyboard Cabling
Insert the plug on the cable from the engineer’s keyboard into the small connector located
on the right of the operator keyboard. Note the plug will only fit one way.
2.7.9 TPLCN Cabling
The two (2) TPLCN cables (51304505-100) have similar connectors on each end. The
standard cable length is 5 feet (1.5 meters). The optional cable (Option number
MX-MTLC11) is 33 feet (10 meters) long, allowing a maximum distance between towers
of 10 meters. The cable set connects directly to the TP-485 board face plates in the towers.
1. Attach one cable plug to the TP-485 face plate connector marked BUS A and the other
cable plug to BUS B at the rear of Tower #1. Using a small screwdriver, tighten the
screws (2) on the connectors.
2. Attach the other end of the cable to the TP-485 face plate connector marked BUS A and
the other cable plug to BUS B at the rear of Tower #2. Use a small screwdriver to
tighten the screws (2) on the connectors.
3. Attach the ground wires to the small screws, if they are on your cable
| User name | Member Level | Quantity | Specification | Purchase Date |
|---|



-
 VIBRO-METER VM600Mk2/ VM600 RPS6U rack power supplies
 -
 VIBRO-METER VM600Mk2/ VM600 ABE056 slimline rack
 -
 VIBRO-METER VM600Mk2 RLC16Mk2 relay modules
 -
 VIBRO-METER VM600Mk2 MPC4Mk2 + IOC4Mk2 machinery protection and condition monitoring modules
 -
 VIBRO-METER VM600Mk2 CPUMMk2 + IOCNMk2 rack controller and communications interface module
 -
 VIBRO-METER VM600Mk2 CPUMMk2 + IOCNMk2 rack controller and communications interface module
 -
 ADLINK PCI/PCIe-7300A, cPCI-7300 32-CH 80 MB/s High-Speed Digital I/O Cards
 -
 ADLINK cPCI-7248/7249R 48-CH DIO & Timer/Counter Cards
 -
 ADLINK PCI-7230/7233/7234. LPCI/LPCIe/cPCI-7230 32-CH Isolated DIO Cards
 -
 ADLINK cPCI-6965 Series Value 6U CompactPCI® Intel® Core™2 Duo
 -
 ADLINK cPCI-6910 Series 6U CompactPCI® Dual-Core Intel® Xeon® Processor LV / ULV Universal Blade
 -
 ADLINK CPCI-6670 6U CompactPCI Low Power Pentium® III SBC
 -
 ADLINK cPCI-6625/6 Series 6U CompactPCI® PlusIO blade with Intel® Core™ i7/i3 Processor
 -
 ADLINK 3U CompactPCI CPU Modules
 -
 ADLINK CM-435 Extreme Rugged™ PC/104 Single Board Computer
 -
 ADLINK PCI-8254/8258 DSP-based 4/8-axis Advanced Motion Controllers
 -
 ADLINK NuPRO-E43 PICMG® 1.3 Full-Size LGA1151 with 6th/7th Generation Intel® Core™ i7/i5/i3
 -
 ADLINK DLAP-211-JNX/DLAP-211-JT2/ DLAP-211-Nano
 -
 Hirschmann RS30-1602O6O6SDAE compact OpenRail managed Ethernet switches
 -
Hirschmann RS30-0802O6O6SDAE Ethernet switch
-
 Hirschmann RS20-1600T1T1SDAE Management-type Ethernet switch
 -
 Hirschmann OCTOPUS 24M Limited Availability/Passive
 -
 Hirschmann MSP30-24040SCZ9MRHHE3A
 -
 Hirschmann MAR1040-4C4C4C4C9999SMMHRHHXX.X. Gigabit Ethernet Switch configurator
 -
 Hirschmann Industrial Ethernet Rail Switch SPIDER II, SPIDER II Giga, SPIDER II PoE
 -
 Hirschmann Industrial Ethernet Firewall EAGLE One
 -
 Hirschmann Industrial Security Router EAGLE20/30
 -
 Hirschmann Description and operating instructions RS2-xTX/xFX EEC
 -
 Basler Electric DECS-200 Digital Excitation Control System
 -
 Basler Electric GENERATOR PROTECTION SYSTEM BE1-GPS100
 -
 Jaquet FT3000 Speed measurement system
 -
 Hirschmann Industrial Ethernet Ruggedized Switch MACH1000 Family
 -
 Basler Electric BESTCOMSPlus®
 -
 ETEL AccurET MODULAR 300 EA-P2M-300-xxxxxA controller
 -
 Basler Electric ES Series Protection Relays
 -
 ABB Multifunction Protection and Switchbay Control Unit REF542plus
 -
 EMERSON AMS 2140 Machinery Health Analyzer
 -
 Hirschmann Industrial Ethernet Rail Switch RS20 Basic Family
 -
 GE Grid Solutions P40U Px40 USB Adaptor
 -
 ABB ontinuous Gas Analyzers AO2000 Series AO2040CU Ex Central Unit in Category 2G
 -
 ABB Advance Optima AO2000 Series Continuous gas analyzers Models AO2020. AO2040
 -
 Advance Optima Module Uras 14
 -
 SAACKE control optimization
 -
 SAACKE se@vis efficiency monitor
 -
 SAACKE se@vis pro
 -
 SAACKE se@vis eco
 -
 SAACKE se@vis compact
 -
 HIRSCHMANN Industrial ETHERNET Switch MICE MS20/MS30
 -
 HIRSCHMANN MICE Media modules
 -
 Kongsberg GL-10 Level Switch
 -
 B&R ACOPOSinverter P74 frequency converter
 -
 Beckhoff CX2020 | Basic CPU module (service phase)
 -
 Beckhoff CX1010 | Basic CPU module (service phase)
 -
 Beckhoff CX5120 | Embedded PC with Intel Atom® E3815
 -
 Beckhoff CP69xx-xxxx-0010 | Economy built-in Control Panel with DVI/USB Extended interface
 -
 Beckhoff CP29xx-0000 | Multi-touch built-in Control Panel with DVI/USB Extended interface
 -
 SAACKE Monoblock Rotary Cup Burner SKVJ-M
 -
 ABB Plantguard Fault Tolerant Technology Architecture and Software
 -
 OMRON H8PR-8/H8PR-8P H8PR-16/H8PR-16P H8PR-24/H8PR-24P Rotary Positioner
 -
 ABB PFSA107-Z42 DTU Stressometer Digital Transmission Unit
 -
 Nidec Mentor MP
 -
 IBA ibaNet-E
 -
 IBA FO Connection to Reflective Memory
 -
 IBA FO Connection to Siemens Systems
 -
 IBA Interface Cards For Fiber Optic Connections
 -
 IBA Field and Drive Buses
 -
 IBA ibaPADU-S Modular System
 -
 IBA ibaMAQS
 -
 STUCKE SYMAP®ARC
 -
 STUCKE SYMAP®R
 -
 STUCKE SYMAP®Compact
 -
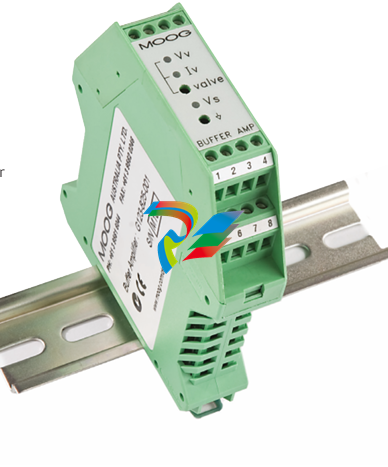 MOOG G123-825-001 BUFFER AMPLIFIER
 -
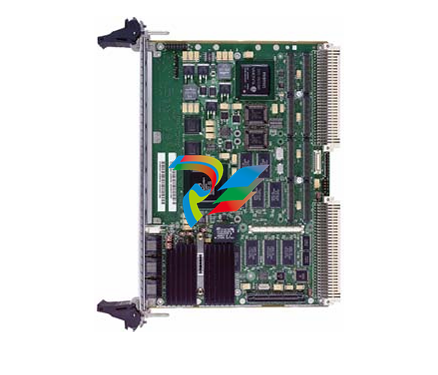 Motorola MVME5100 Series VME Processor Modules
 -
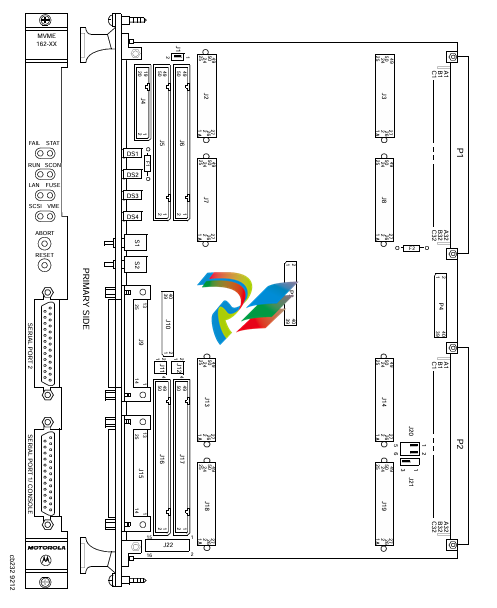 Motorola MVME162 Embedded Controller
 -
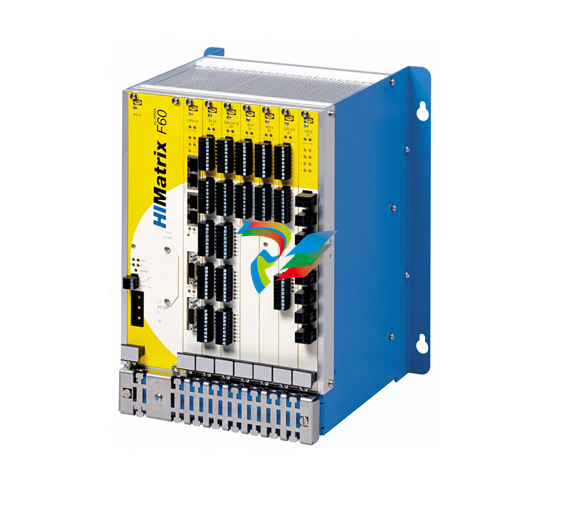 HIMatrix Safety-Related Controller System Manual for the Modular Systems
 -
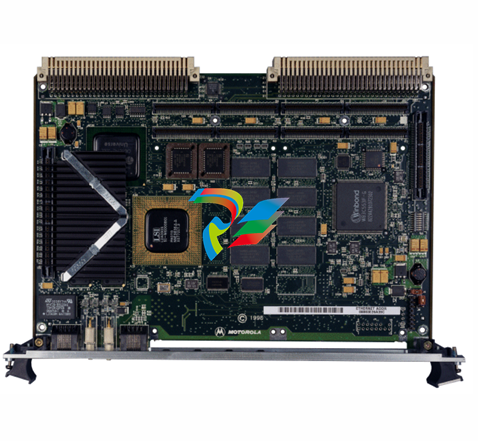 Motorola MVME2400 Series VME Processor Module
 -
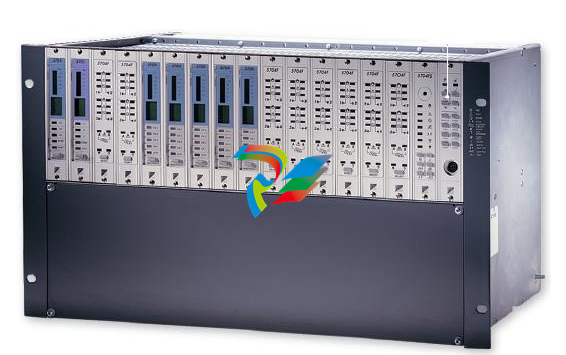 Sieger System 57
 -
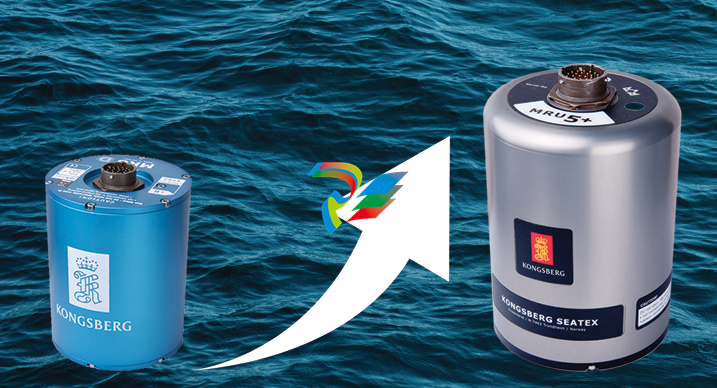 KONGSBERG MRU product line continuation
 -
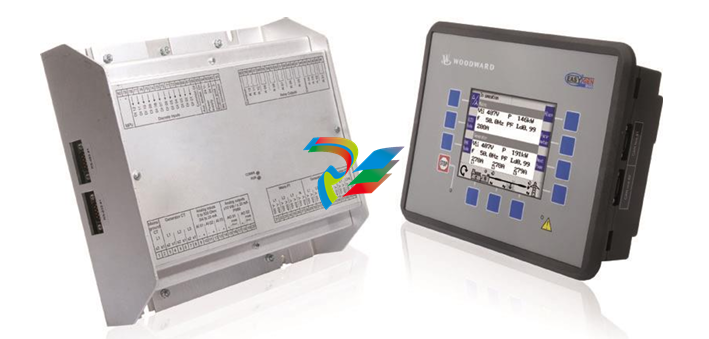 Woodward easYgen-3100/3200 Genset Control for Multiple Unit Operation
 -
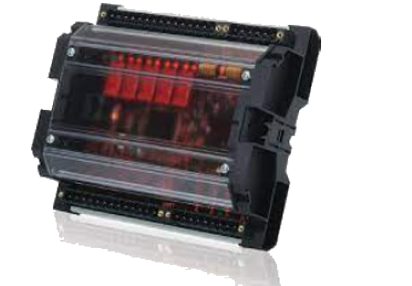 Woodward MFR 300 Multifunction Relay / Measuring
 -
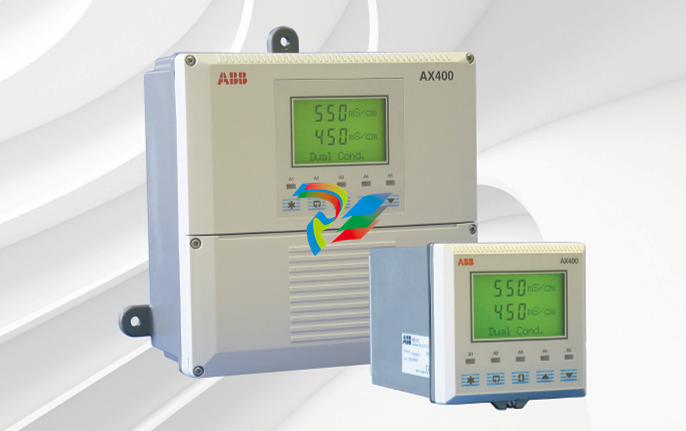 ABB AX410, AX411, AX413, AX416, AX418, AX450, AX455 and AX456 Single and dual input analyzers for low level conductivity
 -
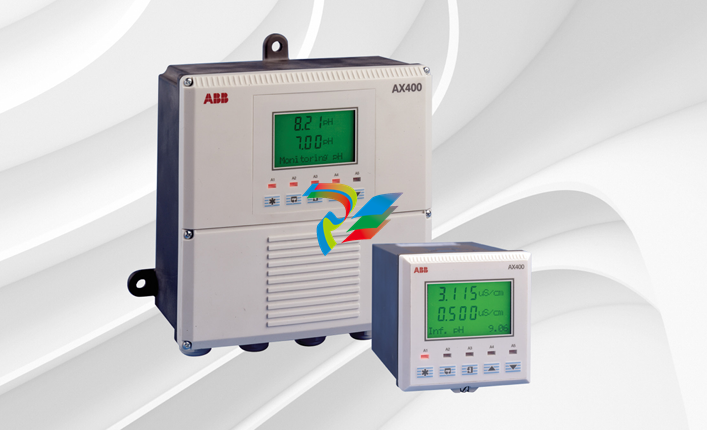 ABB AX410, AX411, AX416, AX450 and AX455 Single and dual input analyzers
 -
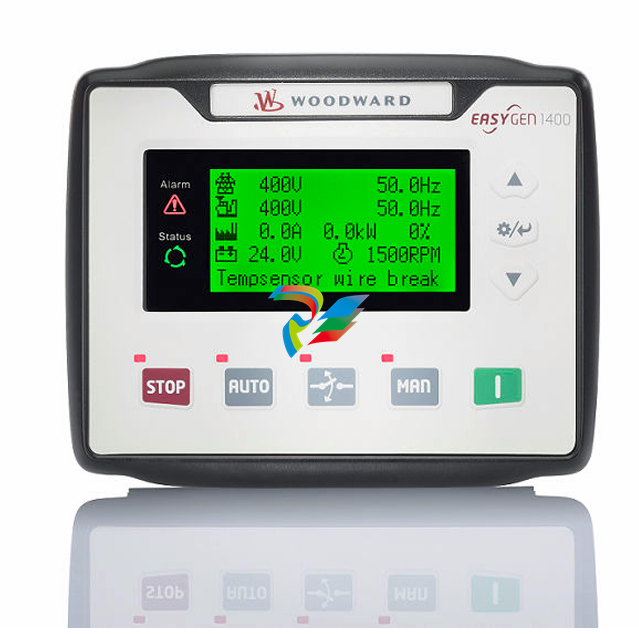 Woodward easYgen-1400 Technical Manual Genset Control
 -
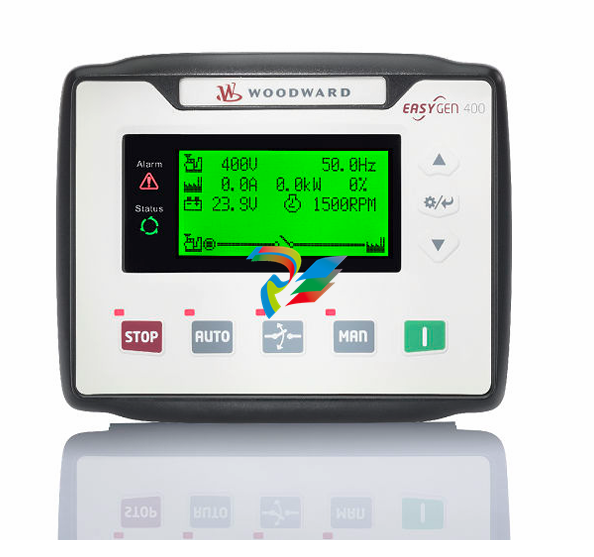 Woodward easYgen-400 Operation Manual Genset Control
 -
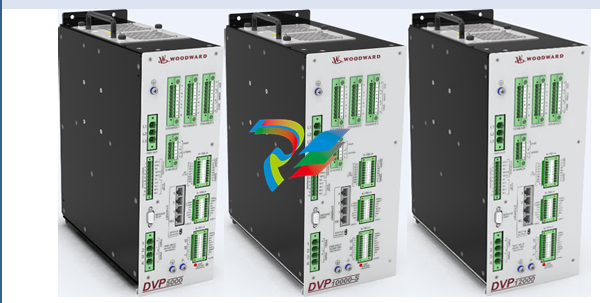 Woodward High Output Digital Valve Positioner (DVP)DVP5000/DVP10000/DVP12000
 -
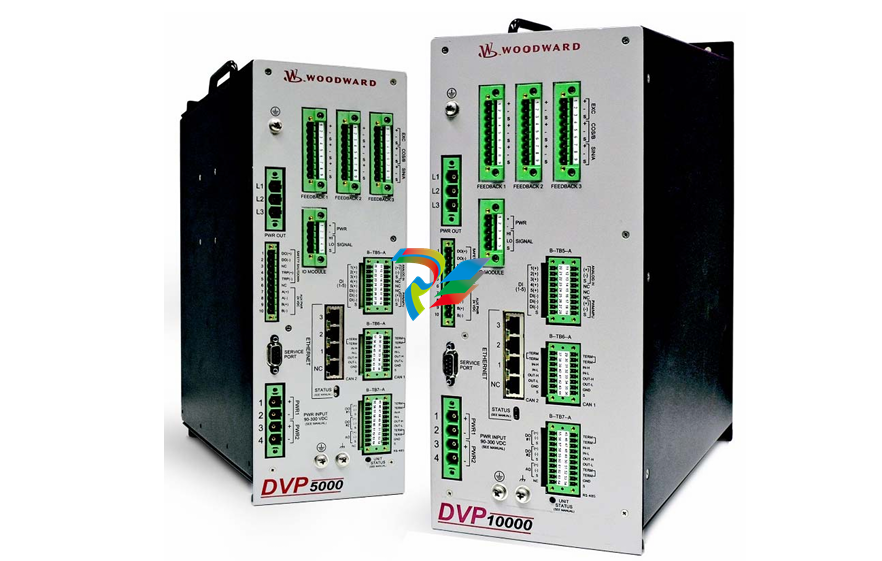 Woodward High Output Digital Valve Positioner DVP5000 and DVP10000
 -
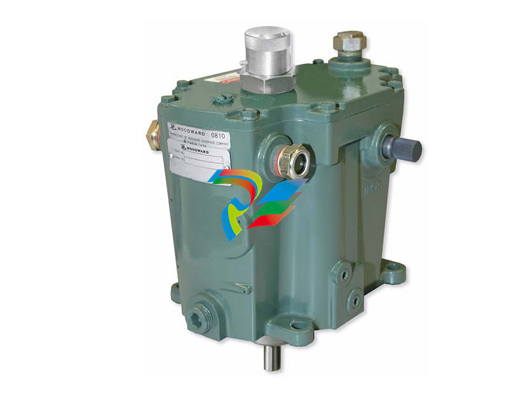 Woodward TG611-13/-17 Overspeed Test Device Conversion Kit
 -
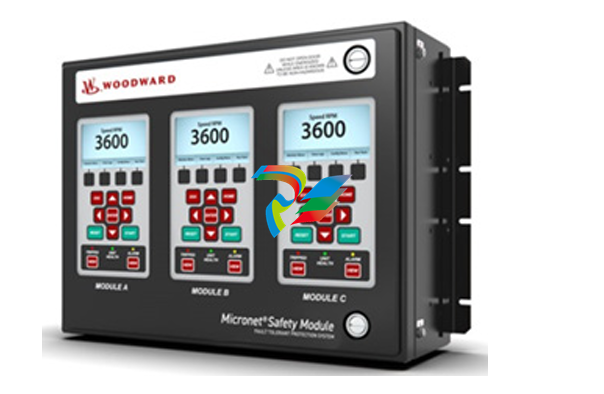 Woodward MicroNet Safety Module (MSM)
 -
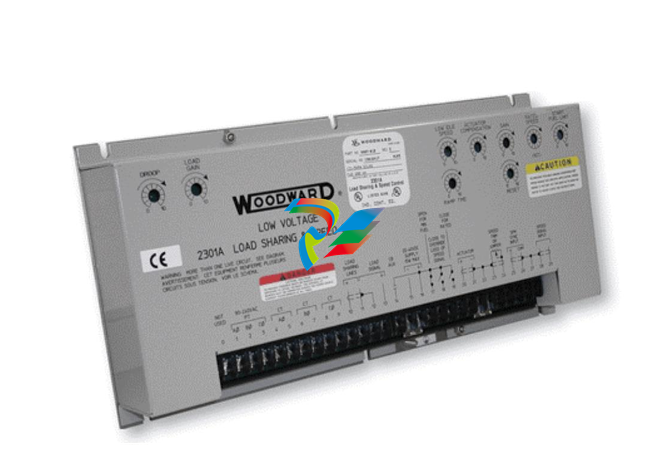 Woodward 2301A Electronic Load Sharing and Speed Control 9905/9907 Series
 -
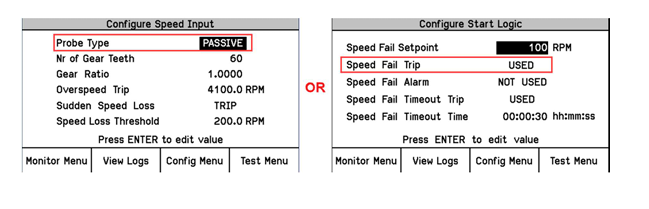 Woodward-Service Bulletin 01671
 -
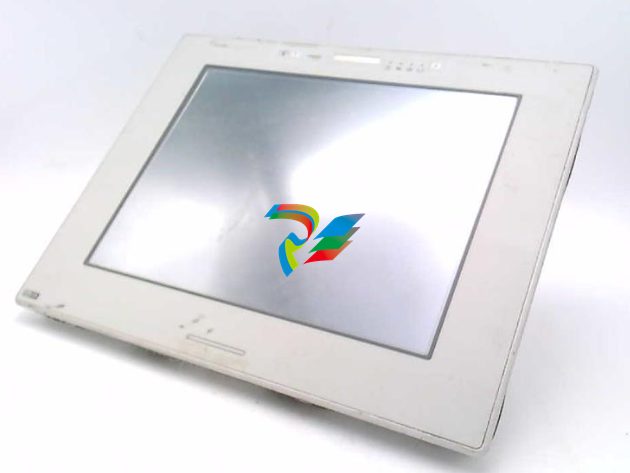 UniOP eTOP40B 12.1” TFT color display
 -
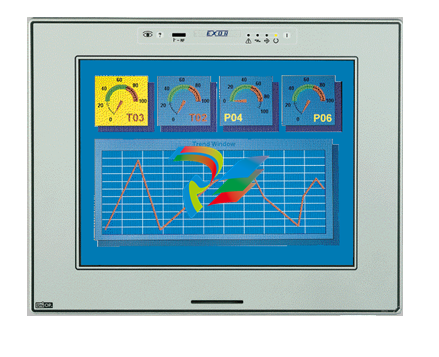 UniOP eTOP40 TFT Color display
 -
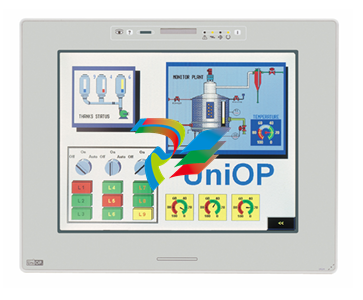 UniOP eTOP33B 10.4” TFT color display
 -
 UniOP eTOP33C eTOP33-0050 Resistive touchscreen
 -
UniOP eTOP30. eTOP32 eTOP32-0050 Human-machine interface equipment
-
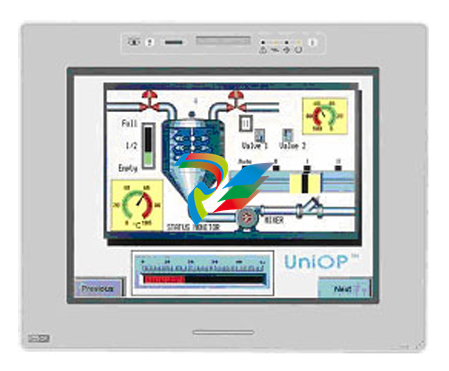 UniOP eTOP20B and eTOP21B eTOP20B-0050
 -
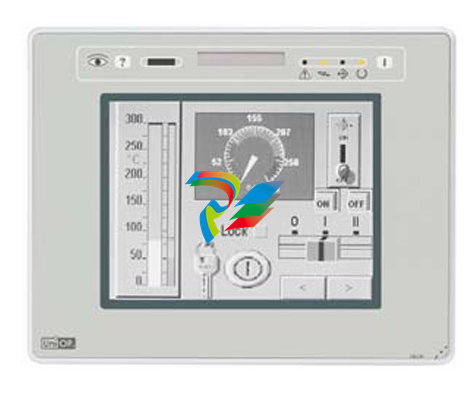 UniOP eTOP12 eTOP12-0050 Advanced human-machine interface equipment
 -
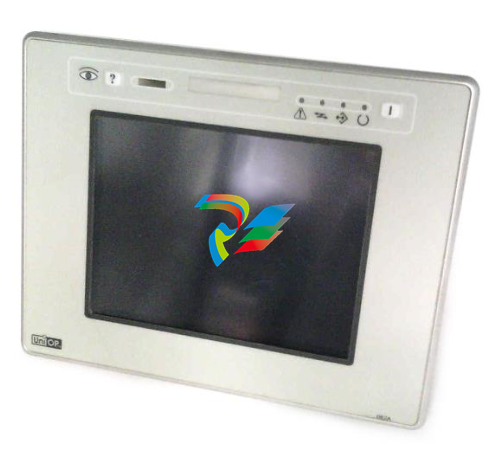 UniOP eTOP11 eTOP11-0050 HMI
 -
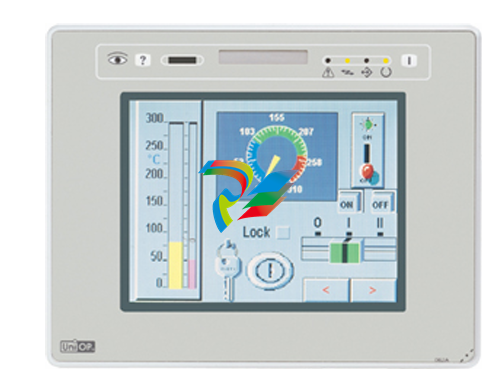 UniOP eTOP06C HMI
 -
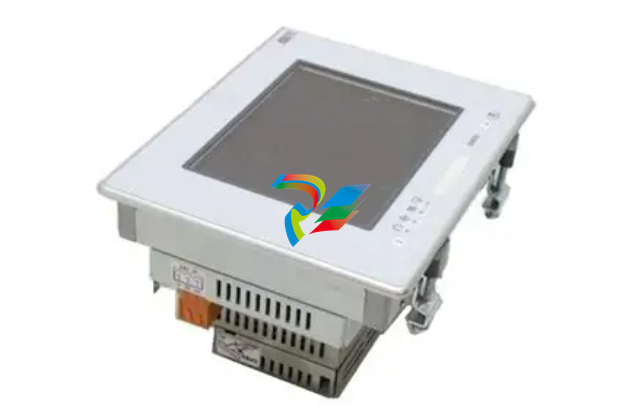 UniOP eTOP06 HMI
 -
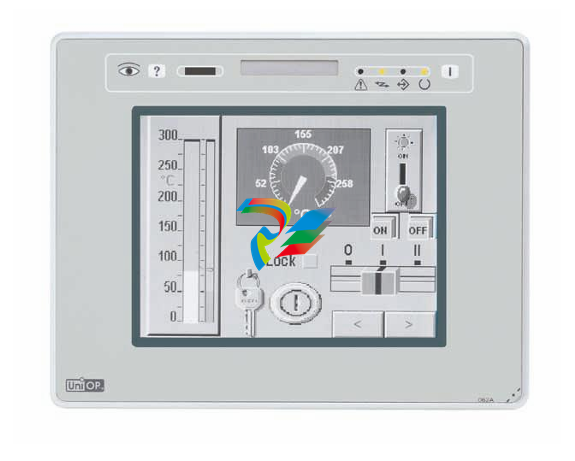 UniOP eTOP05EB eTOP05EB-DF45 HMI
 -
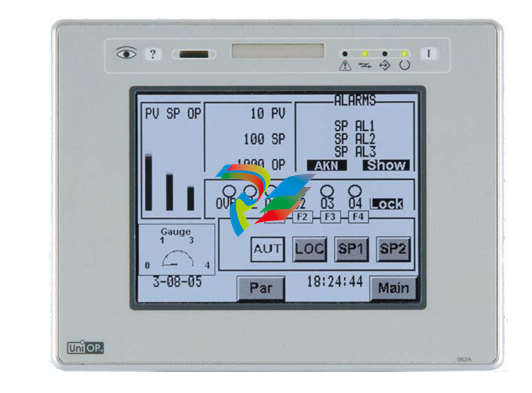 UniOP eTOP05. eTOP05P Human-machine interface equipment
 -
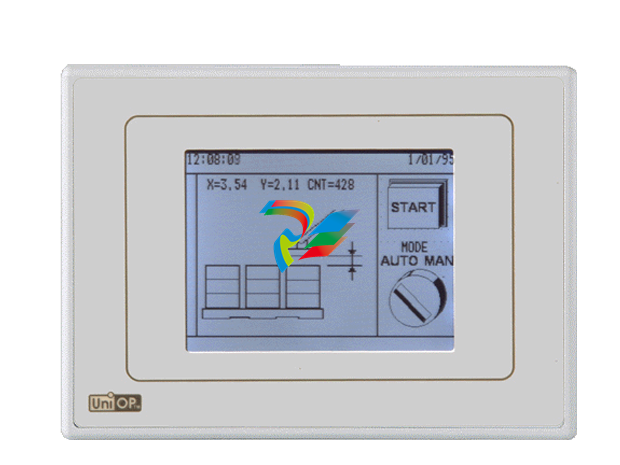 UniOP eTOP03 eTOP03-0046
 -
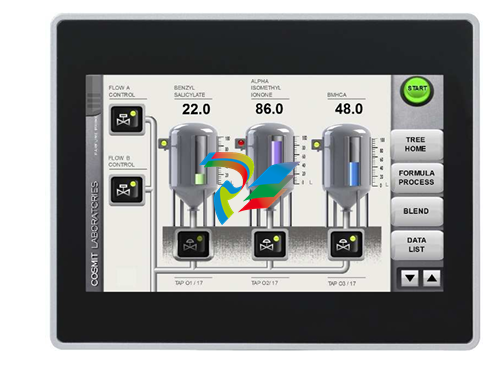 UniOP eTOP507 507U2P1 eTOP Series 500 Human-Machine Interface
 -
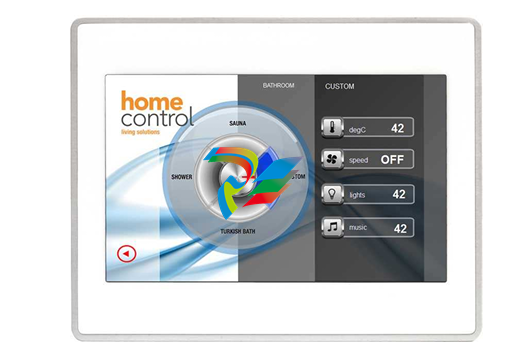 UniOP eTOP307
 -
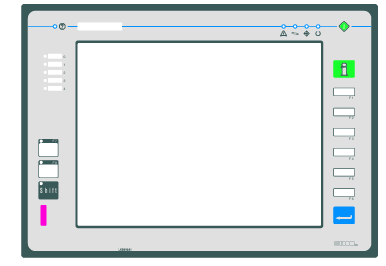 UniOP ETT-VGA Human-machine interface touch unit
 -
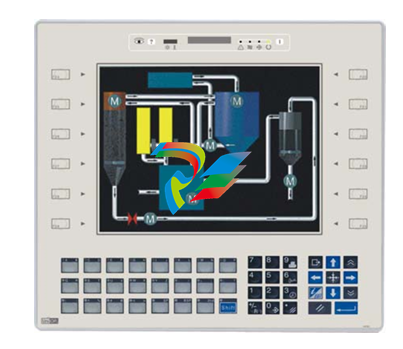 UniOP ePAD32B, ePAD33B and ePAD33BT ePAD33B-0350
 -
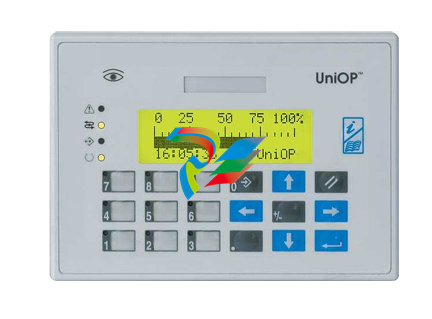 UniOP ePAD05 and ePAD06
 -
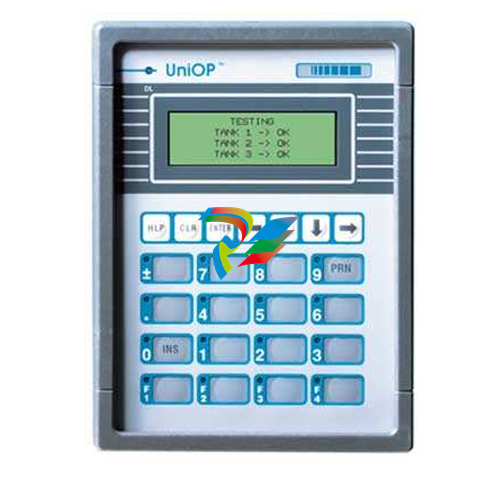 UniOP CP02R-04 Human-machine interface
 -
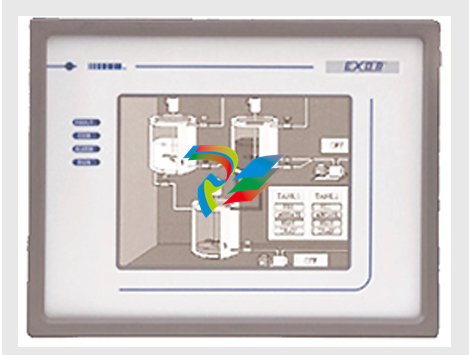 UniOP ERT-16 - Industrial PLC Workstation
 -
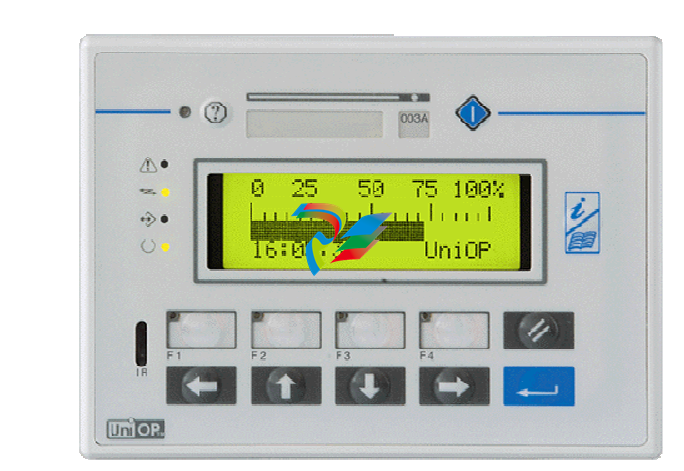 UniOP ePAD03 and ePAD04
 -
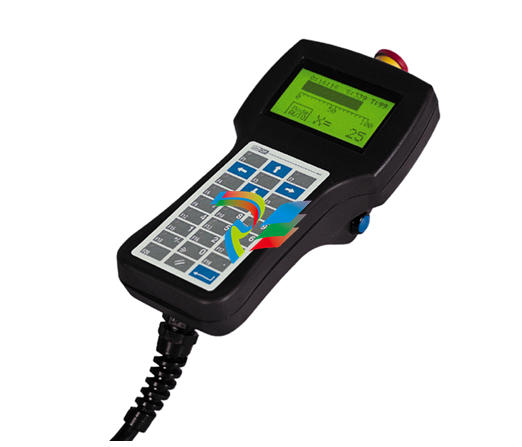 UNIOP EPALM10-DA71 state-of-the-art handheld HMI
 -
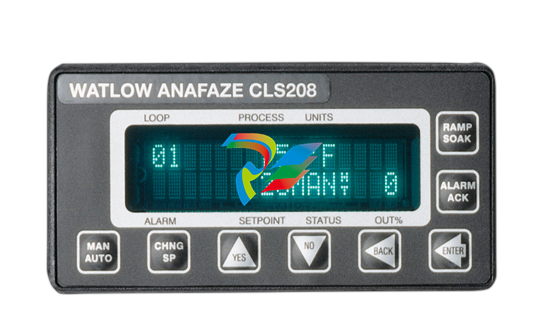 Watlow SERIES CLS200 SPECIFICATION SHEET
 -
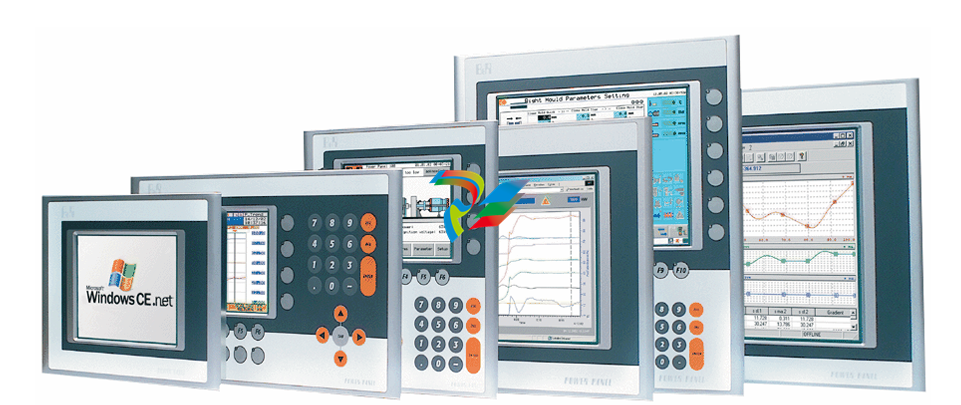 Detailed Explanation of B&R Power Panel 300/400: The Core of Industrial Automation Control
 -
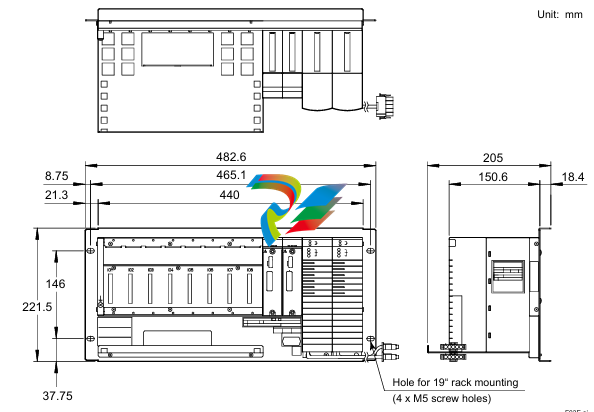 YOKOGAWA Models ANB10S, ANB10D, ANR10S, ANR10D Node Units (for FIO)
 -
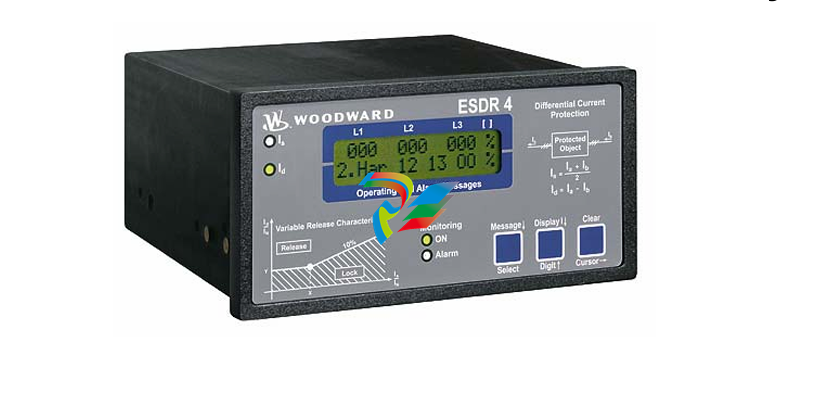 Woodward ESDR 4 Current Differential Protection Relay
 -
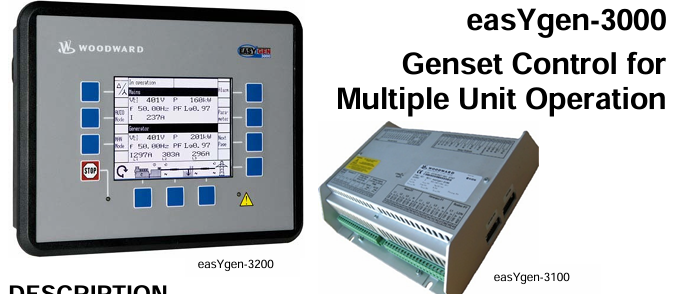 Woodward easYgen-3000 Genset Control for
 -
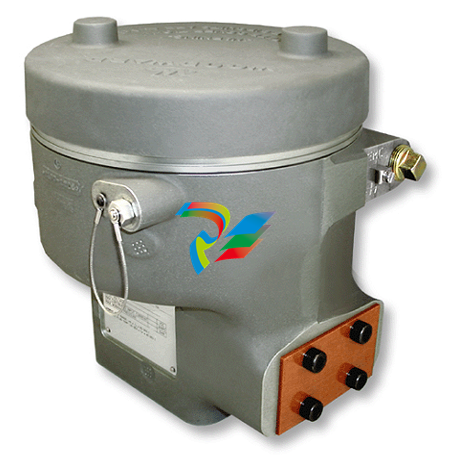 Woodward CPC-II Current-to-Pressure Converter
 -
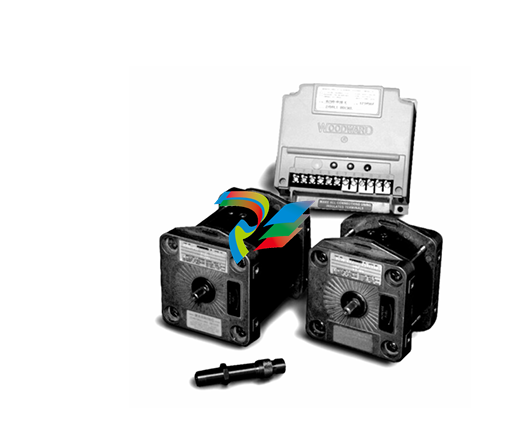 Woodward 8290-189-EPG-installation-manual 8290-044
 -
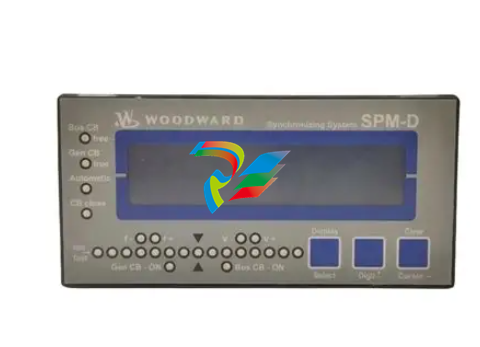 Woodward Product Change Notification 06946A
 -
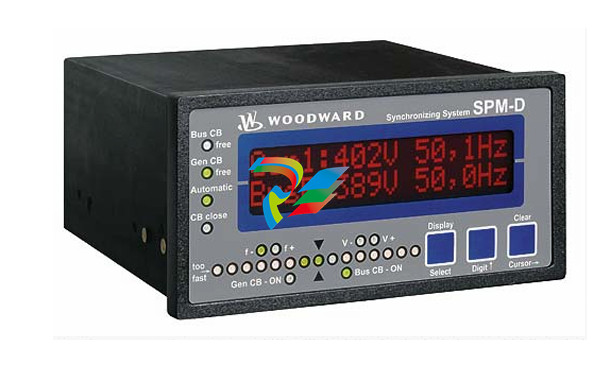 Woodward Product Change Notification 06912
 -
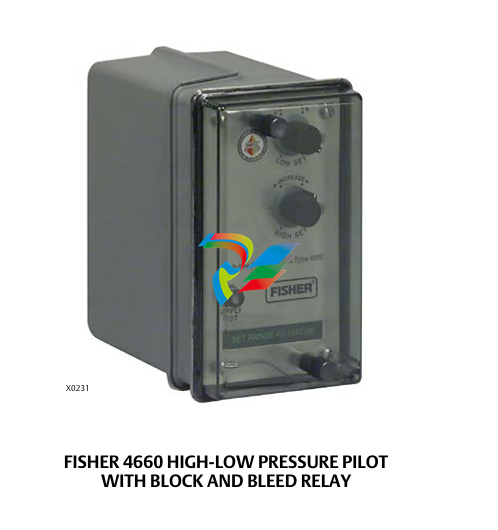 Fisher™ 4660 High-Low Pressure Pilot
 -
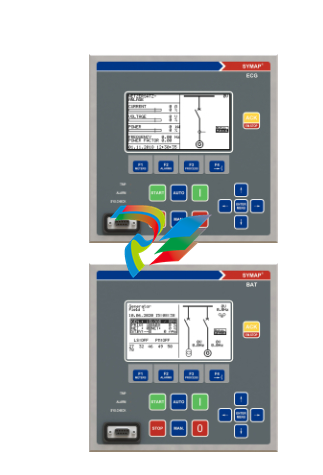 Flexible digital protection and control equipment SYMAP®
 -
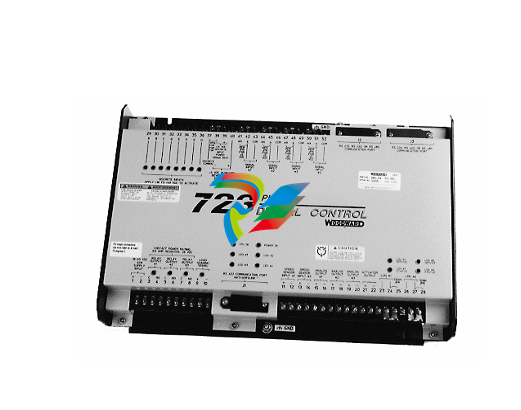 Woodward 723PLUS Digital Control
 -
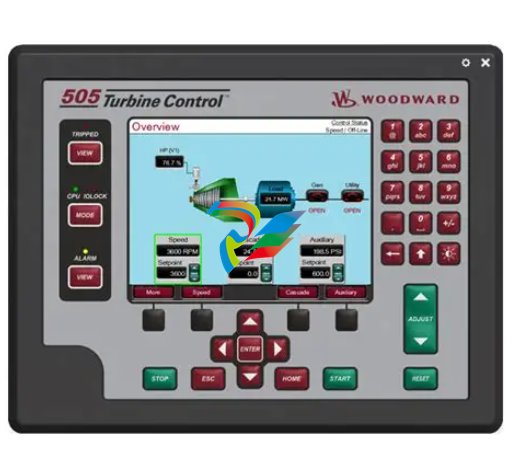 Woodward 505 Digital Controller For steam turbineses
 -
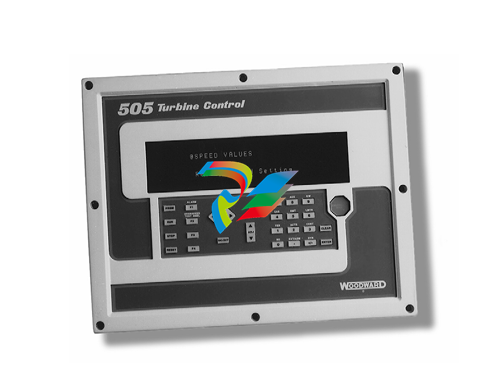 Woodward 85018V2 505E Digital Governor for Extraction Steam Turbines
 -
Woodward 85018V1 Turbine Control Parameters
-
Woodward 26871 505 Enhanced Digital Control for Steam Turbines