VIBRO-METER IOC4T 200-560-000-111 Sensor wiring
VIBRO-METER IOC4T 200-560-000-111 Sensor wiring
Changing the slot number for a VM600 slimlinerack
To configure slot number coding for a VM600 slimline rack (ABE056), a DIP switch on the
rack’s backplane must be set in order to match the slot number used for the input/output card
by the configuration software (for example, VM600MPSx for a MPC4/IOC4T card pair).
As shown in Figure2-5 and Figure2-6(a), the DIP switch is accessible from the rear of the
VM600 slimline rack, when the cards are removed.
On most VM600 slimline racks, the DIP switch is installed with its “ON” text marking towards
the top. Although some have the DIP switch installed with its “ON” text marking towards the
bottom. This upside-down orientation is shown in Figure2-6.
Accordingly, it is important to note that the operation of the DIP switch depends on its
assembled/installed orientation. That is, the ON positions of the individual switches are
always towards the “ON” text marking, which can be on top (up) or bottom (down).
More specifically:
• For a DIP switch with “ON” on top: the switches ON positions are up (and OFF is down).
• For a DIP switch with “ON” on bottom: the switches ON positions are down (and OFF is
up). This upside-down orientation is shown in Figure2-6.
Irrespective of the orientation of the DIP switch, when looking into the rear of the rack with
the DIP switch located to the top left (see Figure2-6(a)), the least significant bit (LSB) is
always to the left and the most significant bit (MSB) is always to the right. It is also always the
case that the ON position (that is, with the raised part of an individual switch pushed towards
ON) corresponds to a logic0. while OFF corresponds to a logic1.
For a VM600MPSx/MPC4andIOC4Tsystem, the ABE056 rack DIP switch is typically set
to 03. as this is the slot number typically used by the VM600MPSx configuration software for
this type of rack. See2.1.2.1Slot number coding for cards in the rear of a VM600 slimline
rack.

For the VM600 slimline rack DIP switch, this translates as follows:
Slot 03 => 0011 in binary
=> (MSB) 0 0 1 1 (LSB) in significant bits
=> (LSB) 1 1 0 0 (MSB) as per switch orientation (reversed)
=> 1 1 0 0 in logic terms
=> OFF OFF ON ON in switch positions.
For a DIP switch with “ON” on top: this corresponds toDN DN UP UP.
For a DIP switch with “ON” on bottom: this corresponds to UP UP DN DN.
See Table2-1 for other examples of rack slot number to DIP switch translations for the
VM600 slimline rack (ABE056).
Figure2-5 shows a VM600 slimline rack DIP switch with “ON” on top configured for a
VM600MPSx/VM600 MPC4/IOC4T system in slot03.
Figure2-6(b) shows a VM600 slimline rack DIP switch with “ON” on bottom configured for a
VM600MPSx/VM600 MPC4/IOC4T system in slot03.MPC4 machinery protection card (ABE04x and ABE056)
The MPC4 card has the following panel elements (see Figure2-8):
1-One global DIAG/STATUS indicator for the MPC4/IOC4T card pair
This multi-coloured, multi-function LED is used to indicate:
• The status of the card configuration
• Whether special functions such as Trip Multiply (TM) or Danger Bypass (DB) are
inuse
• An MPC4 card failure due to a hardware or a software problem.
2-BNC connectors RAWOUT1 to RAWOUT4
A connector is present for each of the four measurement channels. Used to output raw
analog signals (corresponding to, for example, vibration or dynamic pressure).
3-BNC connectors TACHOOUT1 and TACHOOUT2
A connector is present for each of the two rotational speed channels. Used to output
speed/phase reference signals. These signals are TTL-conditioned.
4-Status indicators for the four measurement channels and the 2 rotational speed channels
Each multi-coloured, multi-function LED is used to indicate:
• Whether the signal input for that channel is valid
• The presence of an incoming signal in the Alert/Danger condition
• Whether the channel inhibit function is in use.
5-RS-232 connector
This 9-pin D-sub connector can be used to configure an MPC4 card in a stand-alone
rack. This is done via an interface cable from a computer running one of the VM600
MPSx software packages (MPS1 or MPS2). See Figure2-7 for details of the interface
cable
| User name | Member Level | Quantity | Specification | Purchase Date |
|---|



-
 SAUTER AXT 201. 211: Thermal actuator for unit valves with stroke
 -
 SAUTER AXS 215S: Continuous actuator for unit valves, with stroke
 -
 SAUTER AXM 217S: Motorised actuator for unit valves with positioner
 -
 SAUTER AVM 321S, 322S: Valve actuator
 -
 SAUTER AVM234S: SUT valve actuator with positioner
 -
 SAUTER AVM 105. 115: Valve actuator
 -
SAUTER AVF 234S: SUT valve actuator with spring return
-
 SAUTER AVF124: Actuator with spring return
 -
 SAUTER AKM115SAF332: Smart Actuator for ball valve, BACnet/IP
 -
 SAUTER AKM115SA: Smart Actuator for ball valve
 -
 AKM 105S, 115S: Rotary actuator with SAUTER Universal
 -
SAUTER AKM 105. 115: Rotary actuator for ball valve
-
SAUTER AVM 234S: SUT valve actuator with positioner
-
 SELSEL-T401L Ultra-High-Speed Line Relay
 -
 SEL SEL-T400L Time-Domain Line Protection
 -
 SEL SEL-2664S Stator Ground Protection Relay
 -
 SEL SEL-787-2/-3/-4 Transformer Protection Relay
 -
 SEL SEL-787 Transformer Protection Relay
 -
 SEL SEL-751 Feeder Protection Relay
 -
 SEL SEL-700G Generator Protection Relay
 -
 SEL-487E Transformer Protection Relay
 -
 SEL-400G Advanced Generator Protection System
 -
 SEL SEL-387E Current Differential and Voltage Relay
 -
 SEL SEL-387A Current Differential and Overcurrent Relay
 -
 SEL SEL-387 Current Differential and Overcurrent Relay
 -
 SEL SEL-300G Generator Relay
 -
 SEL SEL-700BT Motor Bus Transfer Relay
 -
 CTI 2500 Series® Slice Ethernet Remote I/O System
 -
 CTI 2500 Series® Compact Programmable Automation Control System
 -
 CTI 2500 Series® Classic Programmable Automation Control System
 -
 CTI 2500 Series® Bases
 -
 SHINKAWA VM-25 Condition Monitoring System UPDATED
 -
 SHINKAWA VM-5 SERIES OPTIONS
 -
 ABB SACO 64D4 Annunciator unit
 -
 ABB SPAU 140 C Synchro-check relay
 -
 EATON Instructions for the FP-5000
 -
 HONEYWELL TDC 3000X Advanced Process Manager
 -
 HONEYWELL ENHANCED MICRO TDC 3000
 -
 VIBRO-METER VM600Mk2/ VM600 RPS6U rack power supplies
 -
 VIBRO-METER VM600Mk2/ VM600 ABE056 slimline rack
 -
 VIBRO-METER VM600Mk2 RLC16Mk2 relay modules
 -
 VIBRO-METER VM600Mk2 MPC4Mk2 + IOC4Mk2 machinery protection and condition monitoring modules
 -
 VIBRO-METER VM600Mk2 CPUMMk2 + IOCNMk2 rack controller and communications interface module
 -
 VIBRO-METER VM600Mk2 CPUMMk2 + IOCNMk2 rack controller and communications interface module
 -
 ADLINK PCI/PCIe-7300A, cPCI-7300 32-CH 80 MB/s High-Speed Digital I/O Cards
 -
 ADLINK cPCI-7248/7249R 48-CH DIO & Timer/Counter Cards
 -
 ADLINK PCI-7230/7233/7234. LPCI/LPCIe/cPCI-7230 32-CH Isolated DIO Cards
 -
 ADLINK cPCI-6965 Series Value 6U CompactPCI® Intel® Core™2 Duo
 -
 ADLINK cPCI-6910 Series 6U CompactPCI® Dual-Core Intel® Xeon® Processor LV / ULV Universal Blade
 -
 ADLINK CPCI-6670 6U CompactPCI Low Power Pentium® III SBC
 -
 ADLINK cPCI-6625/6 Series 6U CompactPCI® PlusIO blade with Intel® Core™ i7/i3 Processor
 -
 ADLINK 3U CompactPCI CPU Modules
 -
 ADLINK CM-435 Extreme Rugged™ PC/104 Single Board Computer
 -
 ADLINK PCI-8254/8258 DSP-based 4/8-axis Advanced Motion Controllers
 -
 ADLINK NuPRO-E43 PICMG® 1.3 Full-Size LGA1151 with 6th/7th Generation Intel® Core™ i7/i5/i3
 -
 ADLINK DLAP-211-JNX/DLAP-211-JT2/ DLAP-211-Nano
 -
 Hirschmann RS30-1602O6O6SDAE compact OpenRail managed Ethernet switches
 -
Hirschmann RS30-0802O6O6SDAE Ethernet switch
-
 Hirschmann RS20-1600T1T1SDAE Management-type Ethernet switch
 -
 Hirschmann OCTOPUS 24M Limited Availability/Passive
 -
 Hirschmann MSP30-24040SCZ9MRHHE3A
 -
 Hirschmann MAR1040-4C4C4C4C9999SMMHRHHXX.X. Gigabit Ethernet Switch configurator
 -
 Hirschmann Industrial Ethernet Rail Switch SPIDER II, SPIDER II Giga, SPIDER II PoE
 -
 Hirschmann Industrial Ethernet Firewall EAGLE One
 -
 Hirschmann Industrial Security Router EAGLE20/30
 -
 Hirschmann Description and operating instructions RS2-xTX/xFX EEC
 -
 Basler Electric DECS-200 Digital Excitation Control System
 -
 Basler Electric GENERATOR PROTECTION SYSTEM BE1-GPS100
 -
 Jaquet FT3000 Speed measurement system
 -
 Hirschmann Industrial Ethernet Ruggedized Switch MACH1000 Family
 -
 Basler Electric BESTCOMSPlus®
 -
 ETEL AccurET MODULAR 300 EA-P2M-300-xxxxxA controller
 -
 Basler Electric ES Series Protection Relays
 -
 ABB Multifunction Protection and Switchbay Control Unit REF542plus
 -
 EMERSON AMS 2140 Machinery Health Analyzer
 -
 Hirschmann Industrial Ethernet Rail Switch RS20 Basic Family
 -
 GE Grid Solutions P40U Px40 USB Adaptor
 -
 ABB ontinuous Gas Analyzers AO2000 Series AO2040CU Ex Central Unit in Category 2G
 -
 ABB Advance Optima AO2000 Series Continuous gas analyzers Models AO2020. AO2040
 -
 Advance Optima Module Uras 14
 -
 SAACKE control optimization
 -
 SAACKE se@vis efficiency monitor
 -
 SAACKE se@vis pro
 -
 SAACKE se@vis eco
 -
 SAACKE se@vis compact
 -
 HIRSCHMANN Industrial ETHERNET Switch MICE MS20/MS30
 -
 HIRSCHMANN MICE Media modules
 -
 Kongsberg GL-10 Level Switch
 -
 B&R ACOPOSinverter P74 frequency converter
 -
 Beckhoff CX2020 | Basic CPU module (service phase)
 -
 Beckhoff CX1010 | Basic CPU module (service phase)
 -
 Beckhoff CX5120 | Embedded PC with Intel Atom® E3815
 -
 Beckhoff CP69xx-xxxx-0010 | Economy built-in Control Panel with DVI/USB Extended interface
 -
 Beckhoff CP29xx-0000 | Multi-touch built-in Control Panel with DVI/USB Extended interface
 -
 SAACKE Monoblock Rotary Cup Burner SKVJ-M
 -
 ABB Plantguard Fault Tolerant Technology Architecture and Software
 -
 OMRON H8PR-8/H8PR-8P H8PR-16/H8PR-16P H8PR-24/H8PR-24P Rotary Positioner
 -
 ABB PFSA107-Z42 DTU Stressometer Digital Transmission Unit
 -
 Nidec Mentor MP
 -
 IBA ibaNet-E
 -
 IBA FO Connection to Reflective Memory
 -
 IBA FO Connection to Siemens Systems
 -
 IBA Interface Cards For Fiber Optic Connections
 -
 IBA Field and Drive Buses
 -
 IBA ibaPADU-S Modular System
 -
 IBA ibaMAQS
 -
 STUCKE SYMAP®ARC
 -
 STUCKE SYMAP®R
 -
 STUCKE SYMAP®Compact
 -
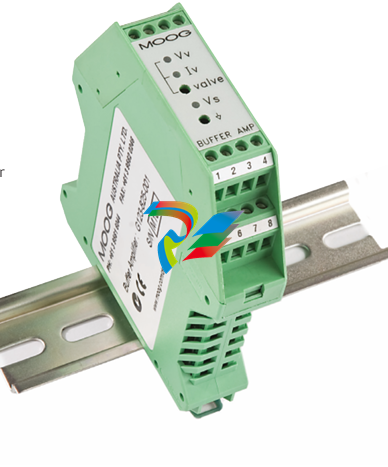 MOOG G123-825-001 BUFFER AMPLIFIER
 -
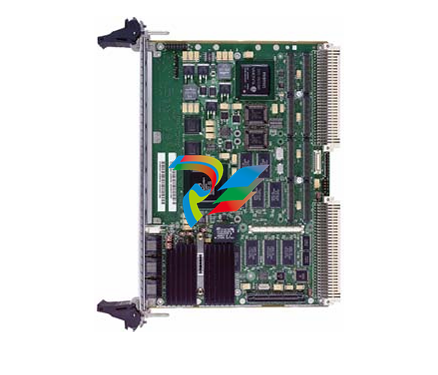 Motorola MVME5100 Series VME Processor Modules
 -
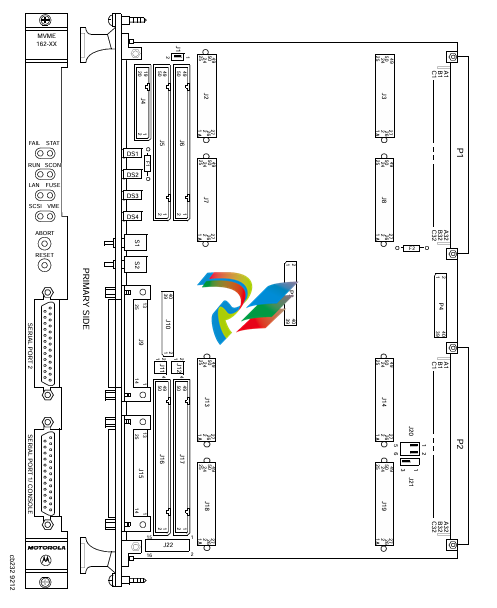 Motorola MVME162 Embedded Controller
 -
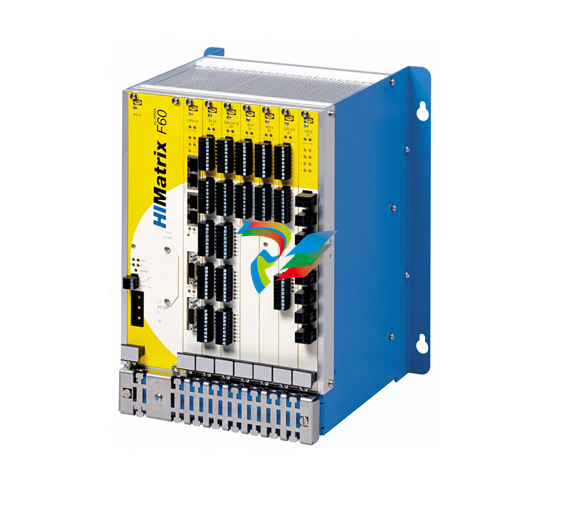 HIMatrix Safety-Related Controller System Manual for the Modular Systems
 -
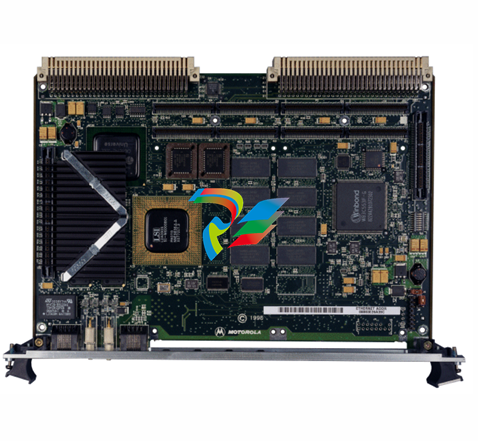 Motorola MVME2400 Series VME Processor Module
 -
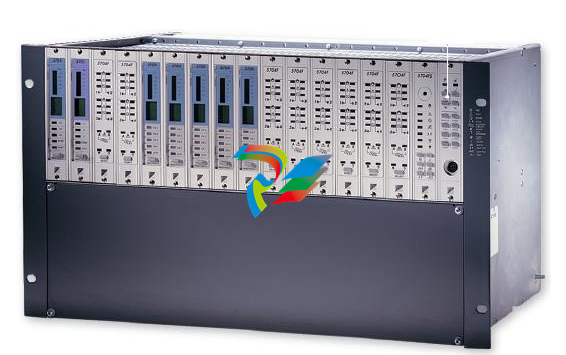 Sieger System 57
 -
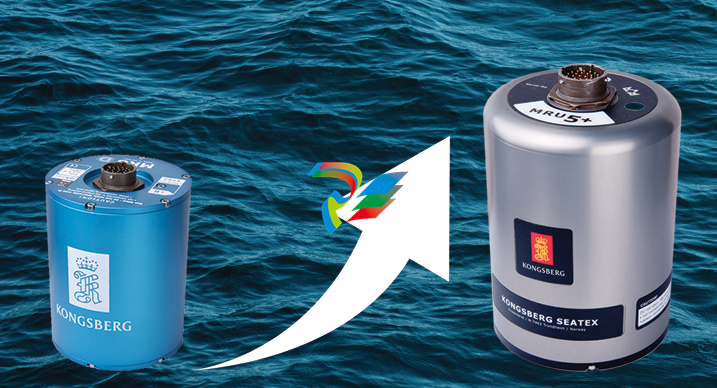 KONGSBERG MRU product line continuation
 -
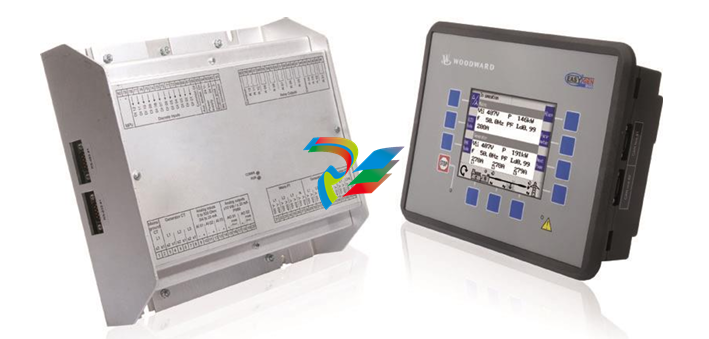 Woodward easYgen-3100/3200 Genset Control for Multiple Unit Operation
 -
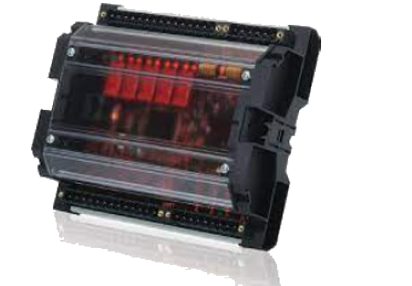 Woodward MFR 300 Multifunction Relay / Measuring
 -
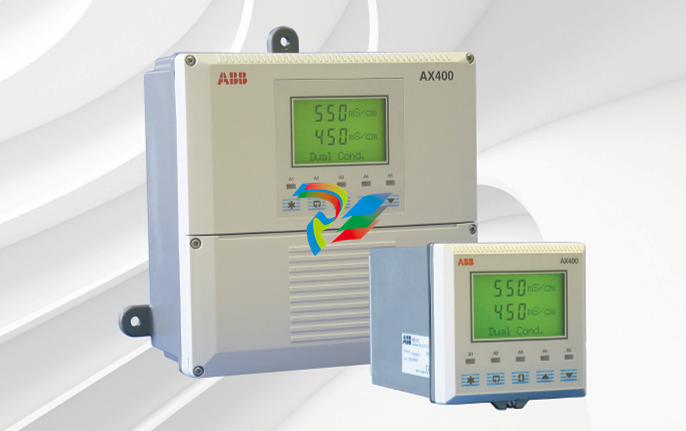 ABB AX410, AX411, AX413, AX416, AX418, AX450, AX455 and AX456 Single and dual input analyzers for low level conductivity
 -
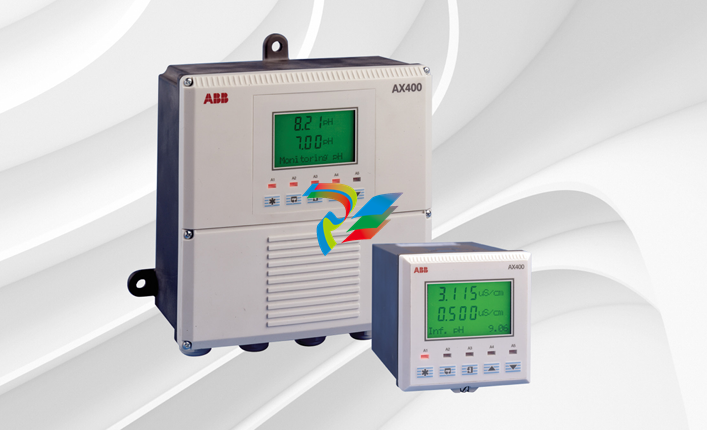 ABB AX410, AX411, AX416, AX450 and AX455 Single and dual input analyzers
 -
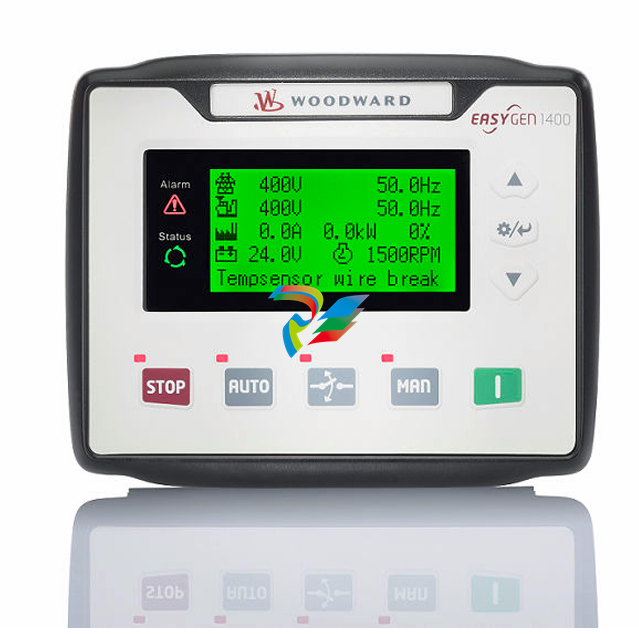 Woodward easYgen-1400 Technical Manual Genset Control
 -
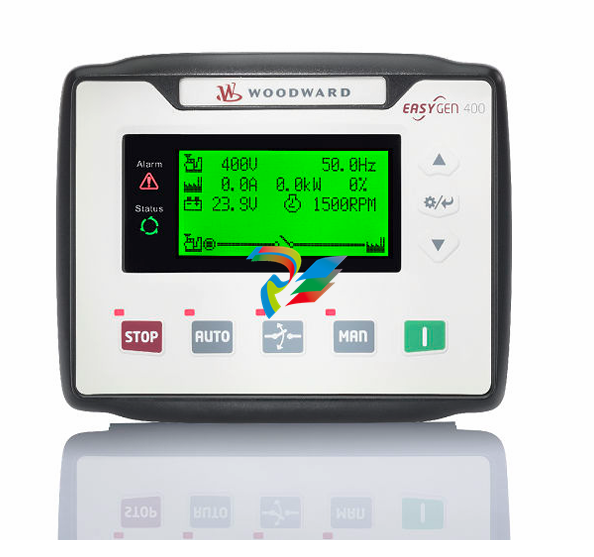 Woodward easYgen-400 Operation Manual Genset Control
 -
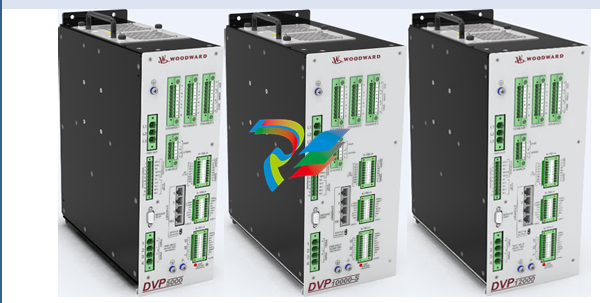 Woodward High Output Digital Valve Positioner (DVP)DVP5000/DVP10000/DVP12000
 -
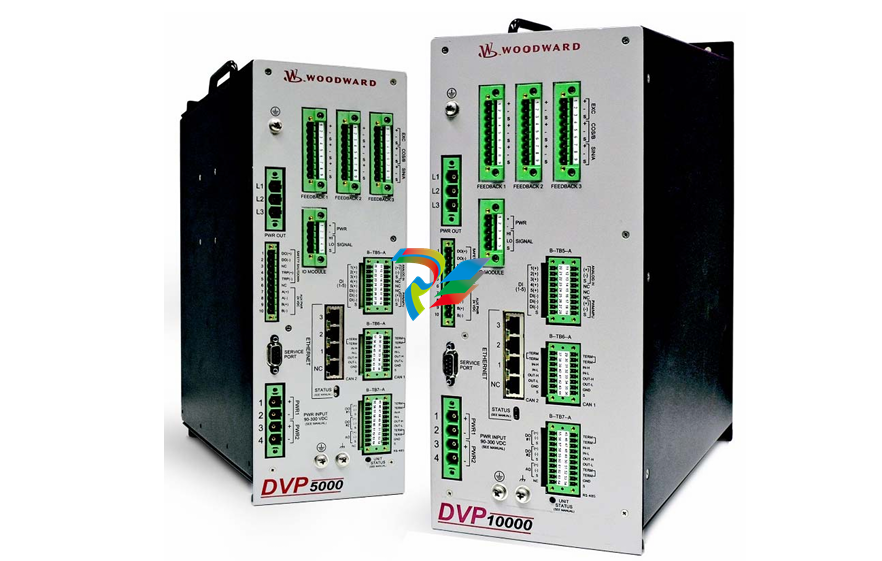 Woodward High Output Digital Valve Positioner DVP5000 and DVP10000
 -
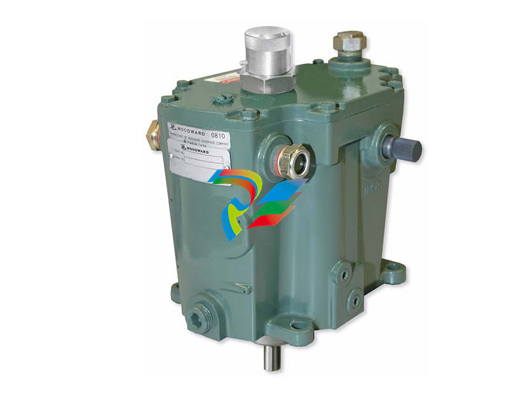 Woodward TG611-13/-17 Overspeed Test Device Conversion Kit
 -
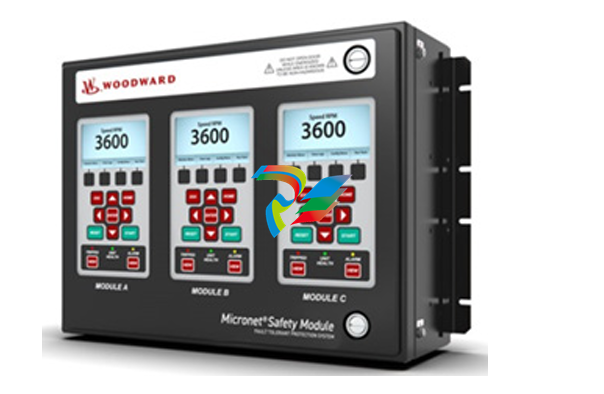 Woodward MicroNet Safety Module (MSM)
 -
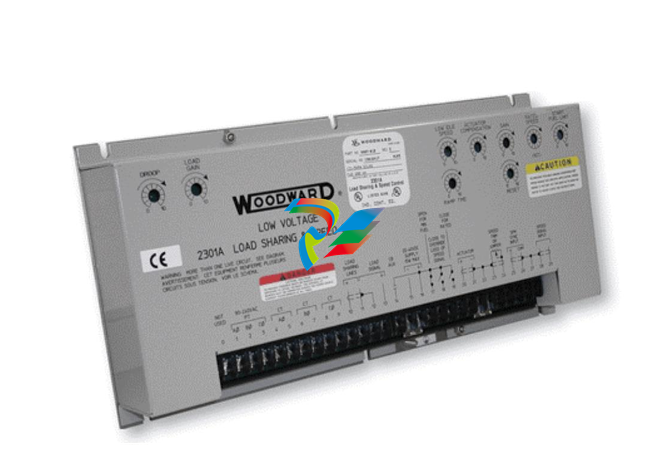 Woodward 2301A Electronic Load Sharing and Speed Control 9905/9907 Series
 -
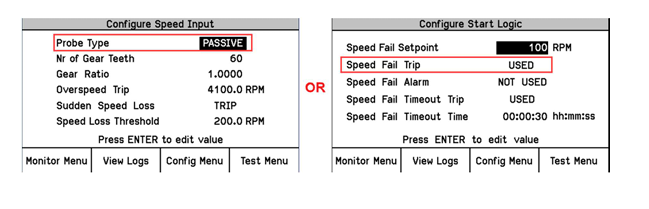 Woodward-Service Bulletin 01671