HIRSCHMANN RS30-1602OOZZSDAEHC09.1.00 DIN-rail-mounted managed Layer 2 Ethernet switch
HIRSCHMANN RS30-1602OOZZSDAEHC09.1.00
Product Introduction / Overview
The Hirschmann RS30-1602OOZZSDAEHC09.1.00 is an industrial-grade,
DIN-rail mounted managed Layer 2 Ethernet switch engineered by Hirschmann (a Belden brand) for mission-critical automation networks.
Designed to withstand harsh industrial environments, this compact OpenRail series switch offers high reliability, extensive network redundancy, and advanced security management features.
Technical Parameter List
| Parameter Category | Specification Details |
| Model / Part Code | RS30-1602OOZZSDAEHC09.1.00 |
| Total Port Count | 18 Ports (16 Fast Ethernet + 2 Gigabit Uplink SFP Slots) |
| Fast Ethernet Ports | 16 x 10/100Base-TX (RJ45 connectors) |
| Gigabit Ports | 2 x 1000Base-X SFP transceiver slots |
| Operating Voltage | Dual / Redundant 12 V DC to 48 V DC inputs |
| Software Level | Enhanced Software (E) Level 2 Management |
| Firmware Release | Software Release Version 09.1.00 |
| Enclosure Rating | IP20 high-strength metal housing |
| Mounting Standard | Standard 35 mm DIN Rail |
| Diagnostics / Local | LED indicators (Power, Link Status, Data, Fault/Relay) |
Product Features / Core Advantages
High-Density Port Layout: Combines 16 Fast Ethernet ports for localized equipment with 2 Gigabit SFP fiber optic uplinks for high-speed trunk connections over long distances.
Industrial Redundancy: Supports Media Redundancy Protocol (MRP), Rapid Spanning Tree Protocol (RSTP), and Ring Redundancy to ensure zero-loss failover in critical loop topologies.
Dual Power Redundancy: Features redundant DC power terminals with an integrated fault signaling contact relay to alert operators in case of power failure.
Comprehensive Network Management: Full configuration capability via Web Interface, Command Line Interface (CLI), SNMP (v1/v2c/v3), and Industrial HiVision network management software.
VLAN & Traffic Optimization: Advanced Quality of Service (QoS), VLAN tagging (802.1Q), IGMP Snooping, and port security protocols to prevent network congestion.
Model Classification (Breakdown of Model Structure)

RS30: Rail Switch Series with 2 Gigabit Uplink ports.
16: Includes 16 Fast Ethernet downlink ports (10/100 Mbps).
02: Includes 2 Gigabit uplink slots.
OO (O6/O6 SFP): SFP slot configuration for flexible Gigabit transceivers (Fiber Optics).
ZZ: Fast Ethernet interface type (standard copper RJ45).
SD: Standard temperature range with DIN rail mounting chassis.
AE: Enhanced Management Software feature set.
HC: Hirschmann Industrial Classic Chassis / Standard Configuration.
09.1.00: Preset factory firmware software version.
Environmental Tolerance Conditions
Operating Temperature: 0°C to +60°C (Standard industrial range).
Storage / Transport Temperature: -40°C to +70°C.
Relative Humidity: 10% to 95% (Non-condensing).
Electromagnetic Compatibility (EMC): High immunity to electrostatic discharge (ESD), surge voltages, and electrical fast transients (bursts) per EN 61000-6-2 standards.
Mechanical Stability: High vibration and shock resistance (IEC 60068-2 standards).
Installation Method
DIN Rail Mounting: Hook the upper locking mechanism onto the standard 35 mm DIN rail (EN 50022) and press the bottom downward until the snap-in spring securely latches onto the rail.
Grounding: Connect a low-impedance ground wire to the dedicated grounding screw on the device frame prior to connecting signal cables.
Power Wiring: Wire redundant power supplies to the plug-in terminal block (+24V / 0V for Power Input 1 and Power Input 2).
SFP & Cable Installation: Insert required SFP optical modules into the Gigabit ports until they lock, then insert RJ45 network cables until the tab clips into place.
Operating Instructions
Power-On Sequence: Apply power to either or both redundant inputs. The system LED status indicator will turn green once boot-up completes.
Initial IP Assignment:
Connect a PC via RJ45 or terminal console cable.
Use the Hirschmann HiDiscovery tool or BOOTP/DHCP server to detect the switch MAC address and assign an initial IP address.
Web Management Access: Open a browser, navigate to the assigned IP address, log in with default credentials, and immediately update the administrative password.
Configuration Backup: Utilize an optional Auto-Configuration Adapter (ACA) plugged into the USB/RJ11 service port to auto-save configuration profiles for quick replacement.
| User name | Member Level | Quantity | Specification | Purchase Date |
|---|



-
 SAUTER AXT 201. 211: Thermal actuator for unit valves with stroke
 -
 SAUTER AXS 215S: Continuous actuator for unit valves, with stroke
 -
 SAUTER AXM 217S: Motorised actuator for unit valves with positioner
 -
 SAUTER AVM 321S, 322S: Valve actuator
 -
 SAUTER AVM234S: SUT valve actuator with positioner
 -
 SAUTER AVM 105. 115: Valve actuator
 -
SAUTER AVF 234S: SUT valve actuator with spring return
-
 SAUTER AVF124: Actuator with spring return
 -
 SAUTER AKM115SAF332: Smart Actuator for ball valve, BACnet/IP
 -
 SAUTER AKM115SA: Smart Actuator for ball valve
 -
 AKM 105S, 115S: Rotary actuator with SAUTER Universal
 -
SAUTER AKM 105. 115: Rotary actuator for ball valve
-
SAUTER AVM 234S: SUT valve actuator with positioner
-
 SELSEL-T401L Ultra-High-Speed Line Relay
 -
 SEL SEL-T400L Time-Domain Line Protection
 -
 SEL SEL-2664S Stator Ground Protection Relay
 -
 SEL SEL-787-2/-3/-4 Transformer Protection Relay
 -
 SEL SEL-787 Transformer Protection Relay
 -
 SEL SEL-751 Feeder Protection Relay
 -
 SEL SEL-700G Generator Protection Relay
 -
 SEL-487E Transformer Protection Relay
 -
 SEL-400G Advanced Generator Protection System
 -
 SEL SEL-387E Current Differential and Voltage Relay
 -
 SEL SEL-387A Current Differential and Overcurrent Relay
 -
 SEL SEL-387 Current Differential and Overcurrent Relay
 -
 SEL SEL-300G Generator Relay
 -
 SEL SEL-700BT Motor Bus Transfer Relay
 -
 CTI 2500 Series® Slice Ethernet Remote I/O System
 -
 CTI 2500 Series® Compact Programmable Automation Control System
 -
 CTI 2500 Series® Classic Programmable Automation Control System
 -
 CTI 2500 Series® Bases
 -
 SHINKAWA VM-25 Condition Monitoring System UPDATED
 -
 SHINKAWA VM-5 SERIES OPTIONS
 -
 ABB SACO 64D4 Annunciator unit
 -
 ABB SPAU 140 C Synchro-check relay
 -
 EATON Instructions for the FP-5000
 -
 HONEYWELL TDC 3000X Advanced Process Manager
 -
 HONEYWELL ENHANCED MICRO TDC 3000
 -
 VIBRO-METER VM600Mk2/ VM600 RPS6U rack power supplies
 -
 VIBRO-METER VM600Mk2/ VM600 ABE056 slimline rack
 -
 VIBRO-METER VM600Mk2 RLC16Mk2 relay modules
 -
 VIBRO-METER VM600Mk2 MPC4Mk2 + IOC4Mk2 machinery protection and condition monitoring modules
 -
 VIBRO-METER VM600Mk2 CPUMMk2 + IOCNMk2 rack controller and communications interface module
 -
 VIBRO-METER VM600Mk2 CPUMMk2 + IOCNMk2 rack controller and communications interface module
 -
 ADLINK PCI/PCIe-7300A, cPCI-7300 32-CH 80 MB/s High-Speed Digital I/O Cards
 -
 ADLINK cPCI-7248/7249R 48-CH DIO & Timer/Counter Cards
 -
 ADLINK PCI-7230/7233/7234. LPCI/LPCIe/cPCI-7230 32-CH Isolated DIO Cards
 -
 ADLINK cPCI-6965 Series Value 6U CompactPCI® Intel® Core™2 Duo
 -
 ADLINK cPCI-6910 Series 6U CompactPCI® Dual-Core Intel® Xeon® Processor LV / ULV Universal Blade
 -
 ADLINK CPCI-6670 6U CompactPCI Low Power Pentium® III SBC
 -
 ADLINK cPCI-6625/6 Series 6U CompactPCI® PlusIO blade with Intel® Core™ i7/i3 Processor
 -
 ADLINK 3U CompactPCI CPU Modules
 -
 ADLINK CM-435 Extreme Rugged™ PC/104 Single Board Computer
 -
 ADLINK PCI-8254/8258 DSP-based 4/8-axis Advanced Motion Controllers
 -
 ADLINK NuPRO-E43 PICMG® 1.3 Full-Size LGA1151 with 6th/7th Generation Intel® Core™ i7/i5/i3
 -
 ADLINK DLAP-211-JNX/DLAP-211-JT2/ DLAP-211-Nano
 -
 Hirschmann RS30-1602O6O6SDAE compact OpenRail managed Ethernet switches
 -
Hirschmann RS30-0802O6O6SDAE Ethernet switch
-
 Hirschmann RS20-1600T1T1SDAE Management-type Ethernet switch
 -
 Hirschmann OCTOPUS 24M Limited Availability/Passive
 -
 Hirschmann MSP30-24040SCZ9MRHHE3A
 -
 Hirschmann MAR1040-4C4C4C4C9999SMMHRHHXX.X. Gigabit Ethernet Switch configurator
 -
 Hirschmann Industrial Ethernet Rail Switch SPIDER II, SPIDER II Giga, SPIDER II PoE
 -
 Hirschmann Industrial Ethernet Firewall EAGLE One
 -
 Hirschmann Industrial Security Router EAGLE20/30
 -
 Hirschmann Description and operating instructions RS2-xTX/xFX EEC
 -
 Basler Electric DECS-200 Digital Excitation Control System
 -
 Basler Electric GENERATOR PROTECTION SYSTEM BE1-GPS100
 -
 Jaquet FT3000 Speed measurement system
 -
 Hirschmann Industrial Ethernet Ruggedized Switch MACH1000 Family
 -
 Basler Electric BESTCOMSPlus®
 -
 ETEL AccurET MODULAR 300 EA-P2M-300-xxxxxA controller
 -
 Basler Electric ES Series Protection Relays
 -
 ABB Multifunction Protection and Switchbay Control Unit REF542plus
 -
 EMERSON AMS 2140 Machinery Health Analyzer
 -
 Hirschmann Industrial Ethernet Rail Switch RS20 Basic Family
 -
 GE Grid Solutions P40U Px40 USB Adaptor
 -
 ABB ontinuous Gas Analyzers AO2000 Series AO2040CU Ex Central Unit in Category 2G
 -
 ABB Advance Optima AO2000 Series Continuous gas analyzers Models AO2020. AO2040
 -
 Advance Optima Module Uras 14
 -
 SAACKE control optimization
 -
 SAACKE se@vis efficiency monitor
 -
 SAACKE se@vis pro
 -
 SAACKE se@vis eco
 -
 SAACKE se@vis compact
 -
 HIRSCHMANN Industrial ETHERNET Switch MICE MS20/MS30
 -
 HIRSCHMANN MICE Media modules
 -
 Kongsberg GL-10 Level Switch
 -
 B&R ACOPOSinverter P74 frequency converter
 -
 Beckhoff CX2020 | Basic CPU module (service phase)
 -
 Beckhoff CX1010 | Basic CPU module (service phase)
 -
 Beckhoff CX5120 | Embedded PC with Intel Atom® E3815
 -
 Beckhoff CP69xx-xxxx-0010 | Economy built-in Control Panel with DVI/USB Extended interface
 -
 Beckhoff CP29xx-0000 | Multi-touch built-in Control Panel with DVI/USB Extended interface
 -
 SAACKE Monoblock Rotary Cup Burner SKVJ-M
 -
 ABB Plantguard Fault Tolerant Technology Architecture and Software
 -
 OMRON H8PR-8/H8PR-8P H8PR-16/H8PR-16P H8PR-24/H8PR-24P Rotary Positioner
 -
 ABB PFSA107-Z42 DTU Stressometer Digital Transmission Unit
 -
 Nidec Mentor MP
 -
 IBA ibaNet-E
 -
 IBA FO Connection to Reflective Memory
 -
 IBA FO Connection to Siemens Systems
 -
 IBA Interface Cards For Fiber Optic Connections
 -
 IBA Field and Drive Buses
 -
 IBA ibaPADU-S Modular System
 -
 IBA ibaMAQS
 -
 STUCKE SYMAP®ARC
 -
 STUCKE SYMAP®R
 -
 STUCKE SYMAP®Compact
 -
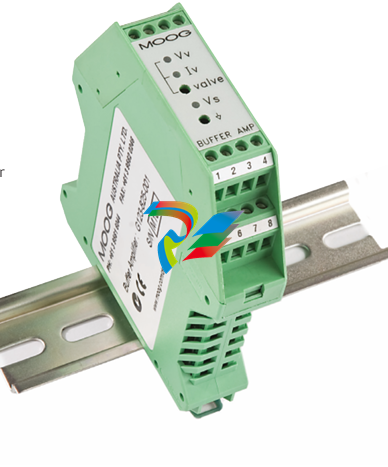 MOOG G123-825-001 BUFFER AMPLIFIER
 -
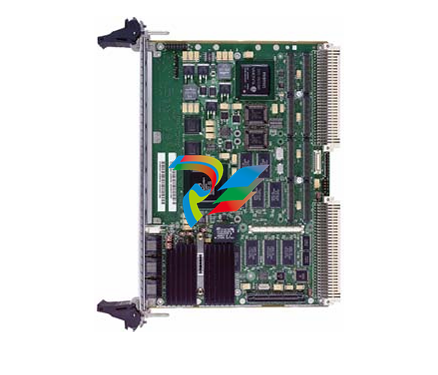 Motorola MVME5100 Series VME Processor Modules
 -
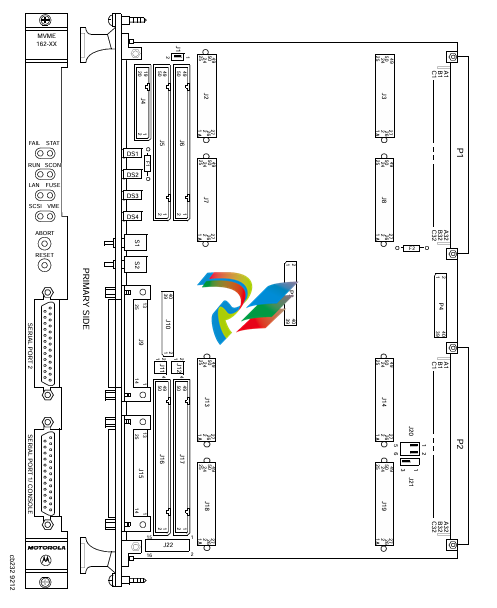 Motorola MVME162 Embedded Controller
 -
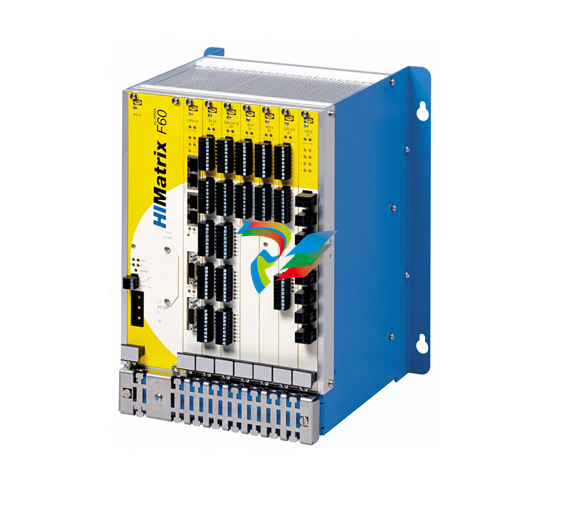 HIMatrix Safety-Related Controller System Manual for the Modular Systems
 -
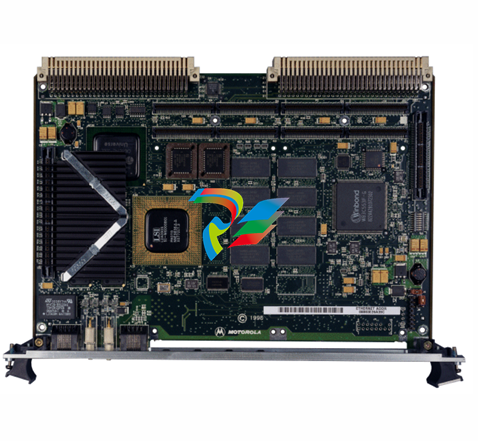 Motorola MVME2400 Series VME Processor Module
 -
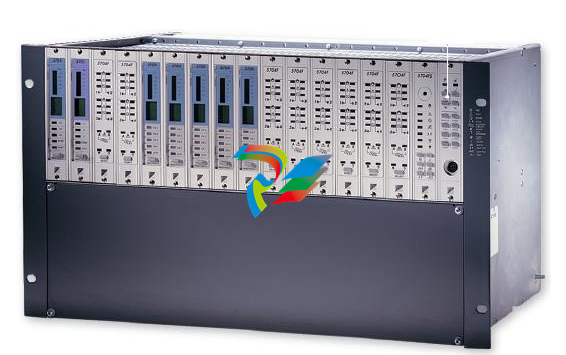 Sieger System 57
 -
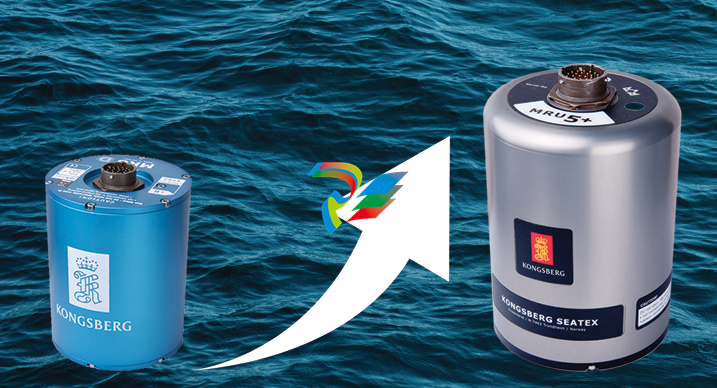 KONGSBERG MRU product line continuation
 -
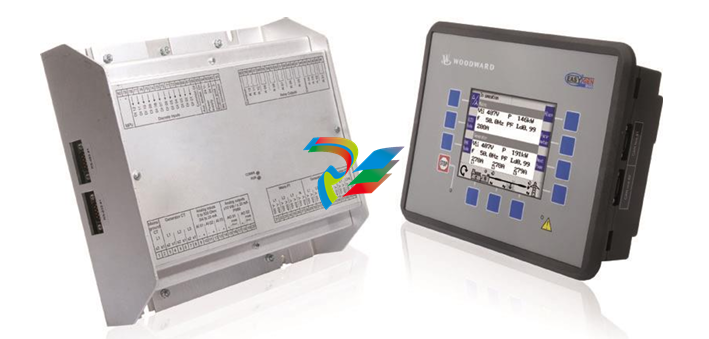 Woodward easYgen-3100/3200 Genset Control for Multiple Unit Operation
 -
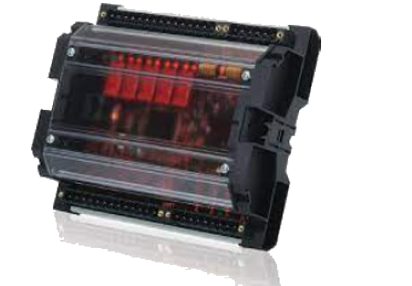 Woodward MFR 300 Multifunction Relay / Measuring
 -
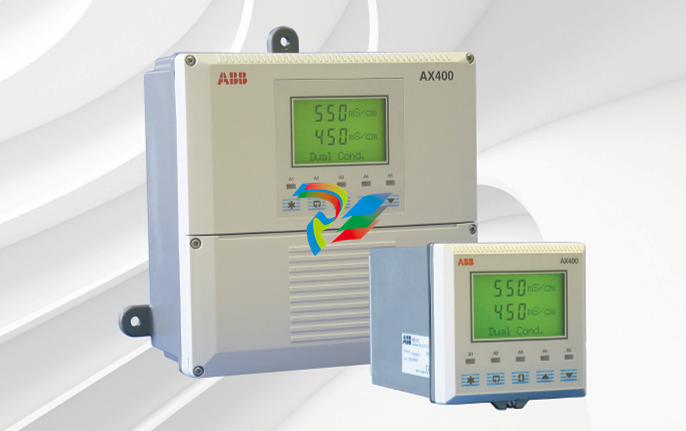 ABB AX410, AX411, AX413, AX416, AX418, AX450, AX455 and AX456 Single and dual input analyzers for low level conductivity
 -
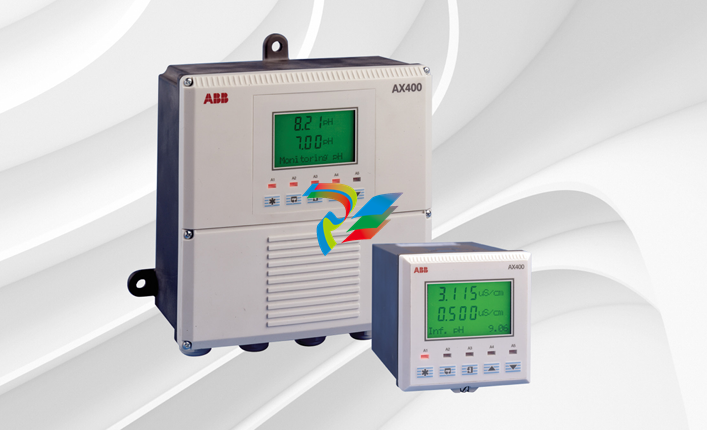 ABB AX410, AX411, AX416, AX450 and AX455 Single and dual input analyzers
 -
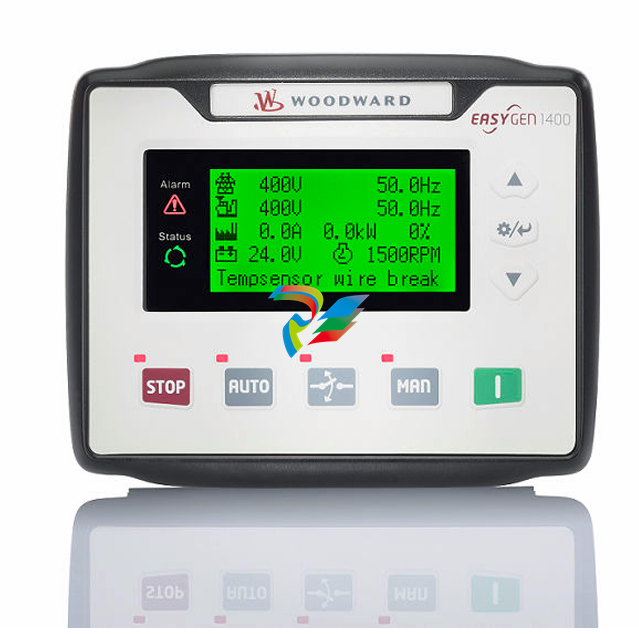 Woodward easYgen-1400 Technical Manual Genset Control
 -
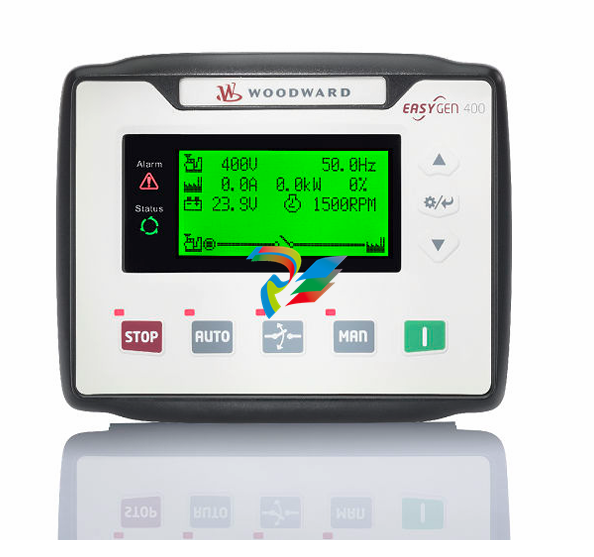 Woodward easYgen-400 Operation Manual Genset Control
 -
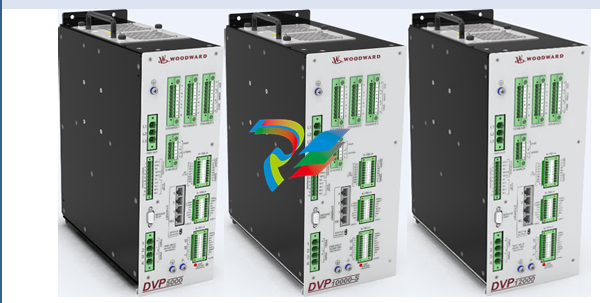 Woodward High Output Digital Valve Positioner (DVP)DVP5000/DVP10000/DVP12000
 -
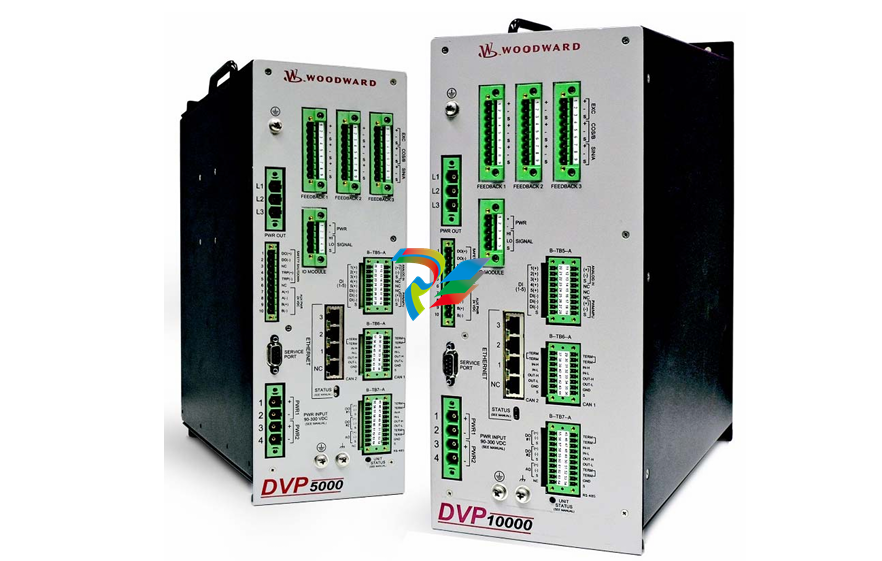 Woodward High Output Digital Valve Positioner DVP5000 and DVP10000
 -
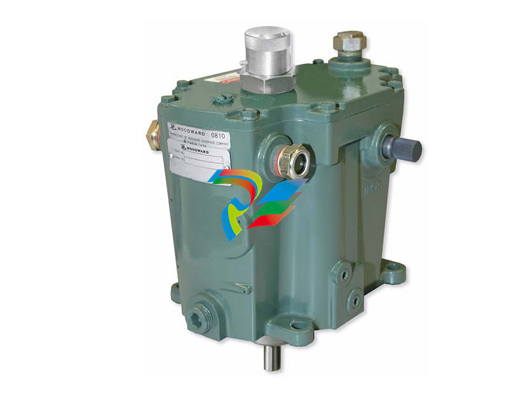 Woodward TG611-13/-17 Overspeed Test Device Conversion Kit
 -
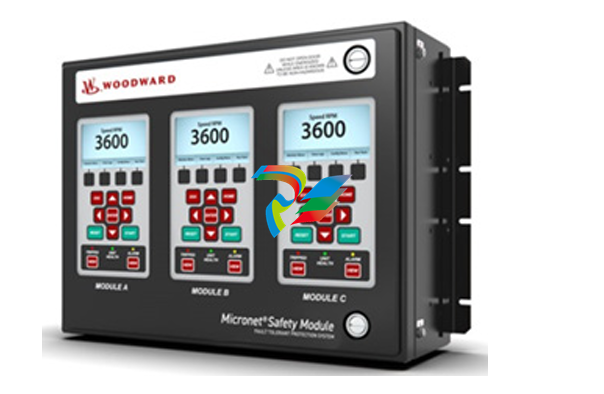 Woodward MicroNet Safety Module (MSM)
 -
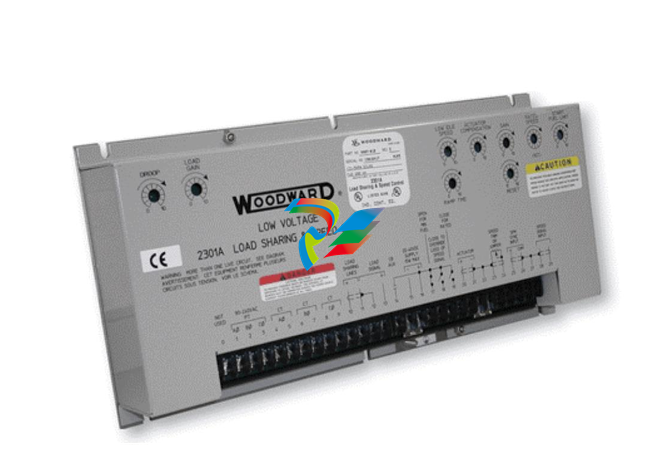 Woodward 2301A Electronic Load Sharing and Speed Control 9905/9907 Series
 -
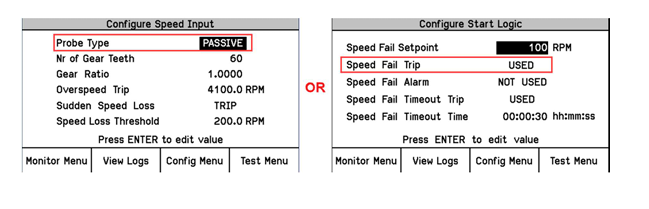 Woodward-Service Bulletin 01671