METSOmaxPAC Hardware Reference Guide
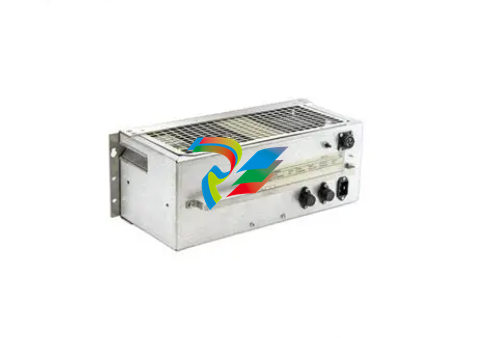
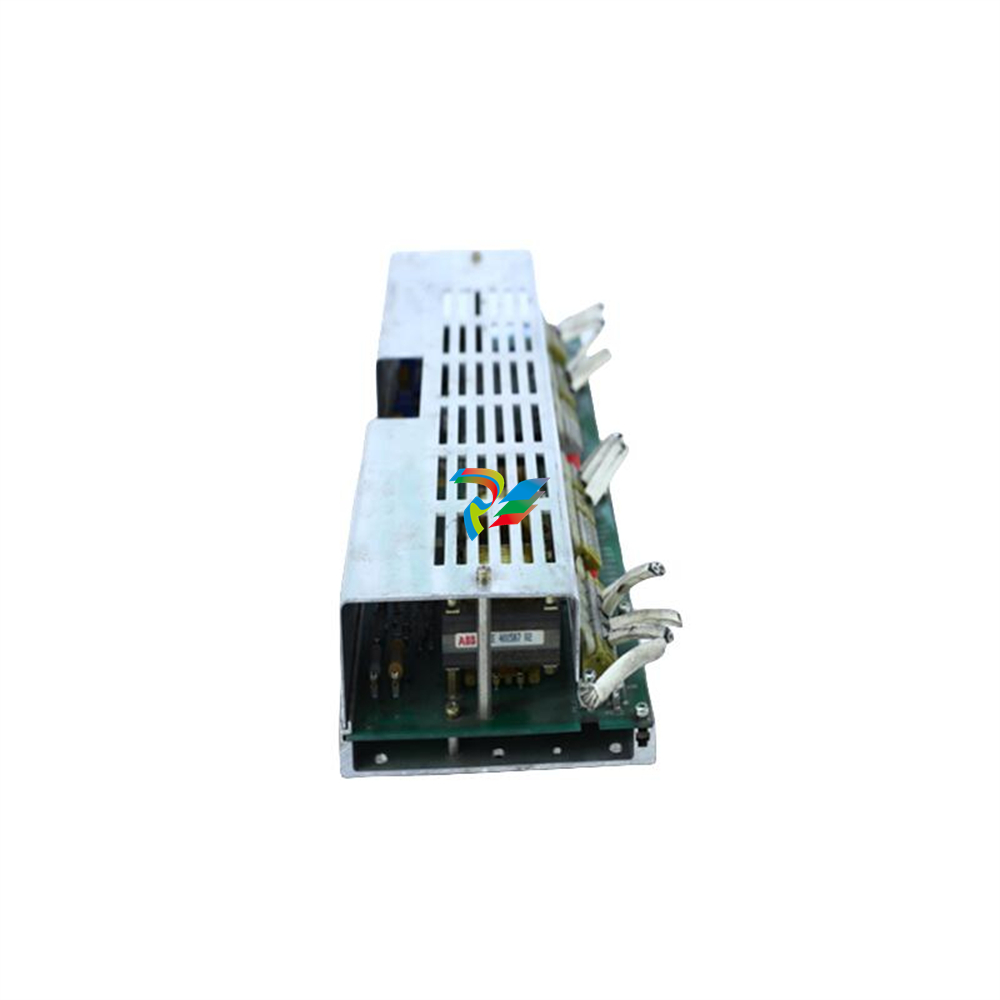
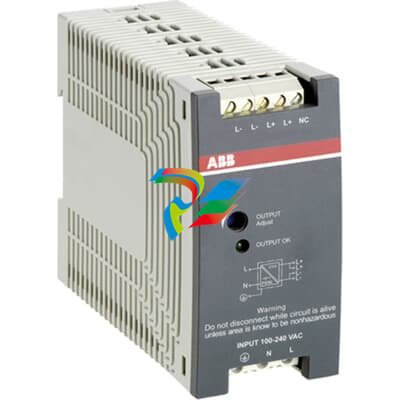
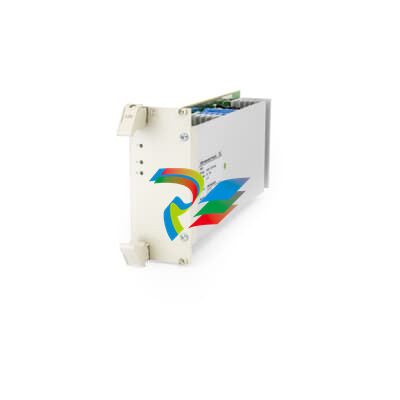
The maxDNA Input/Output System uses the Model APS Power Supply
Assembly, which provides 24V dc power for Distributed Processing Units
and I/O. This Power Supply Assembly consists of a 19-inch rack mount or
flush mount chassis accommodating up to six independent 10 amp power
supply modules. Metso Automation typically installs the power supply
modules in an N + 1 redundancy configuration. Because each module is
individually isolated, the chassis can be split to provide both system power
and loop power.
Power supply features consists of the following:
Redundant AC power inputs
250 Watt power supply modules
Hot replaceable
Current Sharing
Power factor correction
Front panel indicators on each module
AC input
Output voltage status
Output current level
External status signals
Field Termination Options
A maxPAC system uses three field cable termination approaches:
Local Terminations Field cables terminate directly on the I/O
module.
Remote Terminations Field cables terminate on terminal blocks
remotely to the I/O module with an
interconnecting cable back to the I/O module.
Termination Assemblies The QuadPAT, Turbine Valve and Overspeed
modules require a DIN rail mounted termination
assembly. Field cables terminate on this
assembly with an interconnecting cable back to
the I/O module.
Local Terminations (standard)
Each I/O module is supplied with two 16 point, “Euro-Style” screw clamp
plugs that mate to the Printed Circuit Board Header on the module. Field
cables would be routed directly to these Euro-Style plugs, which can accept
up to a #12awg conductor.
Remote Terminations (option)
Many remote field cable termination options are possible. Listed below are a
few examples:
I/O in front of cabinet, terminations in the rear of cabinet.
Termination cabinet mounted adjacent to I/O cabinet.
Termination cabinet located remotely from I/O cabinet.
The types of terminal blocks installed in the termination facility are too
numerous to list; typically these terminations are DIN rail style. The cabling
back to the I/O module is typically made using two multi-conductor cables,
one to each of the Euro-Style plugs supplied with the individual I/O module.
Termination Assemblies
Part Number Description
IOP337 QuadPAT Termination Assembly
IOP342 Turbine Valve Termination Assembly
IOP346 Turbine Overspeed
CTO301 QuadPAT Module to Termination Assembly Cable
CTO302 Turbine Valve Module to Termination Assembly Cable
CTO303 Turbine Overspeed Module to Termination Assembly
Cable
Installing Model IOP I/O Equipment
This section covers the physical mounting and installation of the Model IOP
I/O equipment. See "Module Mounting Considerations," before mounting
any equipment.
The following tools and hardware are required:
Screwdriver
Hex Key Wrench, Metso Part No. 064598
Mounting Screws, Metso Part No. 030162 (8 per unit supplied)
Nut Retainers, Metso Part No. 003530 (8 per unit supplied)
Crimp Tool for field connectors, Weidmuller Part No. 906480
Crimp Contact Removal Tool, Weidmuller Part No. 906481
Before mounting any hardware, see "Cabling, Power, and Ground Wiring."
Sequence of Mounting Operations
Mounting the parts of the Model IOP I/O in proper order can save time and
duplication of effort.
Follow this sequence as closely as possible for best results:
1. Refer to field wiring instructions that can influence mounting locations
for chassis assemblies and chassis assembly/module replacement.
2. Mount the chassis assemblies; see "Mounting I/O Chassis Assemblies."
3. Perform all steps as outlined in "Cabling, Power, and Ground Wiring."
5. Complete field wiring.
6. Refer to "Module Addressing" for switch settings and jumper selections.
7. Install I/O modules.
If your field wiring enters through the bottom of the cabinet, mount the
Model IOP I/O units from top to bottom. This will make wiring of future
units easier, since you will not have to pull wires from the bottom of the
cabinet past existing Model IOP I/O units. This same reasoning applies to
field wiring entering the top of the cabinet. Here you mount the Model IOP
units from bottom to top.
Mounting I/O Chassis Assemblies
The Model IOP I/O chassis assembly attaches to the rear mounting rails in
standard 19-inch maxDNA I/O cabinets. Three chassis styles are available.
See “Chassis Assembly.” Up to seven chassis assemblies may be installed in
a standard cabinets.
Usually, the Model IOP I/O units are supplied already mounted in cabinets,
but if you are mounting them yourself, follow this procedure.
Note: before you mount an I/O chassis, it should contain the I/O backplane.


