
EMERSONAMS Suite: Machinery Health™ Manager
Getting started
Topics covered in this chapter:
• Customized installation media
• Where to get help
• Installation Types
• Operating Requirements
Thank you for choosing AMS Machinery Manager. Let's get started!
Your AMS Machinery Manager package includes:
□ Quick Start Guide
□ Software Installation DVD
□ Manuals DVD
1.1 Customized installation media
Based on your order, the Software Installation DVD contains the following:
• Standalone (Single User) or Network installation
• AMS Machinery Manager technologies
• Number of licensed users
To add a technology or more licensed users, contact your Emerson Process Management
Sales Representative
Installation Types
There are two main types of AMS Machinery Manager installations:
• Standalone (or Single-user standalone)
• Network (or Single-user network and Multiple-user network).
1.3.1 Standalone installation
A Standalone system allows you to use periodic technology with one computer and CSI
Machinery Health Analyzers. A standalone installation indicates you have a single copy of
AMS Machinery Manager with a single serial number on one computer.
You can install these components:
• AMS Machinery Manager
• AMS Standalone Data Transfer (on a different computer)
• AMS Machinery Manager ODBC Driver
Figure 1-1: Standalone system example
This example does not attempt to show all supported hardware options.

Network installations
A network system allows you to use online technology and periodic technology. AMS
Machinery Manager communicates with a CSI Machinery Health Monitor using a network
connection. A network system is deployed on a local area network (LAN) or a wide area
network (WAN).
You can install these components:
• AMS Machinery Manager
• Online Server
• Secondary Database Server
• Data Import Server
• AMS Machinery Manager Data Import Client
• AMS Standalone Data Transfer (on a different computer)
• AMS Machinery Manager ODBC Driver
• Machine History Viewer
• Collaboration Tool
• CSI Data Provide
Single-user and multiple-user LAN
A Single-user network indicates you have a Network Server and a Client installed on one
computer and have one serial number. Single-user network allows the Client to be
installed on other computers in the network. However, only one user can log in at a time.
This installation is used for single user customers with an online system.
A Multiple-user network indicates you have a Network Server and a Client installed on a
server-class computer, and the Client installed on other computers in the network.
Multiple users can log in at the same time.
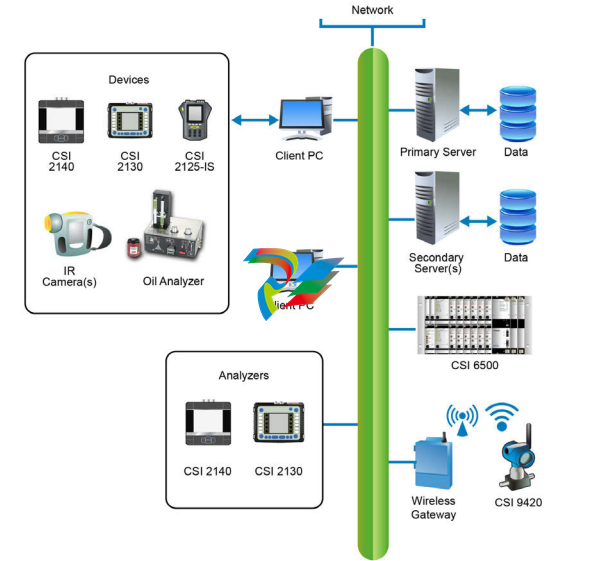
Figure 1-2: Local area network system example
This example does not attempt to show all supported hardware or configuration options.
Multiple-user WAN
The WAN system is designed to allow remote AMS Machinery Manager users to load,
dump, and view data over wide area networks, such as private networks, virtual private
networks(1), or the Internet.
Figure 1-3: Wide area network system example
This example does not attempt to show all supported hardware or configuration options.
Localization considerations
You may license AMS Machinery Manager software in English or a localized (translated)
version. You must specify a language at the time you purchase your software licenses.
Only the language you license will be on your software installation DVD. Follow these
guidelines when preparing to install a localized version of AMS Machinery Manager.
Note
You may need to change your computer name before installing AMS Machinery Manager. A valid
computer name can have numbers 0-9, uppercase and lowercase letters A-Z, and the hyphen (-).
Special characters (< > ; : " * + = | ? ,), accented characters, and other multibyte characters in a
computer name can cause problems and interfere with a successful installation of AMS Machinery
Manager software. Computer names cannot have only numbers, nor can they contain spaces.
Windows 7 Professional, Windows 7 Enterprise, Windows Server 2008, and Windows
Server 2012
Recommendations for Windows without Multilingual User Interface (MUI) support, for
example: Microsoft Windows 7 Professional, Windows 7 Enterprise, Windows Server 2008,
and Windows Server 2012.
• Installing localized AMS Machinery Manager is supported on a Windows system of
the same language with default regional settings. For example, install AMS
Machinery Manager (German) on Windows (German).
• Installing localized AMS Machinery Manager on an English Windows system is not
recommended. If you install localized AMS Machinery Manager on Windows
(English), text may not display properly.
• When you upgrade AMS Machinery Manager, the language must match the
currently installed AMS Machinery Manager language. For example, update AMS
Machinery Manager v5.51 (German) to AMS Machinery Manager v5.6 (German). To
change the AMS Machinery Manager language you need a full installation instead of
an upgrade.
• Avoid changing Windows regional settings. Changes may cause unexpected
behavior in AMS Machinery Manager.
• Installing English AMS Machinery Manager on a non-English Windows system is
supported for Windows (Japanese) only.
Windows 8.1, Windows 8, and Windows 7 Ultimate
Recommendations for Windows with Multilingual User Interface (MUI) support, for
example: Microsoft Windows 8.1, Windows 8, and Windows 7 Ultimate.
• Installing localized AMS Machinery Manager on a Windows system where the
matching language pack and regional settings have already been installed. For
example, install AMS Machinery Manager (German) on Windows after installing the
German language pack.
• When you upgrade AMS Machinery Manager, the language must match the
currently installed AMS Machinery Manager language. For example, update AMS
Machinery Manager v5.51 (German) to AMS Machinery Manager v5.6 (German). To
change the AMS Machinery Manager language you need a full installation instead of
an upgrade.
• One language of AMS Machinery Manager is available per installation. If you change
your regional settings or language pack after installing AMS Machinery Manager,
strings may not display properly. Use the regional settings and language pack that
match the language you licensed for AMS Machinery Manager.
AMS Machinery
Manager language
Windows language
edition Windows regional settings Supported
Localized version MUI with language pack settings match language pack Yes (preferred)
Localized version MUI with language pack English No (translated strings may
not display correctly)
Standalone installation
Topics covered in this chapter:
• Install AMS Machinery Manager
• Launch AMS Machinery Manager
• Update or repair the installation
2.1 Install AMS Machinery Manager
Prerequisites
Verify the client computer meets the operating requirements for a workstation.
If you are upgrading your software, back up your database before completing the software
update. Your databases require reindexing to work with the new software. If you need to
reinstall the previous version of software, be aware that any database you open with the
new software will be reindexed and will no longer work with any previous version.
Procedure
1. Log on to the computer as a user with administrator rights.
2. Insert the AMS Machinery Manager Software Installation DVD and open it in
Windows Explorer.
3. Run RBMsetup.exe.
Important
On Windows 7 and Windows Server 2008, right-click RBMsetup.exe and select Run as
administrator. Click Cancel if the installation launches automatically when you insert the DVD.
You must run the installation manually.
4. If a prompt to install Microsoft .NET Framework 4.0 appears, choose to install this
software and allow the system to reboot, (if required).
The AMS Machinery Manager installation begins automatically after reboot.
5. Accept the license agreement and click Next.
6. At the ATTENTION!! dialog, click Yes if you are installing the software for the first
time. If you are upgrading your software, this is a reminder to stop the installation
and back up your database first. Click No to stop the installation.
7. The setup program verifies that your system meets the minimum requirements. If
they are met, the Options page dialog appears. If they are not met, a message
displays more information. Update the computer to meet the requirements or
contact Product Support.
8. (Optional) At the Select Features to Install pane, you can change defaults for your
installation.
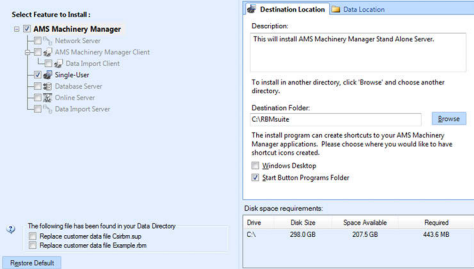
Notes
• Use the default settings and directory names unless there is a particular reason to change
them. Using the defaults results in a trouble-free installation and streamlined interaction
with Emerson Product Support, should a problem ever arise.
• If you are updating the software, this screen also displays the message, “The following file
has been found in your Data Directory” followed by file names. You can check the box by
the file to overwrite the file.
• If you are updating your software, some fields may be disabled. If you want to update your
software and move to a different computer, contact Emerson Product Support.
9. Click Install to start the installation.
The Installing Components screen displays and shows the status of the installation.
Note
Once the install is underway, there will be a point where the Cancel button is disabled. Do not
try to end the install if the Cancel button is disabled. If the install aborts after this point, you
may need to contact Emerson Product Support.
10. If you are using Windows Firewall, grant access to programs published by Emerson
Process Management when prompted.
11. Continue through the installation steps and follow prompts.
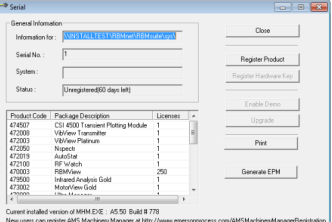
12. When the Serial dialog appears, click Register Product to register the software now, or
click Close to skip registration.
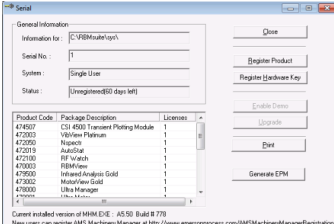
Note
To register later, open Windows Explorer, go to C:RBMsuitesys and double-click Serial.exe.
a. In the Serial dialog, click Register Product.
The Register Product dialog appears. You need the Serial No. and Request No.
during registration.
b. Contact Product Support to register.
Phone: Toll free 888.367.3774, option 2 (U.S. and Canada)
+63.2.702.1111 (Rest of world)
Email: wwcs.custserv@AP.EmersonProcess.com
Web: http://www.mhm.assetweb.com/reg
c. Enter the Response code given to you by a Product Support representative.
d. Click OK.
The Register Product dialog closes.
e. In the Serial dialog, verify the Status is "Registered."
f. Click Close.
Your software is registered.
The installation automatically continues.
13. On the Finish page, click Finish to complete the installation.
If the computer requires a reboot, Restart Now is selected on the Finish page. Allow
the system to reboot before attempting to run the software.
Launch AMS Machinery Manager
Now that you have installed and registered AMS Machinery Manager, you are ready to
launch AMS Machinery Manager.
Procedure
1. Go to Start > Programs (All Programs) > AMS Machinery Manager.
2. Select AMS Machinery Manager.
3. Log in when prompted.
a. Initially, Administrator is the default user. Leave the password blank and click OK.
b. If you use a different user, enter the username and password and click OK.
See the Administration topics in AMS Machinery Manager Help to set the
Administrator password and create a new user.
2.3 Update or repair the installation
Note
You must register the software when you update the software.
Prerequisites
Close all AMS Machinery Manager programs.
Stop AMS Machinery Manager services.
Procedure
1. Insert the AMS Machinery Manager Software Installation DVD and open it in
Windows Explorer.
2. Run RBMsetup.exe.
Important
On Windows 7 and Windows Server 2008, right-click RBMsetup.exe and select Run as
administrator. Click Cancel if the installation launches automatically when you insert the DVD.
You must run the installation manually.
3. At the startup screen choose Add/Update or Repair and click Next.
4. At the Options pane, choose the features to install or leave the defaults selected for
an update.
5. In the list labeled The following files have been found in your Data Directory, check the box
by a file to replace the file on your computer with the file from the installation.
6. Click Install to start the installation.
The Installing Components screen displays the status of the installation.
Note
Once the install is underway, there will be a point where the Cancel button is disabled. Do not
try to end the install if the Cancel button is disabled. If the install aborts after this point, you
may need to contact Emerson Process Management Product Support.
7. Continue through the installation steps and follow prompts.
8. On the Finish page, click Finish to complete the installation.
If the computer requires a reboot, Restart Now is selected on the Finish page. Allow
the system to reboot before attempting to run the software.
Network installation
Topics covered in this chapter:
• Network installation overview
• Install the Network Server
• Install the AMS Machinery Manager Client
• Launch AMS Machinery Manager Client
• Install a Secondary Database Server
• Install an Online Server
• Install Data Import Server and Data Import Client
• Install Collaboration Tool
• Update or install new features on the Network Server
3.1 Network installation overview
Important
• If you intend to install Machine History Viewer or CSI Data Provider, you must install Internet
Information Services before installing AMS Machinery Manager. The AMS Machinery Manager
installation makes important changes to the IIS setup that you would otherwise have to
configure manually with the assistance of Product Support.
• If you are upgrading your software, back up your database before completing the software
update. Your databases require reindexing to work with the new software. If you need to
reinstall the previous version of software, be aware that any database you open with the new
software will be reindexed and will no longer work with any previous version.
Prerequisites
Ensure each computer meets the minimum system operating requirements.
Procedure
1. Install the Network Server on the server first.
2. Install the AMS Machinery Manager Client on a workstation.
3. Install secondary servers and clients on other computers on the network.
You can install Online Server, Secondary Database Server, Data Import Server, Data
Import Client, and AMS Machinery Manager Client on other computers in the
network.
Postrequisites
• Configure service accounts and firewall settings for each computer, if necessary.
Refer to Chapter 6 for more information.
Network installations require further configuration for each CSI Machinery Health
Monitor.
For more information, open Help in AMS Machinery Manager and choose
Administration > Online Server.
3.2 Install the Network Server
The Network Server installation procedure installs and configures the programs and
services required for the primary server. You can choose to install additional features.
The installation creates a shared folder from which you install the Client or other licensed
components on other machines on this network. By default, the folder is C:RBMnet and is
shared as \ServernameRBMnet where Servername is the network computer name.
Prerequisites
Ensure the computer meets the minimum system operating requirements.
If you are upgrading your software, back up your database before completing the software
update. Your databases require reindexing to work with the new software. If you need to
reinstall the previous version of software, be aware that any database you open with the
new software will be reindexed and will no longer work with any previous version.
To install AMS Machinery Manager on a drive other than C, create a shared folder named
RBMnet on the drive where you want to install the software, prior to starting the
installation. After installation is complete, an administrator may need to modify the shared
folder's security permissions to allow access from other computers.
Important
If you intend to install Machine History Viewer or CSI Data Provider, you must install Internet
Information Services before installing AMS Machinery Manager. The AMS Machinery Manager
installation makes important changes to the IIS setup that you would otherwise have to configure
manually with the assistance of Product Support.
Procedure
1. Log on to the computer as a user with administrator rights.
2. Insert the AMS Machinery Manager Software Installation DVD and open it in
Windows Explorer.
3. Run RBMsetup.exe.
Important
On Windows 7 and Windows Server 2008, right-click RBMsetup.exe and select Run as
administrator. Click Cancel if the installation launches automatically when you insert the DVD.
You must run the installation manually.
4. Accept the license agreement and click Next.
If a prompt to install Microsoft .NET Framework 4.0 appears, choose to install this
software and allow the system to reboot, (if required).
The AMS Machinery Manager installation begins automatically after reboot.
6. At the ATTENTION!! dialog, click Yes if you are installing the software for the first
time. If you are upgrading your software, this is a reminder to stop the installation
and back up your database first. Click No to stop the installation.
7. The setup program verifies that your system meets the minimum requirements. If
they are met, the Options page dialog appears. If they are not met, a message
displays more information. Update the computer to meet the requirements or
contact Product Support.
8. At the Options page dialog, make changes to the Select Features to Install list, if
desired.
Network Server and Client are checked as the preferred defaults. You can select
other features, if available. Refer to corresponding sections for more information
about additional features.
• Database Server, Section 3.5
• Online Server, Section 3.6
• Data Import Server, Section 3.7
• Data Import Client, Section 3.7
Notes
• Use the default settings and directory names unless there is a particular reason to change
them. Using the defaults results in a trouble-free installation and streamlined interaction
with Emerson Product Support, should a problem ever arise.
• If you are updating the software, this screen also displays the message, “The following file
has been found in your Data Directory” followed by file names. You can check the box by
the file to overwrite the file
• If you are updating your software, some fields may be disabled. If you want to update your
software and move to a different computer, contact Emerson Product Support.
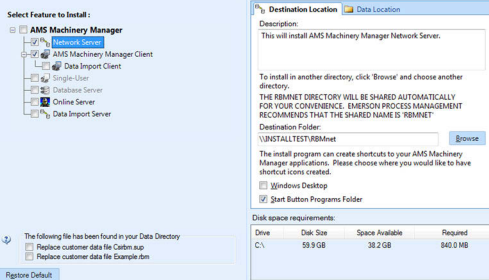
Follow these steps if you need to change the default locations:
a. If you need to change the installation directory, select Network Server in the
features list and open the Destination Location tab.
Browse to the location. The Destination Folder is in Universal Naming Convention
(UNC) format. A red error icon flashes if the path is invalid.
b. If you need to change where your data is stored, select Network Server in the
features list and open the Data Location tab.
Browse to the location. The path is in Universal Naming Convention (UNC)
format. A red error icon flashes if the path is invalid.
9. Click Install to start the installation.
The Installing Components screen displays the status of the installation.
Note
Once the install is underway, there will be a point where the Cancel button is disabled. Do not
try to end the install if the Cancel button is disabled. If the install aborts after this point, you
may need to contact Emerson Process Management Product Support.
10. If you are using Windows Firewall, grant access to programs published by Emerson
Process Management when prompted.
11. When the Serial dialog appears, click Register Product to register the software now, or
click Close to skip registration
Note
To register later, on the Network Server, go to C:RBMnetRBMsuitesys and double-click
Serial.exe.
The Register Product dialog appears. You need the Serial No. and Request No.
during registration.
b. Contact Product Support to register.
Phone: Toll free 888.367.3774, option 2 (U.S. and Canada)
+63.2.702.1111 (Rest of world)
Email: wwcs.custserv@AP.EmersonProcess.com
Web: http://www.mhm.assetweb.com/reg
c. Enter the Response code given to you by a Product Support representative.
The code is only valid for your computer.
d. Click OK.
The Register Product dialog closes.
e. In the Serial dialog, verify the Status is "Registered."
f. Click Close.
Your software is registered.
The installation automatically continues, installing the Client and any other selected
features.
12. Continue through the installation steps and follow prompts.
13. On the Finish page, click Finish to complete the installation.
If the computer requires a reboot, Restart Now is selected on the Finish page. Allow
the system to reboot before attempting to run the software.
Postrequisites
Install AMS Machinery Manager Client on a workstation.
3.3 Install the AMS Machinery Manager Client
Run the AMS Machinery Manager installation program (RBMsetup.exe) on a computer in
the AMS Machinery Manager network. Choose the Client option.
Prerequisites
• Install the AMS Machinery Manager Network Server on the server first.
• Verify the client computer meets the operating requirements for a workstation.
• Verify the workgroup or domain settings match on the Network Server computer
and Database Server computer.
Procedure
1. Log on to the computer as a user with administrator rights.
Browse to the shared folder on the Network Server. For example, \Servername
RBMnet, where Servername is the computer's name.
Important
Do NOT use a mapped drive path.
3. Run RBMsetup.exe.
Important
On Windows 7 and Windows Server 2008, right-click RBMsetup.exe and select Run as
administrator. Click Cancel if the installation launches automatically when you insert the DVD.
You must run the installation manually.
4. At the Options page dialog, make changes to the Select Features to Install list, if
desired.
You can install certain additional features on other computers in the AMS Machinery
Manager network. The Network Server option is disabled here since only one
network server is allowed on an AMS Machinery Manager network.
The Client is selected and default locations are set. If desired, select the Shortcuts tab
and select Add shortcuts to desktop
5. Click Install to start the installation.
The Installing Components screen displays the status of the installation.
Note
Once the install is underway, there will be a point where the Cancel button is disabled. Do not
try to end the install if the Cancel button is disabled. If the install aborts after this point, you
may need to contact Emerson Process Management Product Support.
6. Continue through the installation steps and follow prompts.
7. On the Finish page, click Finish to complete the installation.
If the computer requires a reboot, Restart Now is selected on the Finish page. Allow
the system to reboot before attempting to run the software.
Launch AMS Machinery Manager Client
Now that you have installed and registered AMS Machinery Manager, you are ready to
launch the AMS Machinery Manager Client.
Procedure
1. Go to Start > Programs (All Programs) > AMS Machinery Manager.
2. Select AMS Machinery Manager Client.
3. Log in when prompted.
a. Initially, Administrator is the default user. Leave the password blank and click OK.
b. If you use a different user, type in the username and password and click OK.
See the Administration topics in AMS Machinery Manager Help to set the
Administrator password and create a new user.
3.5 Install a Secondary Database Server
Prerequisites
• Install the AMS Machinery Manager Network Server on the server first.
• Verify the workgroup or domain settings match on the Network Server computer
and Database Server computer.
Procedure
1. Log on to the computer as a user with administrator rights.
2. Browse to the shared folder on the Network Server. For example, \Servername
RBMnet, where Servername is the computer's name.
Important
Do NOT use a mapped drive path.
3. Run RBMsetup.exe.
Important
On Windows 7 and Windows Server 2008, right-click RBMsetup.exe and select Run as
administrator. Click Cancel if the installation launches automatically when you insert the DVD.
You must run the installation manually.
4. Follow instructions presented by the installation program.
5. Accept the license agreement and click Next.
6. At the ATTENTION!! dialog, click Yes if you are installing the software for the first
time. If you are upgrading your software, this is a reminder to stop the installation
and back up your database first. Click No to stop the installation.
7. At the Options page dialog, make changes to the Select Features to Install list, if
desired.
You can install certain additional features on other computers in the AMS Machinery
Manager network. The Network Server option is disabled here since only one
network server is allowed on an AMS Machinery Manager network.
• To install a Secondary Database server, select Database Server.
• (Optional) To install the Client, select Client.
• Uncheck features you do not want to install on this computer.
You can change the default destination location and configuration location on your
database server. These tabs are disabled for updates.
8. Click Install to start the installation.
The Installing Components screen displays the status of the installation.
Note
Once the install is underway, there will be a point where the Cancel button is disabled. Do not
try to end the install if the Cancel button is disabled. If the install aborts after this point, you
may need to contact Emerson Process Management Product Support.
9. Continue through the installation steps and follow prompts.
10. On the Finish page, click Finish to complete the installation.
If the computer requires a reboot, Restart Now is selected on the Finish page. Allow
the system to reboot before attempting to run the software.
The secondary database server can be accessed through the Network Server. The files are
installed in C:RBMDBSRV by default.
Postrequisites
• In Windows Explorer, browse to C:RBMDBSRV and create new folder named CustData.
Share the CustData folder so it is available on the AMS Machinery Manager network.
• Add the database server in RBM Network Administration. Refer to the Administration
topics in AMS Machinery Manager Help for more information.
3.6 Install an Online Server
Note
Unless otherwise specified, a CSI Machinery Health Monitor is pre-configured with a database
created according to customer specifications. The Online Server has been set up during
commissioning.
You can install additional Online Servers and commission additional CSI Machinery Health
Monitors on your AMS Machinery Manager network. If you install an additional Online
Server, select Database Server as well.
Prerequisites
• Install the AMS Machinery Manager Network Server on the server first.
• Verify the workgroup or domain settings match on the Network Server computer
and Database Server computer.
Procedure
1. Log on to the computer as a user with administrator rights.
Browse to the shared folder on the Network Server. For example, \Servername
RBMnet, where Servername is the computer's name.
Important
Do NOT use a mapped drive path.
3. Run RBMsetup.exe.
Important
On Windows 7 and Windows Server 2008, right-click RBMsetup.exe and select Run as
administrator. Click Cancel if the installation launches automatically when you insert the DVD.
You must run the installation manually.
4. Follow instructions presented by the installation program.
5. At the AMS Machinery Manager Setup - Options page, select Online Server and
Database Server.
• (Optional) To install the Client, select Client.
• Uncheck features you do not want to install on this computer.
6. Continue through the installation steps and follow prompts.
7. In Windows Services, verify the following services are started.
• CsiO_Server
• CsiMtdbMgr
• CSI_MhmRemote
Postrequisites
• In Windows Explorer, browse to C:RBMDBSRV and create new folder named CustData.
Share the CustData folder so it is available on the AMS Machinery Manager network.
• Set up the Online Server in RBM Network Administration. Refer to the Administration
topics in AMS Machinery Manager Help for more information.
3.7 Install Data Import Server and Data Import
Client
The Data Import Server and Data Import Client are only available if you license the Data
Import functionality (included with network systems). You can install Data Import Server
and Data Import Client together or separately on the Network Server or on other
computers in the AMS Machinery Manager network.
Install Data Import Server or Client on an existing
Network Server
Follow instructions to update or install new features on the Network Server. See
Section 3.9. At the Options pane, choose the Data Import Server and/or Data Import Client.
If you choose Data Import Client, AMS Machinery Manager Client is automatically selected.
Data Import Client is required to be installed in the same directory as the AMS Machinery
Manager Client.
3.7.2 Install Data Import or Client on a Secondary Server or
Workstation
Prerequisites
• Ensure the computer meets the minimum system operating requirements.
• Verify the workgroup or domain settings match on the Network Server computer
and Database Server computer.
Procedure
1. Log on to the computer as a user with administrator rights.
2. Browse to the shared folder on the Network Server. For example, \Servername
RBMnet, where Servername is the computer's name.
Important
Do NOT use a mapped drive path.
3. Run RBMsetup.exe.
Important
On Windows 7 and Windows Server 2008, right-click RBMsetup.exe and select Run as
administrator. Click Cancel if the installation launches automatically when you insert the DVD.
You must run the installation manually.
4. Accept the license agreement and click Next.
5. At the Options pane, choose the Data Import Server and/or Data Import Client.
If you choose Data Import Client, AMS Machinery Manager Client is automatically
selected. Data Import Client is required to be installed in the same directory as the
AMS Machinery Manager Client.
6. Click Install to start the installation.
The Installing Components screen displays the status of the installation.
Install Collaboration Tool
When Collaboration Tool is installed with AMS Machinery Manager Network Server and
Clients, users logged into the Clients using the same Network Server can communicate
with one another and share multiple types of information with other Collaboration Tool
users.
3.8.1 Install Collaboration Tool on the Network Server
When you install Collaboration Tool on the Network Server the MHM Peer Resolver Service
(MHMPeerResolverService.exe) is installed.
Prerequisites
• Install the AMS Machinery Manager Network Server on the server first.
• Install AMS Machinery Manager Client on the Client computer.
Procedure
1. On the Network Server, use Windows Explorer to browse to the RBMnet folder. For
example, C:RBMnet.
2. Browse to InstallCollaborationTool.
3. Double-click setup.exe and continue through the installation.
Important
On Windows 7 and Windows Server 2008, right click setup.exe and select Run as administrator.
4. Accept the license agreement and click Next.
5. Click Install to start the installation.
The Installing Components screen displays the status of the installation.
Note
Once the install is underway, there will be a point where the Cancel button is disabled. Do not
try to end the install if the Cancel button is disabled. If the install aborts after this point, you
may need to contact Emerson Process Management Product Support.
-
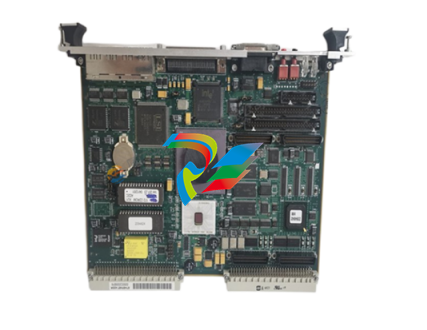
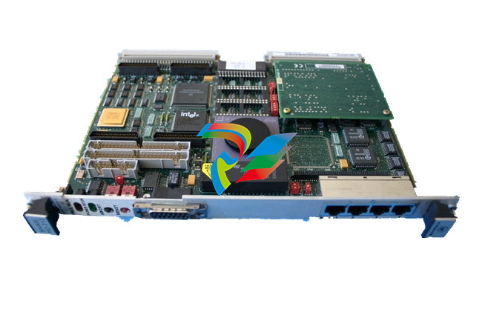
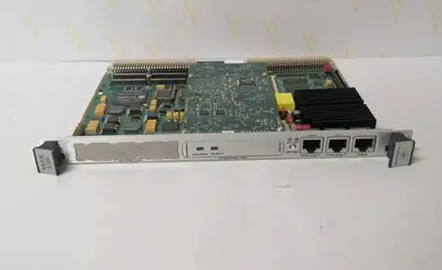
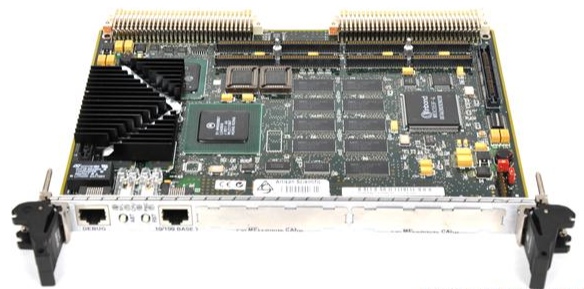
 MOTOROLA MVME172PA-652SE VME Embedded Controller
 -
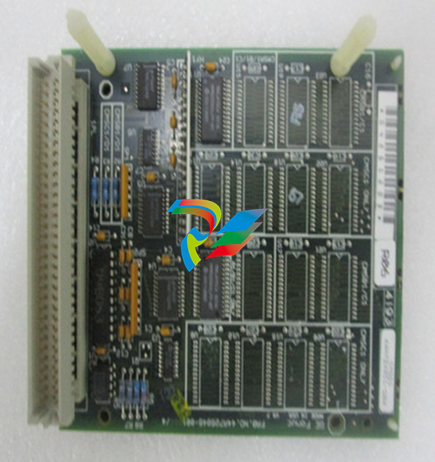
 MOTOROLA FLN4234A ACE3600 CPU3680 Processor Module
 -
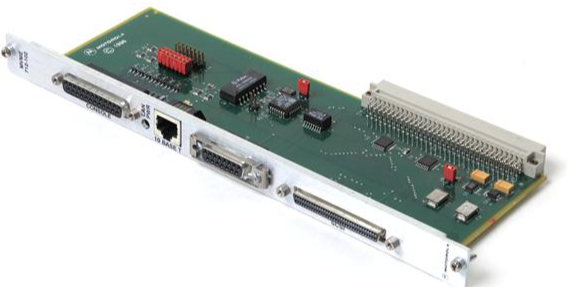
 Motorola MVME333-2 Controller Communications Module Specs
 -
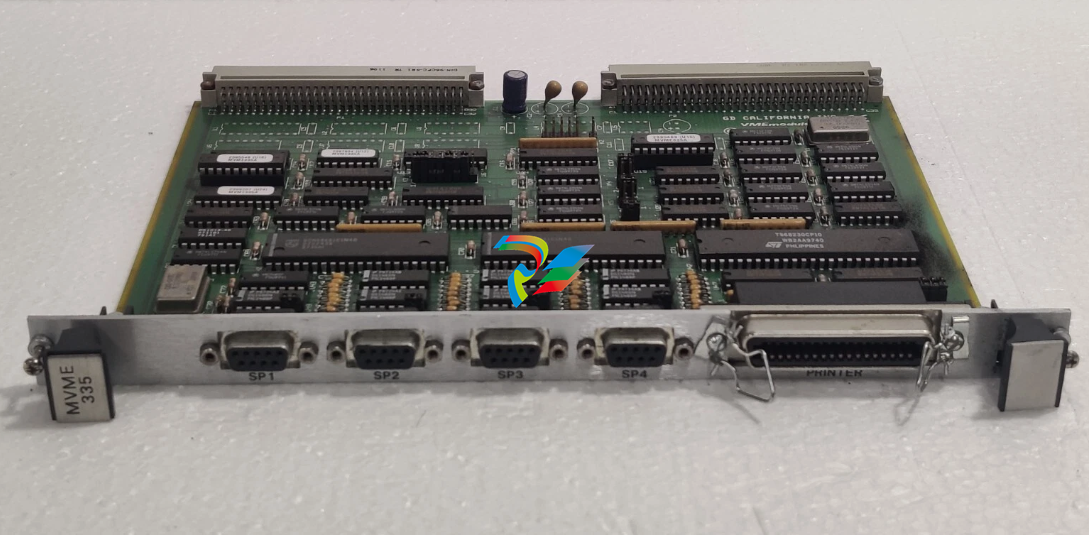 MOTOROLA MVME335 PCB California VME Module 0733500
 -
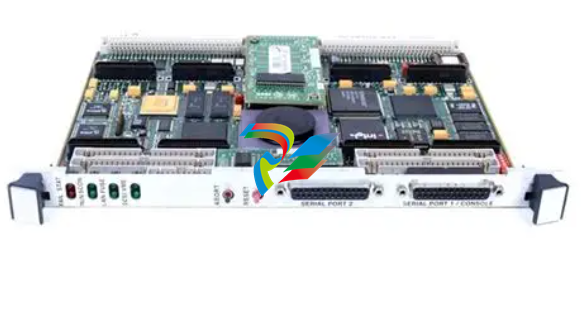
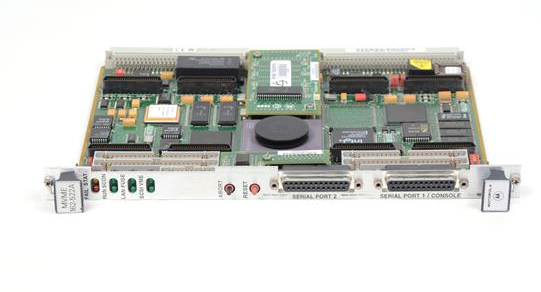
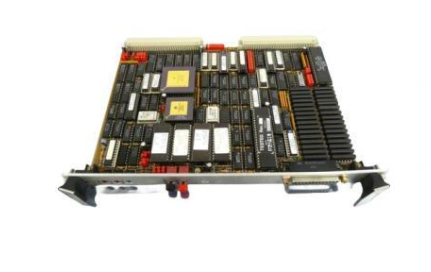
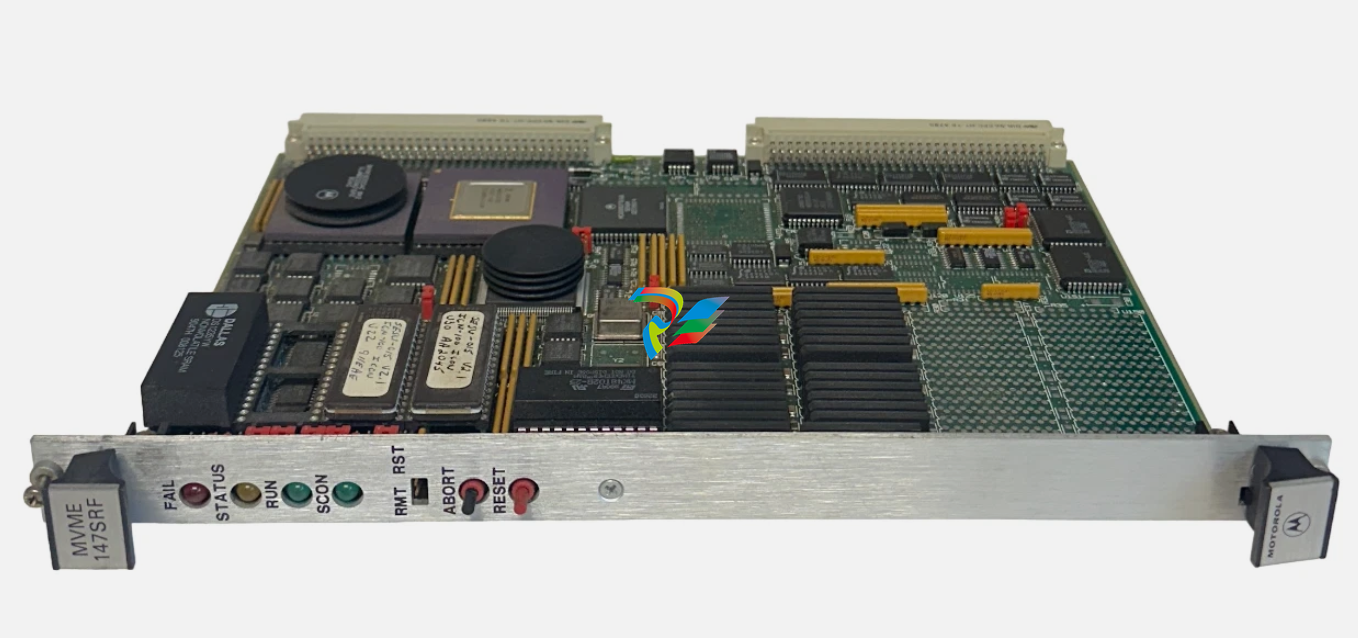 EMERSON MOTOROLA MVME-147SRF / MVME147SRF MPU VME MODULE
 -
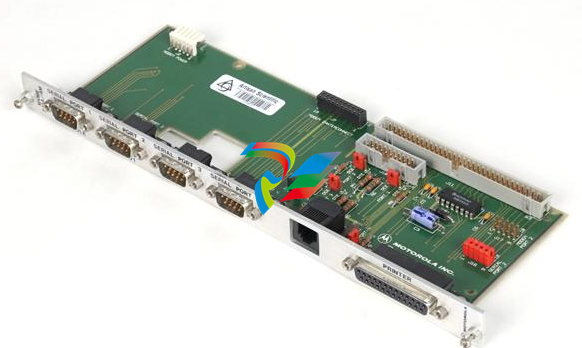
 MOTOROLA MVME705A Serial Transition Module
 -
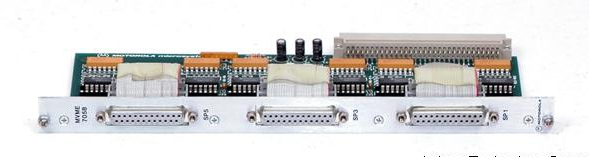 MOTOROLA MVME705B 6-Channel Serial Transition Module
 -
 MOTOROLA MVME712A MVME712AM I/O Transition Module
 -
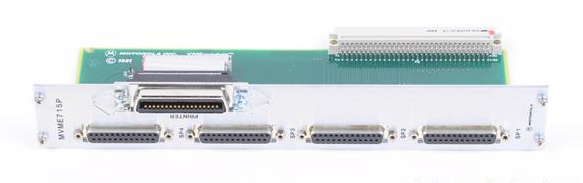 MOTOROLA MVME715P Rear Transition Module
 -
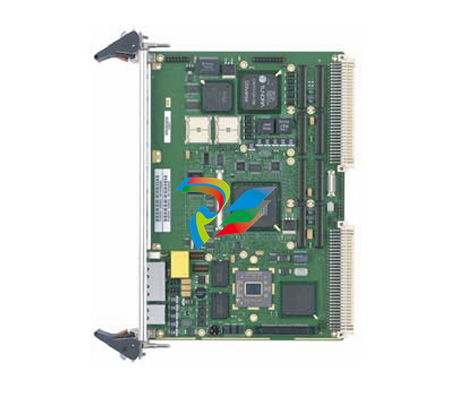
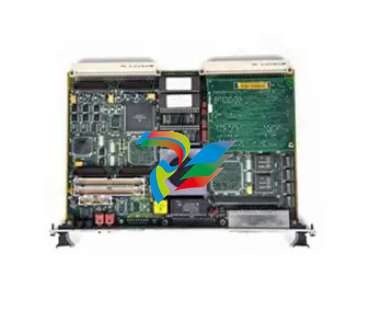
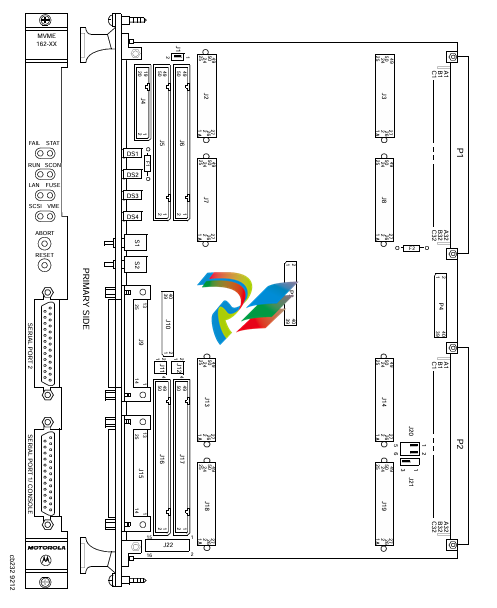
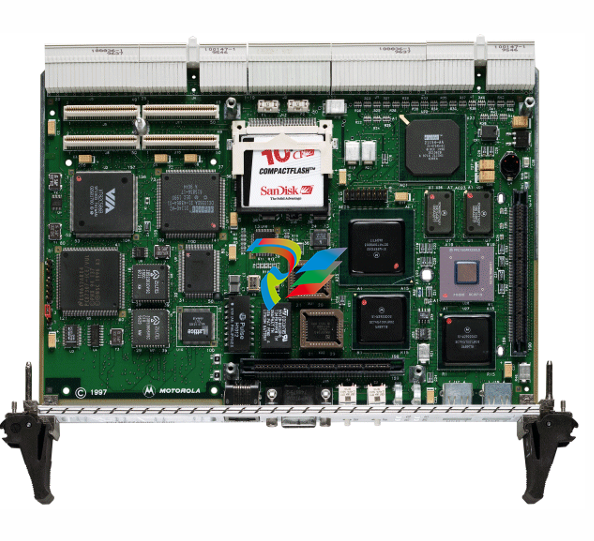
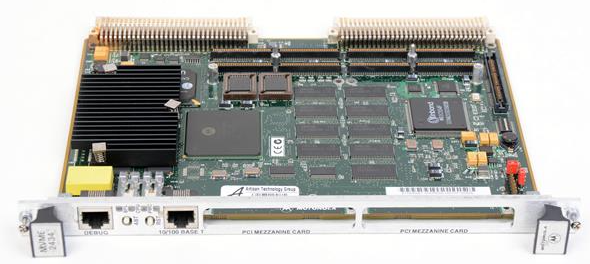
 MOTOROLA MVME172 VME Embedded Controller
 -
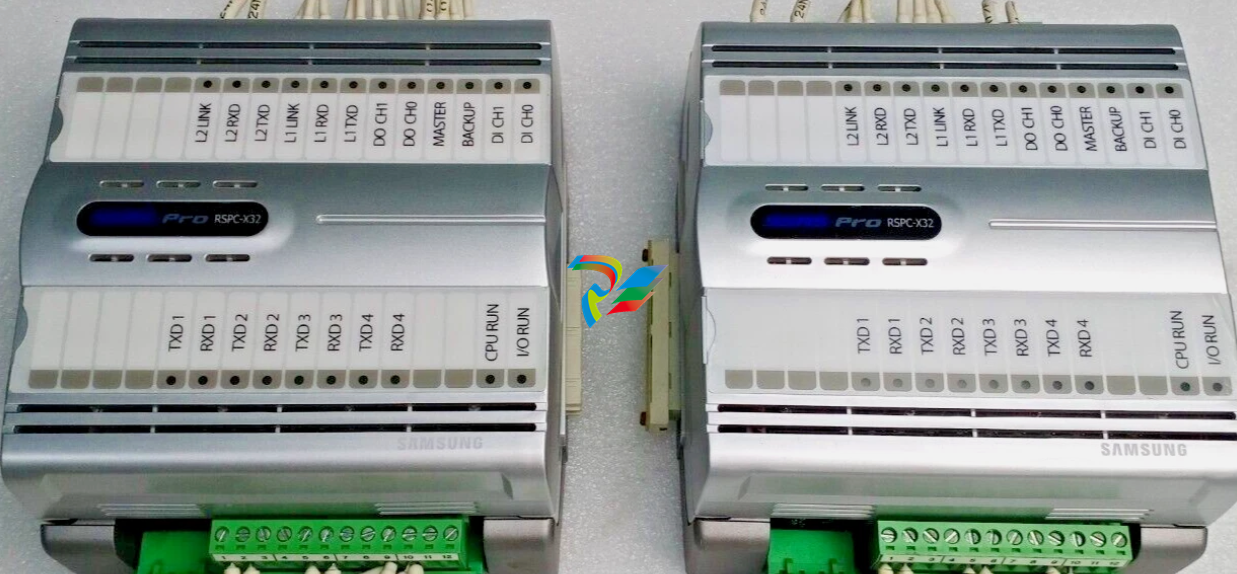 SAMSUNG SSAS-PRO RSPC-X32 ALARM AND MONITORING SYSTEM MODULE
 -
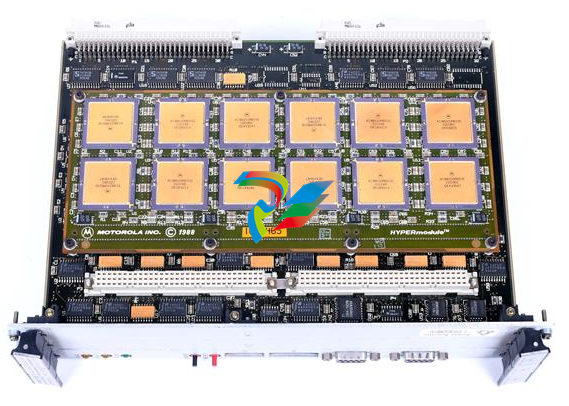
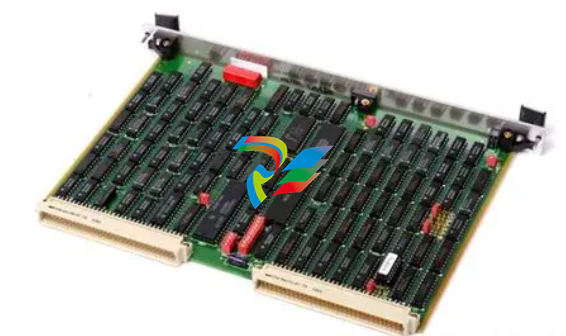
 MOTOROLA TMCP700 W33378F High-Performance Industrial Computing Module
 -
 MOTOROLA VME Single Board Computer MVME188A
 -
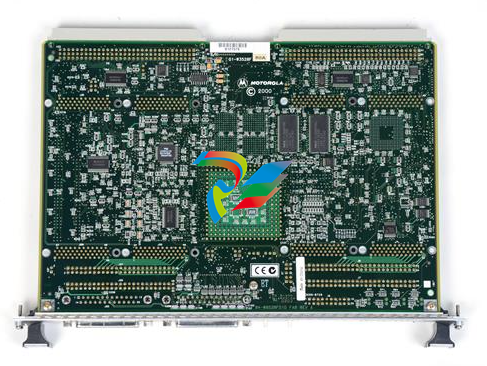 MOTOROLA MVME162PA-344 High-Performance Embedded VME Controller
 -
 MOTOROLA FAB 0340-1049 High-Efficiency Intelligent Embedded Module
 -
 MOTOROLA 30-W2960B01A High-Performance Industrial Interface Module
 -
 MOTOROLA MVME712M Transition Module.
 -
 MOTOROLA MVME5500 Series VME Single-Board
 -
 MOTOROLA MVME300 High-Reliability GPIB VMEbus Controller
 -
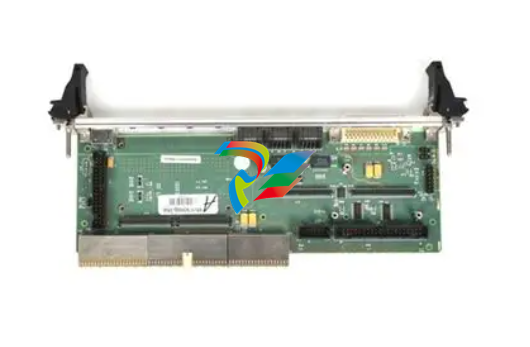 MOTOROLA CPCI-6020TM High-Performance CompactPCI Transition Module
 -
 MOTOROLA MVME162-210 Embedded Controller
 -
 MOTOROLA MVME162-522A 01-W3960B/61C Embedded Controller
 -
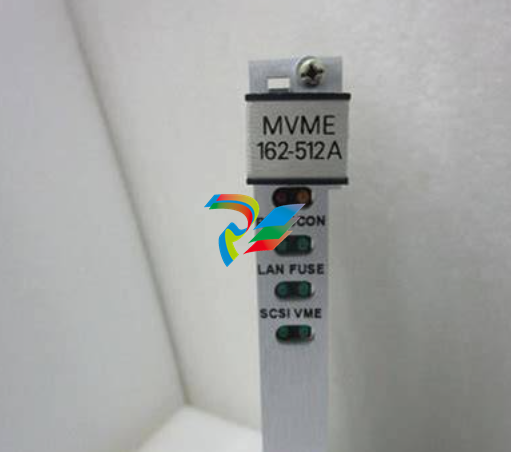 MOTOROLA MVME162-512A Embedded Controller
 -
 MOTOROLA MVME162-512 Embedded Controller
 -
 MOTOROLA MVME162-220 Embedded Controller
 -
 MOTOROLA MVME162-13 Embedded Controller
 -
 MOTOROLA MVME162-10 Embedded Controller
 -
 MOTOROLA MVME162-012 Embedded Controller
 -
 MOTOROLA MCP750 CompactPCI Host Slot Processor
 -
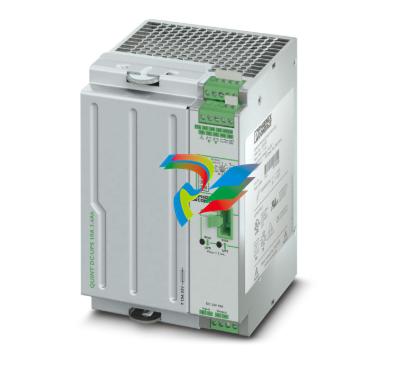 Phoenix 2320267 QUINT-UPS/ 24DC/ 24DC/10/3.4AH - Uninterruptible power supply
 -
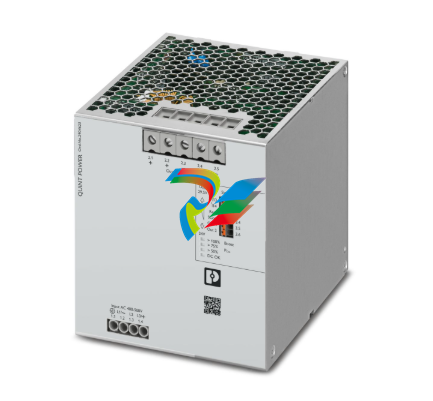 Phoenix QUINT4-PS/3AC/24DC/40 - Power supply 2904623
 -
 Phoenix 2904622 QUINT4-PS/3AC/24DC/20 - Power supply
 -
 Phoenix 2905012 QUINT-PS/96-110DC/24DC/10/CO - DC/DC converter, protective coating
 -
 Phoenix 2905011 QUINT-PS/60-72DC/24DC/10/CO - DC/DC converter, protective coating
 -
 Phoenix 2904600 QUINT4-PS/1AC/24DC/5 - Power supply
 -
 Phoenix 2904603 QUINT4-PS/1AC/24DC/40 - Power supply
 -
 Phoenix 2904601 QUINT4-PS/1AC/24DC/10 - Power supply
 -
 Phoenix 2904602 QUINT4-PS/1AC/24DC/20 - Power supply
 -
 Phoenix QUINT-PS/60-72DC/24DC/10 - DC/DC converter 2905009
 -
 Phoenix QUINT-PS/96-110DC/24DC/10 - DC/DC converter 2905010
 -
 Phoenix QUINT-PS/3AC/24DC/20/CO - Power supply, with protective coating 2320924
 -
 Phoenix QUINT-PS/1AC/12DC/20 - Power supply 2866721
 -
 Phoenix 2320908 QUINT-PS/1AC/24DC/ 5/CO - Power supply, with protective coating
 -
 Phoenix 2866213 QUINT-BUFFER/24DC/20 - Buffer module
 -
 Phoenix 2866585 QUINT-DIODE/48DC/40 - Redundancy module, with protective coating
 -
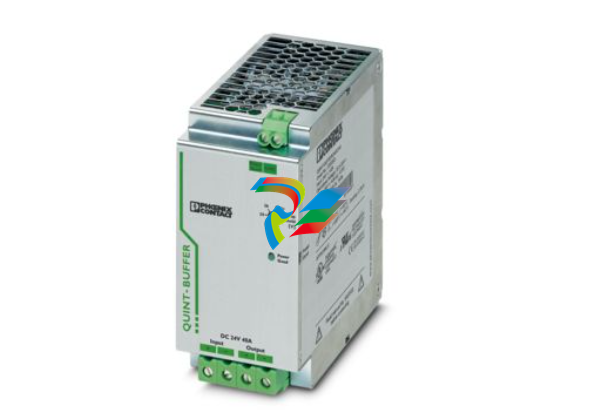 Phoenix 2320393 QUINT-BUFFER/24DC/24DC/40 - Buffer module
 -
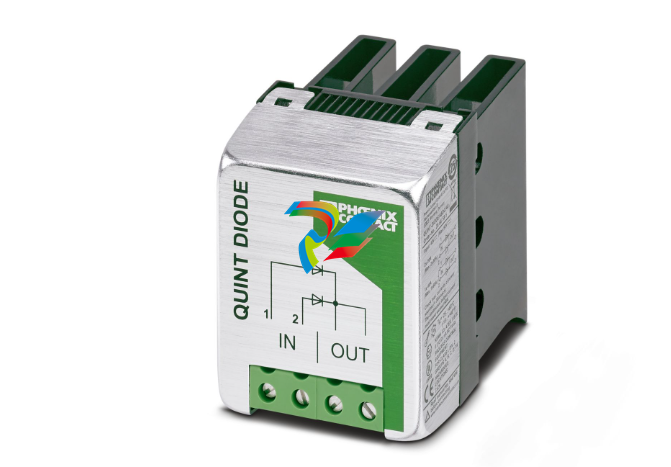
 Phoenix 2320157 QUINT-DIODE/12-24DC/2X20/1X40 - Redundancy module
 -
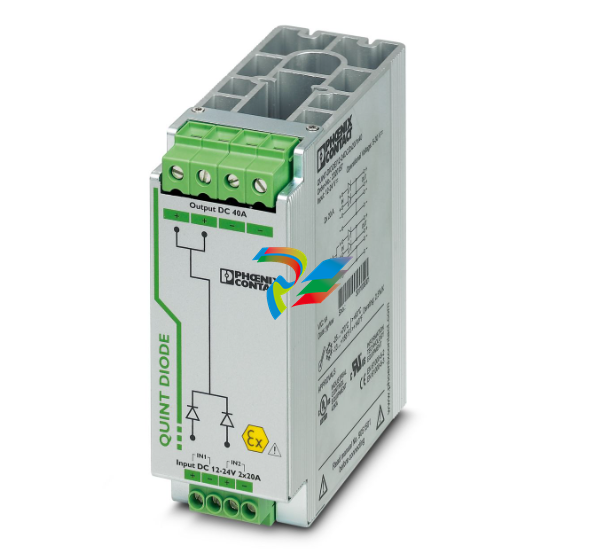
 Phoenix 2907720 QUINT4-DIODE/48DC/2X20/1X40 - Redundancy module
 -
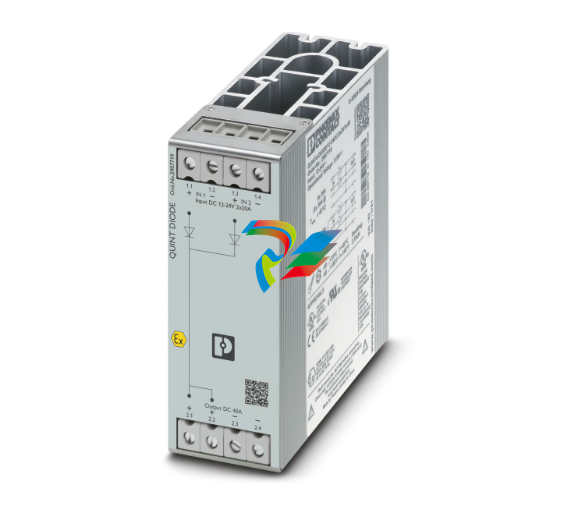 Phoenix 2907719 QUINT4-DIODE/12-24DC/2X20/1X40 - Redundancy module
 -
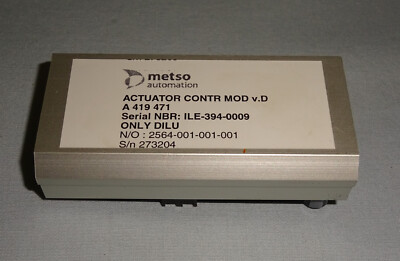 Metso A419471 High-Performance Analog Output Module
 -
 Applied Materials (AMAT) 0190-19092: High-Performance RF Match Controller Board
 -
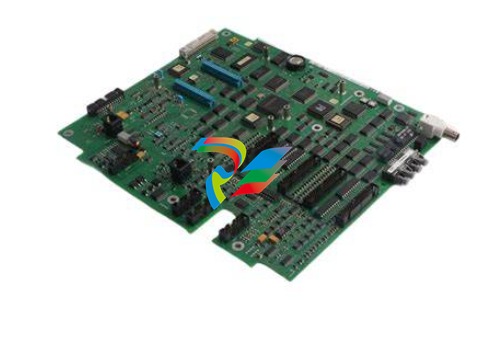 ABB UFC789AE101 3BHE014023R0101 High-Performance AC 800PEC Control Unit
 -
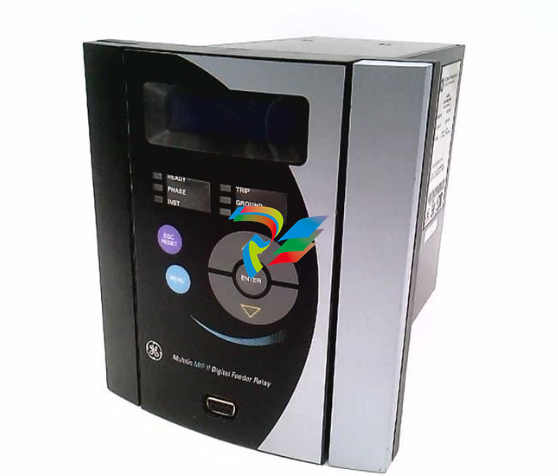 GE MIFIIPA55E20HI00 Multilin MIF II Digital Feeder Protection Relay
 -
 GE DS3815PAHB1A1A Speedtronic Mark IV Processor & Interface Board
 -
 GE DS3800NB1A Speedtronic Mark IV Power Supply / Regulator Board
 -
 GE DS3800HIOC Speedtronic Mark IV High-Level Input/Output Board
 -
 GE DS3800NHVG Speedtronic Mark IV High-Voltage Gate Driver Board
 -
 ABB 1TGE120011R1010 MC M117 KIT 24VDC CMMB+PTC
 -
 Woodward 5448-897 Current Differential Protection Relay
 -
 GE IS220PAOCH1BE Mark VIe Analog I/O Module
 -
 GE IS220PDOAH1B Mark VIe Discrete Output (PDOA) I/O Pack
 -
 ABB Feeder Protection and Control REF620E_1G NBFNAAAAAABC6BBN11G
 -
 ABB MT-91-ARCFPA High-Precision Tension Control Interface Module
 -
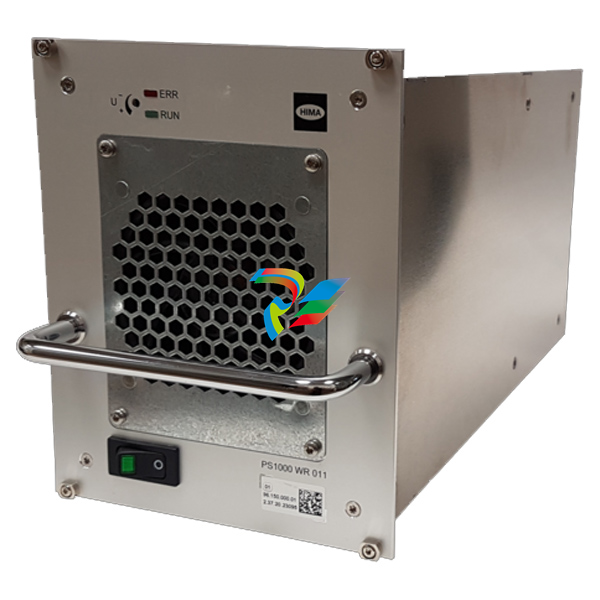 HIMA PS1000/230010 982200080 high-performance power supply module
 -
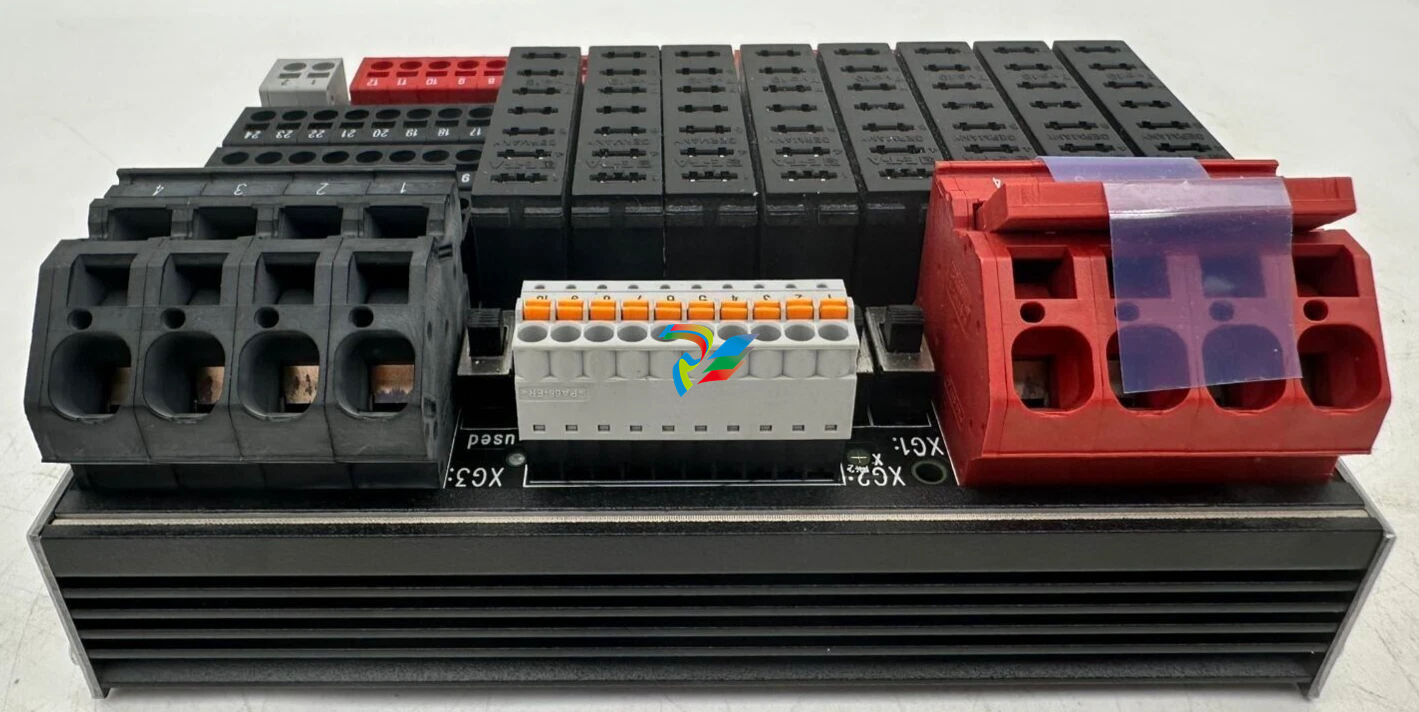 HIMA H7202 Distribution Fuse Board / Infeed Board
 -
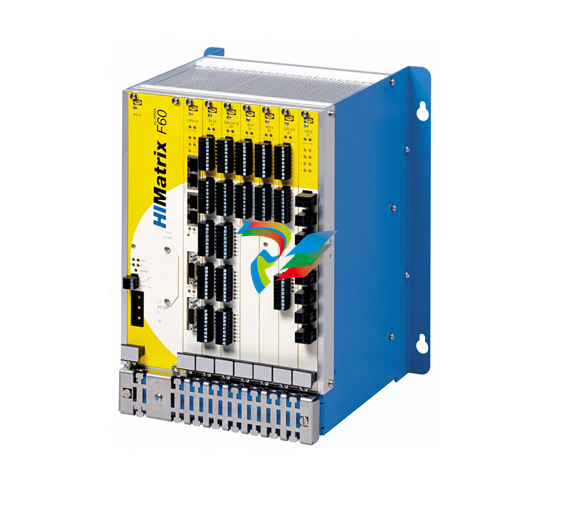
 HIMA F60DIO24/1601 Safety-Related Controller
 -
 HIMA F60DO801 Safety-Related Controller
 -
 HIMA H7201 Line fuse board
 -
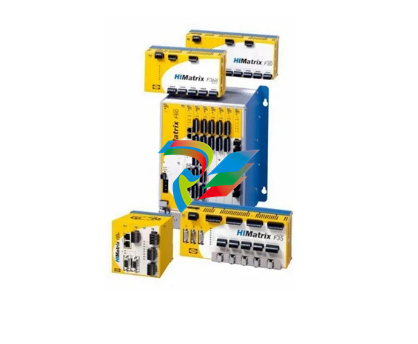
 HIMA HIMatrix ELOP II 892042336 Version V5.6 Build 1501.9810 IV1
 -
HIMA HIMatrix SILworX 504110 895400001
-
 HIMA HIMatrix SILworX 504111 895210001
 -
 HIMA OPC DA Server 892042400 Version 3.56.4
 -
 HIMA OPC Alarm & Event Server (892042420) Version 4.1.3
 -
 HIMA OPC Alarm & Event Server (892042420) Version 4.0.5
 -
 Phoenix QUINT-DIODE/12-24DC/2x20/1x40 2320157 Redundancy module
 -
 Phoenix QUINT-PS/1AC/24DC/40 2866789 Power supply
 -
 Moore SIY/PRG/4-20MA/10-42DC SIY PC Programmable Signal Isolator and Converter
 -
.png) Motorola 01-W3394F-03F Communication Interface Module
Motorola 01-W3394F-03F Communication Interface Module -
 Motorola AP-4 256 MByte 01-W3839F-07A Communication Module
 -
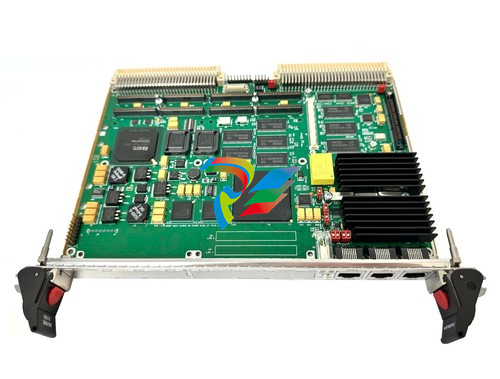
MOTOROLA MVME2432 01-W3394F-03C VME Processor Module
-
 MOTOROLA PCE I 01-W3839F-07A VME Processor Module
 -
.png) Motorola HPR431 / SYS431 / SYS443 / MFT543 Component Assembly
Motorola HPR431 / SYS431 / SYS443 / MFT543 Component Assembly -
Motorola AP-4 01-W3394F-03G Communication Interface Module
-
 Emerson 01-W3878F-02D DeltaV M-Series I/O Module
 -
 ICS Triplex Trusted T8232 Power Pack Module
 -
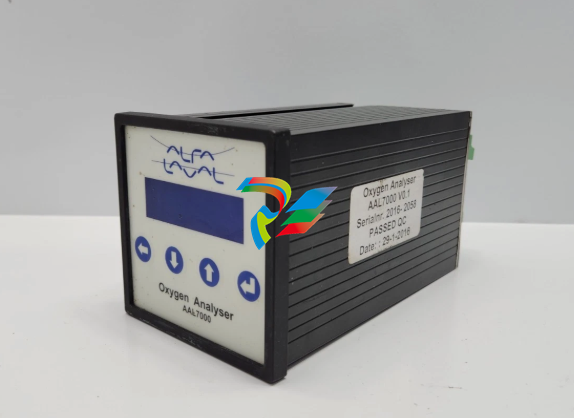 ALFA LAVAL AAL7000 OXYGEN ANALYSER V0.1
 -
Alstom MPM123 Measurement and Protection Module
-
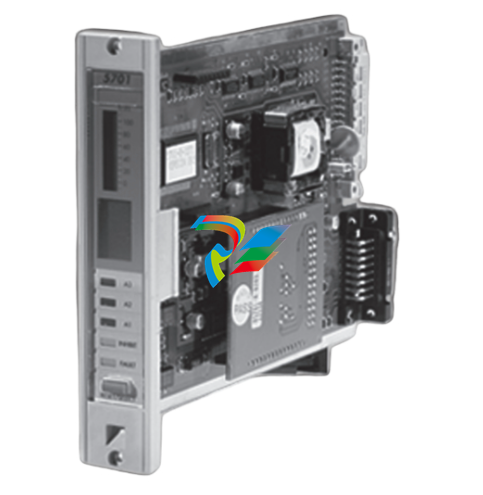 Honeywell 5701 CONTROL SYSTEM
 -
.png) KONGSBERG MRU-E-JB1 Host machine
KONGSBERG MRU-E-JB1 Host machine -
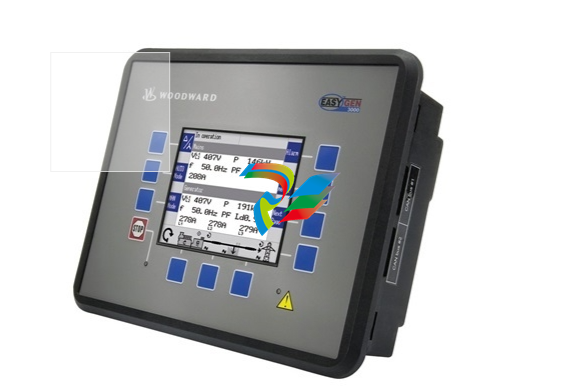 Woodward easYgen-3200-1/P1 8440-2049
 -
 Woodward easYPROTEC-1410-7 8441-1161 8441-1160
 -
 Woodward MFR300-71M/K45 8444-1111 8444-1112
 -
 Woodward MFR300-75M 8444-1107 8444-1108 8444-1109
 -
 Woodward MFR300-71M/K42 8444-1104
 -
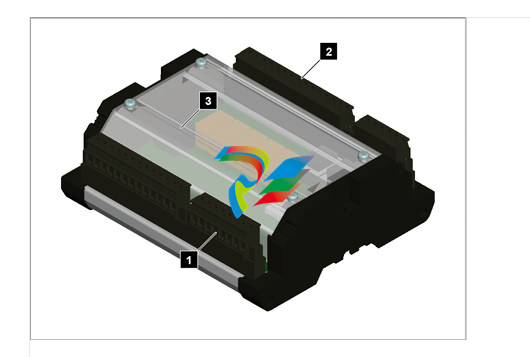
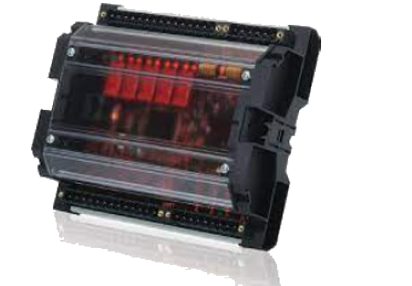
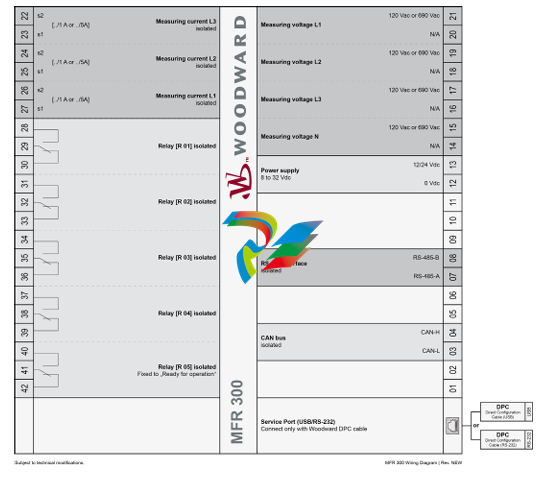
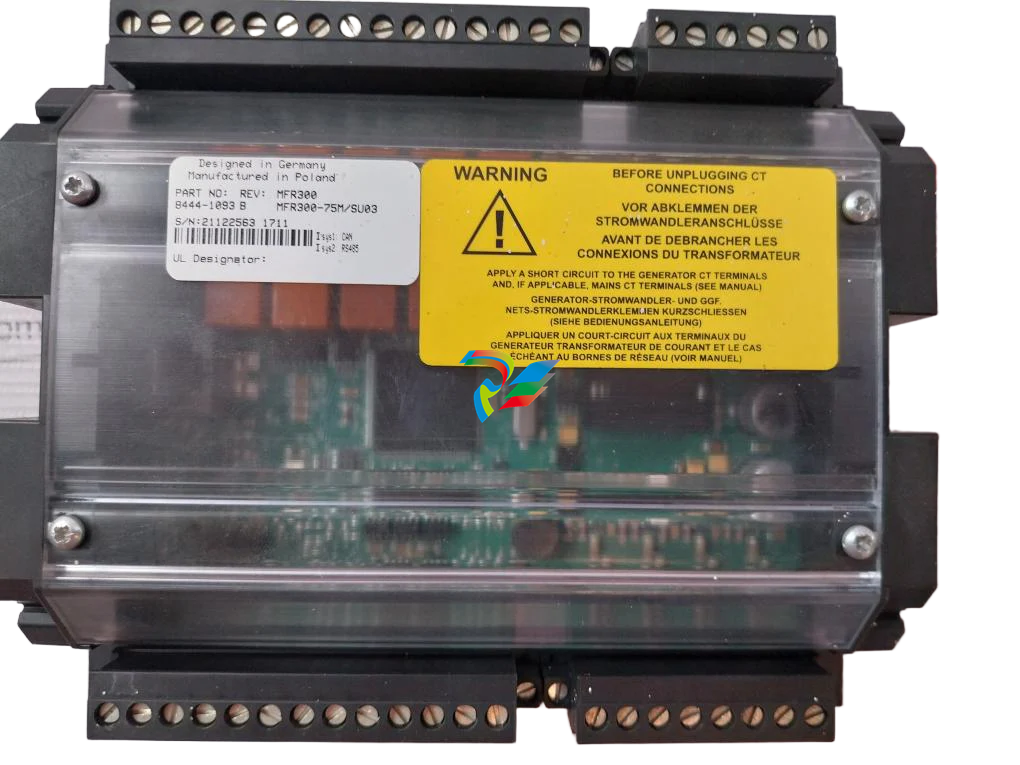 Woodward MFR300 75M/SU03, Transducer 8444-1093 8444-1094 8444-1095
 -
 Woodward MFR300-71M 8444-1091 8444-1092
 -
Woodward MFR300-15M 8444-1090 8444-1089
-
 Woodward MFR300-11M 8444-1071 8440-1089
 -
 Woodward MFR500-6M/WK0400 + DPC USB 8444-1070
 -
 Woodward MFR300-15M 8444-1064
 -
Woodward SPM-D2-1040B/NYB 8440-2189
-
Woodward SPM-D2-1010B/NYB 8440-2177
-
 Woodward SPM-D2-10B/PSY5-FU-D 8440-2170
 -
 Woodward SPM-D2-1040B/XN analog speed/voltage bias 8440-2190
 -
Woodward MFR300-71M 8444-1063
-
SPM-D2-1010B/X analog speed/voltage bias 8440-2168
-
 Woodward SPM-D2-1040B/X analog speed/voltage bias 8440-2171
 -
 Woodward SPM-D2-1010B/N wide range power supply 8440-2174
 -
Woodward SPM-D2-1040B/N wide range power supply 8440-2175
-
 Woodward SPM-D2-1010B /110VAC sensing 8440-2166
 -
Woodward SPM-D2-1040B /400VAC sensing 8440-2164
-
 Woodward DTSC-200A 8440-2297
 -
 Woodward DTSC-200-55B/K38 8440-2155
 -
Woodward DTSC-200-51B 8440-1867 8440-1868
-
 Woodward 8445-1049 8445-1048 Converter, 1x FO to CAN
 -
 Woodward easYlite-200 8446-1007 LED Lamp Expansion Module
 -
 Woodward IKD-OUT-16 16 DO Expansion Card 8440-2306
 -
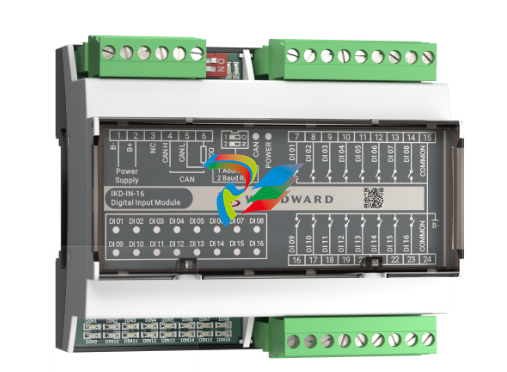 Woodward IKD-IN-16 16 DI Expansion Card 8440-2307
 -
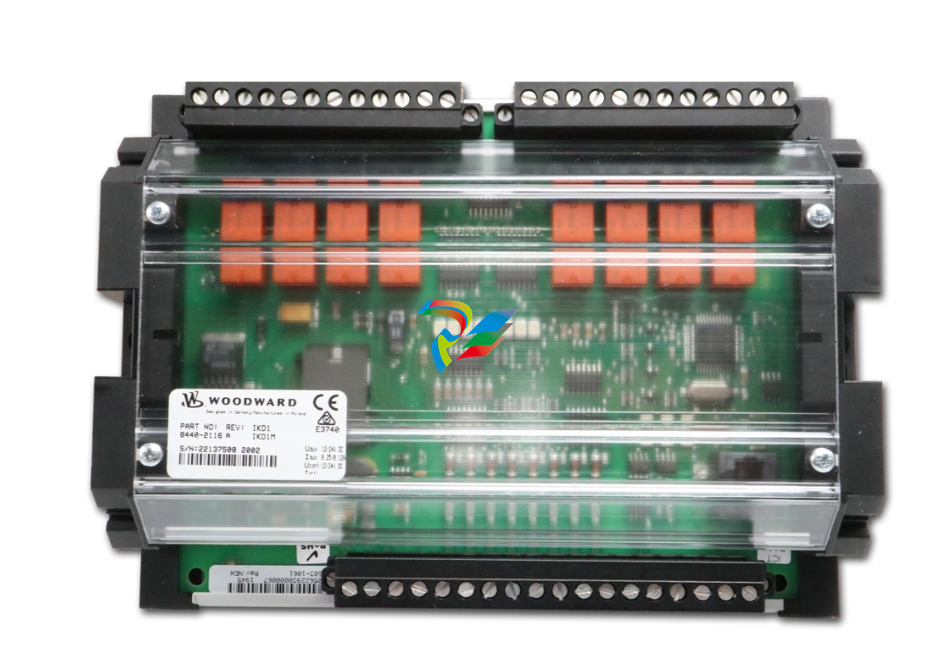 Woodward IKD1M 8 DI/8 DO Expansion Card 8440-2116
 -
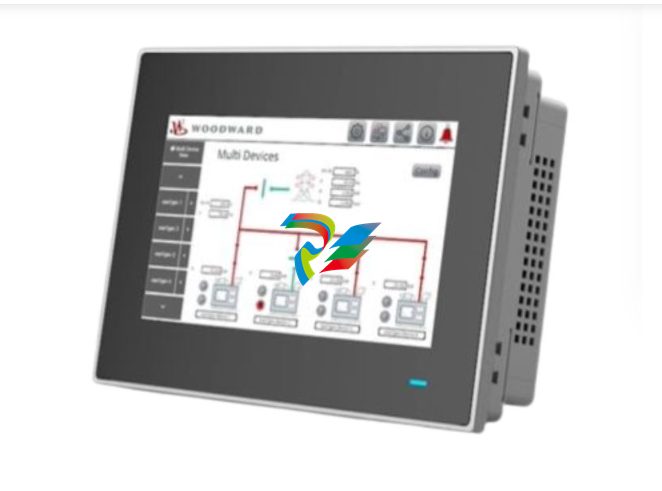 Woodward easYview-07-30 8446-1071
 -
 Woodward easYFLEX-3400XT-P2 (GAP) 8440-2217
 -
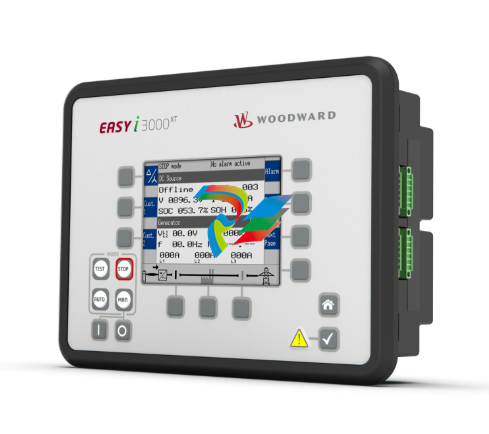
Woodward easY-I-3400XT-P1 8440-2293
-
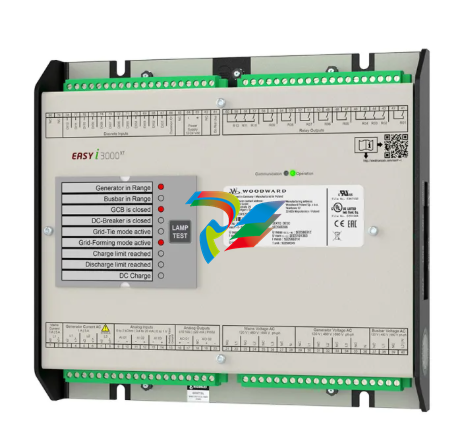 Woodward easY-I-3500XT-P1 8440-2292
 -
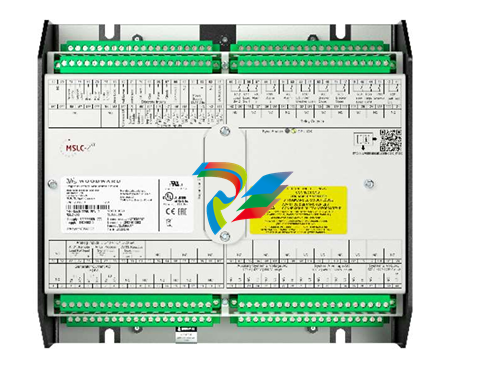 Woodward MSLC-2XT 8440-2298 Master Synchronizer and Load Control
 -
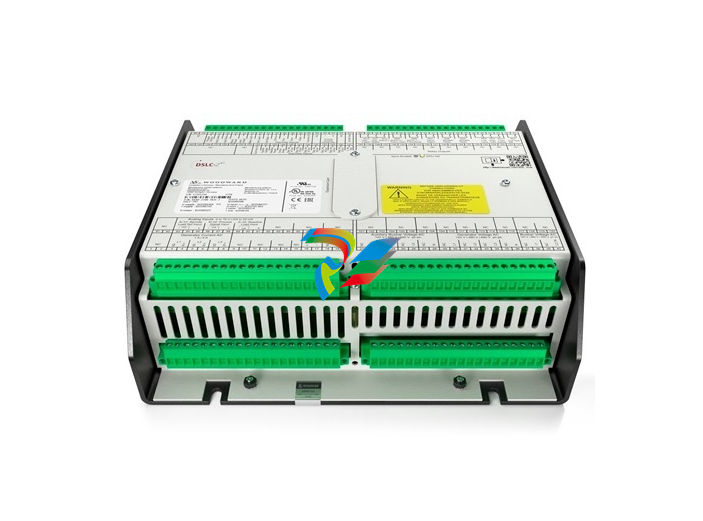 Woodward DSLC-2XT 8440-2299 Digital Synchronizer and Load Control
 -
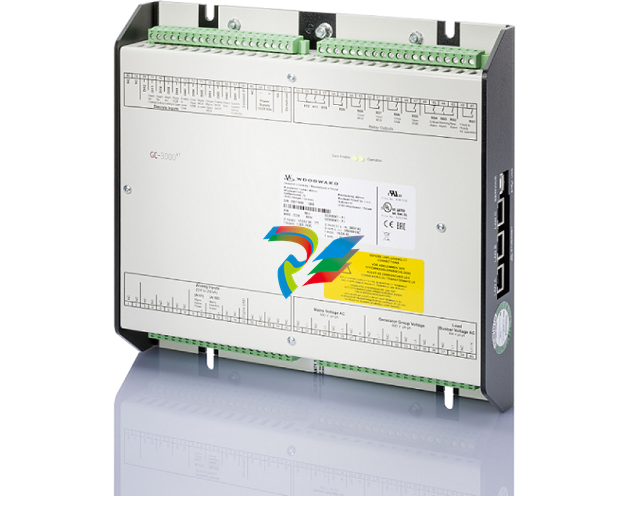 Woodward: GC-3400XT-P1 8440-2267 Group Controller
 -
 Woodward: LS-612XT-P2 8440-2317
 -
 Woodward: CONTROL-LS-612XT-P1,8440-2222 Cabinet back mounting