
IBA ibaPADU-D-8AI-I Compact Measurement Modules
IBA ibaPADU-D-8AI-I Compact Measurement Modules
Configuration with ibaPDA
First steps for the configuration in ibaPDA
With the following instructions, you integrate the ibaBM-ENetIP device stepwise as a
sniffer in ibaPDA and configure the measurement signals.
1. Connect the device to a voltage source and switch on the device (see chapter 7.3.2).
2. Establish a FO connection between the TX connector of the device and a free RX
input of an ibaFOB-D card as well as a FO connection between the RX connector
and a free TX output of the ibaFOB-D card. The TX/RX connectors of the ibaFOB-D
card belong together in pairs, i.e. you cannot use just any free TX/RX connectors.
Dark grey FO connectors are receiving RX inputs
Light grey FO connectors are sending TX outputs
3. Start the ibaPDA client and open the I/O Manager .
4. On the left-hand side in the I/O Manager, the available system interfaces are dis
played. Choose the desired ibaFOB-D card and mark the link, ibaBM-ENetIP is con
nected to.
Click with the right mouse button on the link and select "Autodetect". The device is
identified automatically and shown in the module tree. Depending on the Flex ad
dress (switch S2), the device appears at the respective address position 1-15.
Optionally, you can also add the device manually. In this case select "Add module -
ibaBM-ENetIP" in the context menu.
According to the selected Flex address (switch S2), the device has to be dragged to
the correct address position using drag & drop.
7. Please define on the "General" tab the parameters of ibaBM-ENetIP. The following
parameters are important:
▪ Name:
Assign a meaningful name to the connected device.
▪ Timebase: Select a timebase for data acquisition in ibaPDA.
Add a module under the ibaBM-ENetIP device. Click with the right mouse-button on
the ibaBM-ENetIP device and select "Add module" and the module "EtherNet/IP
sniffer“ from the list.
Now, enter under the module on the “General” tab the source IP address and the
destination IP address as well as the “No analog signals“ and “No digital signals“.
The default setting is 32; a maximum of 1024 analog and 1024 digital signals can be
assigned per module. This value determines the length of the signal tables on the
“Analog“ and “Digital“ tabs.
Enter on the “Analog“ tab the signals you want to acquire in sequential order. Assign
a name to each signal (“Name“ column) and define in the “Address“ and “Data type“
columns the information about where to find the signal on the interface of the device.
By clicking on the header of a column, all the settings in the rows below are filled in au
tomatically.
| SYN5201A-Z,V271 3BHB006714R0271 Synchronizing and Paralleling Equipment and Systems |
| MDX60A1100-503-4-00 Servo driver |
| V7768-312001 350-9301007768-312001-A0 V7768 VME SBC |
| AO2020-URAS26 Integrated Analyzer System |
| PXIE-4309 784471-01 PXI Analog Input Module |
| PFVL141C-60MN 3BSX670292D0064 Roll Force load cells |
| PXIE-5433 785117-01 2-channelWaveform Generator |
| KSD211A101 Power input coupling module |
| CM10/00MU1E0/STD Process controller |
| 9907-995 LQ25 Liquid control valve |
| 51196895-100 TDC 3000 Power module |
| APEX6154 Servo Controller / Drive |
| CACR-SR30BE12G-E BE Series AC Drives |
| AT-GS948MX-50 Layer 3 Managed Gigabit Ethernet Stackable Switches |
| 1732E-8CFGM8R ArmorBlock Guard I/O Ethernet Safety module |
| G772k240A MOOG Servo control valve |
| G771K208A MOOG Servo control valve |
| AX410/100010/STD Single and dual input analyzers |
| SS4302T03 KL3322X1-BA1 DeltaV鈩?LS DI 24 VDC Low-Side Sense |
| PCIE-5565PIORG Reflective Memory Node Card |
| 07CR41-S3.9 1SBP260020R1001 Advant Controller Basic Unit 24VDC |
| MPC4 200-510-SSS-1Hh machinery protection card |
| MMS3210/020-020 Dual-channel shaft displacement measuring module |
| HCIX15-TE-FD-NC Honeywell Control Interface |
| 15i-2-FMO High Brightness Display |
Example:
If you want to configure another data type, beginning with a specific row, then change
the data type in the first concerned row. Now, click on the “Data type“ header. In all the
rows below, the data type is changed automatically.
If you want to have calculated the addresses automatically depending on the selected
data type: Configure the correct address in the first row (usually 0) and then click on the
“Address“ header. Now, considering the selected data types, the addresses are filled in
automatically in sequential order. Similar functions are also available for the other col
umns.
Thus, the project effort can be reduced.
. If required, select a scaling value of the signals in the “Gain“ and “Offset“ columns if
required, for converting the signals into physical units.
12. For the digital signals on the “Digital“ tab, proceed as described above. A data type
is not defined. The address offset is given in 1-Byte-steps. The individual signals are
addressed via the bit numbers 0 to 7.
| User name | Member Level | Quantity | Specification | Purchase Date |
|---|


-
 Hirschmann Industrial Ethernet Rail Switch RS20 Basic Family
 -
 GE Grid Solutions P40U Px40 USB Adaptor
 -
 ABB ontinuous Gas Analyzers AO2000 Series AO2040CU Ex Central Unit in Category 2G
 -
 ABB Advance Optima AO2000 Series Continuous gas analyzers Models AO2020. AO2040
 -
 Advance Optima Module Uras 14
 -
 SAACKE control optimization
 -
 SAACKE se@vis efficiency monitor
 -
 SAACKE se@vis pro
 -
 SAACKE se@vis eco
 -
 SAACKE se@vis compact
 -
 HIRSCHMANN Industrial ETHERNET Switch MICE MS20/MS30
 -
 HIRSCHMANN MICE Media modules
 -
 Kongsberg GL-10 Level Switch
 -
 B&R ACOPOSinverter P74 frequency converter
 -
 Beckhoff CX2020 | Basic CPU module (service phase)
 -
 Beckhoff CX1010 | Basic CPU module (service phase)
 -
 Beckhoff CX5120 | Embedded PC with Intel Atom® E3815
 -
 Beckhoff CP69xx-xxxx-0010 | Economy built-in Control Panel with DVI/USB Extended interface
 -
 Beckhoff CP29xx-0000 | Multi-touch built-in Control Panel with DVI/USB Extended interface
 -
 SAACKE Monoblock Rotary Cup Burner SKVJ-M
 -
 ABB Plantguard Fault Tolerant Technology Architecture and Software
 -
 OMRON H8PR-8/H8PR-8P H8PR-16/H8PR-16P H8PR-24/H8PR-24P Rotary Positioner
 -
 ABB PFSA107-Z42 DTU Stressometer Digital Transmission Unit
 -
 Nidec Mentor MP
 -
 IBA ibaNet-E
 -
 IBA FO Connection to Reflective Memory
 -
 IBA FO Connection to Siemens Systems
 -
 IBA Interface Cards For Fiber Optic Connections
 -
 IBA Field and Drive Buses
 -
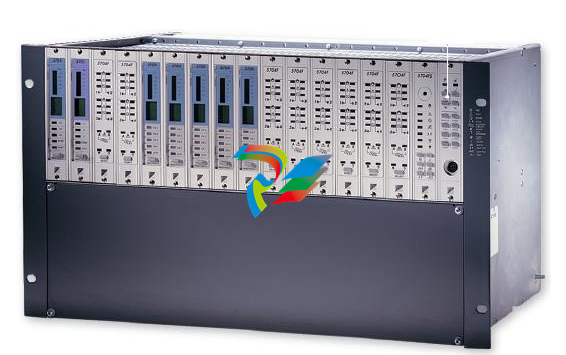
 IBA ibaPADU-S Modular System
 -
 IBA ibaMAQS
 -
 STUCKE SYMAP®ARC
 -
 STUCKE SYMAP®R
 -
 STUCKE SYMAP®Compact
 -
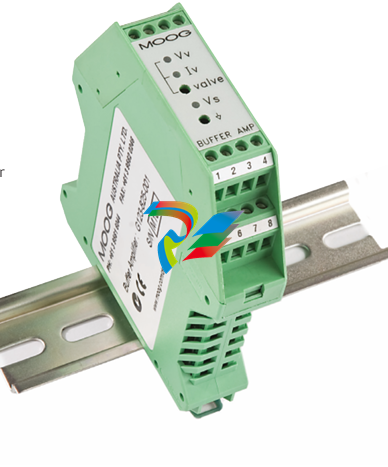 MOOG G123-825-001 BUFFER AMPLIFIER
 -
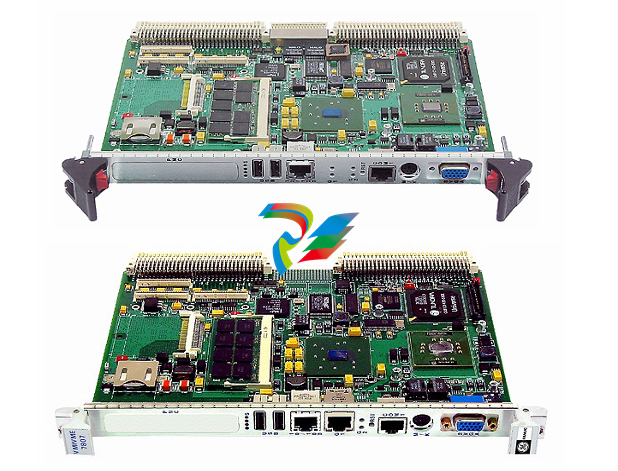
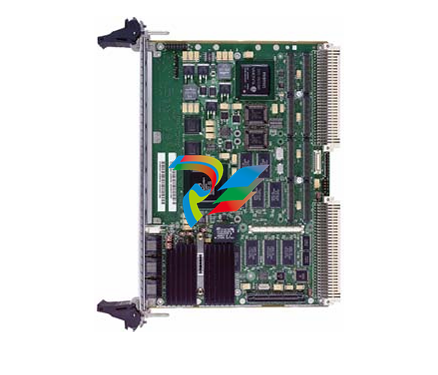 Motorola MVME5100 Series VME Processor Modules
 -
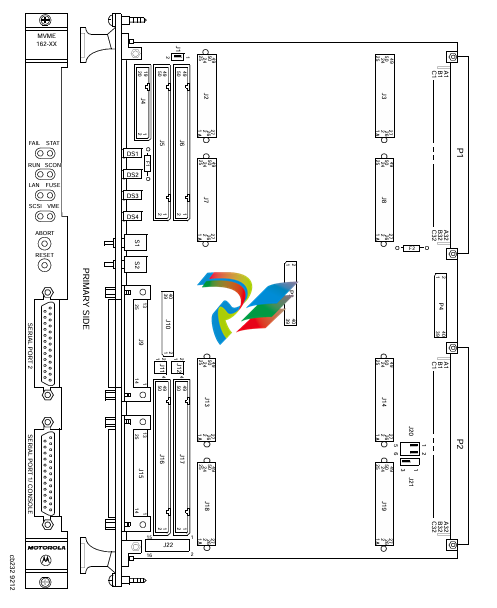 Motorola MVME162 Embedded Controller
 -
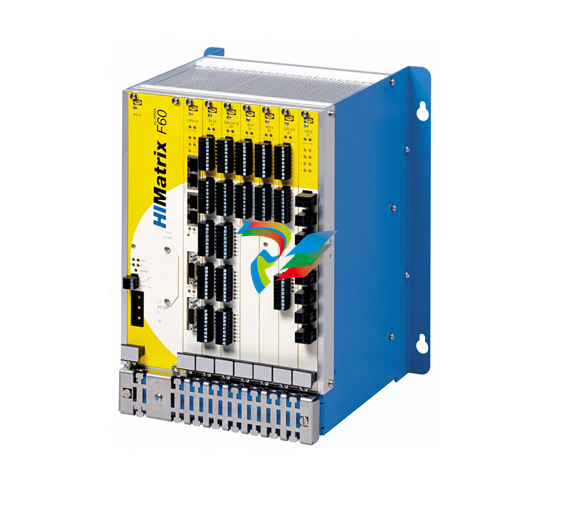 HIMatrix Safety-Related Controller System Manual for the Modular Systems
 -
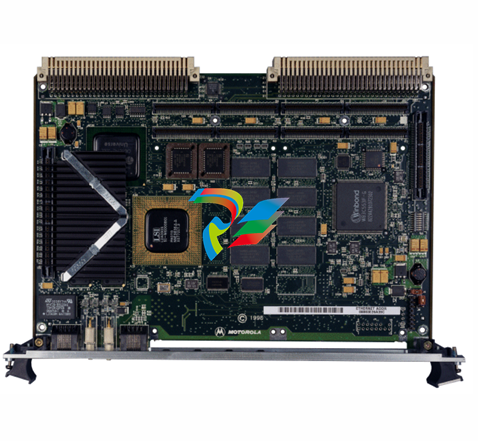 Motorola MVME2400 Series VME Processor Module
 -
 Sieger System 57
 -
 KONGSBERG MRU product line continuation
 -
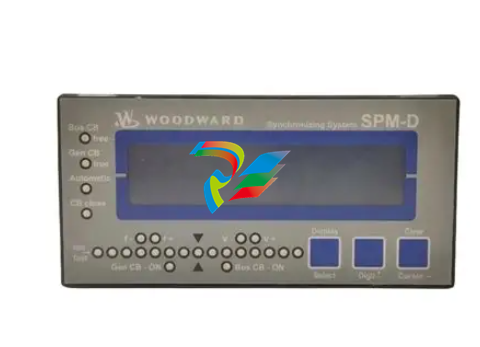
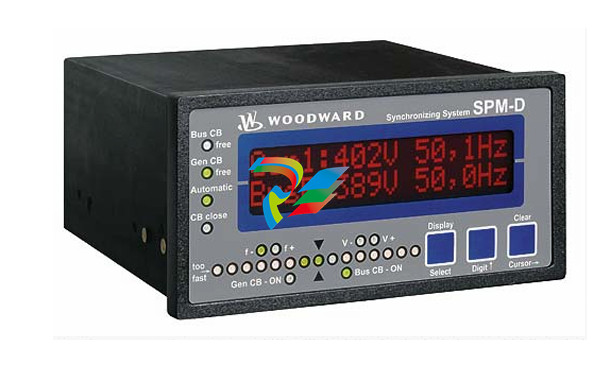
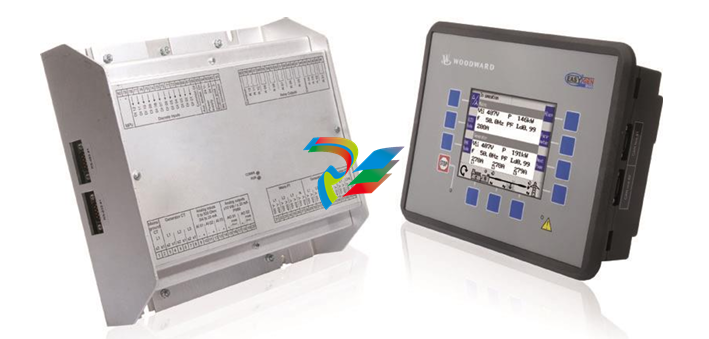 Woodward easYgen-3100/3200 Genset Control for Multiple Unit Operation
 -
 Woodward MFR 300 Multifunction Relay / Measuring
 -
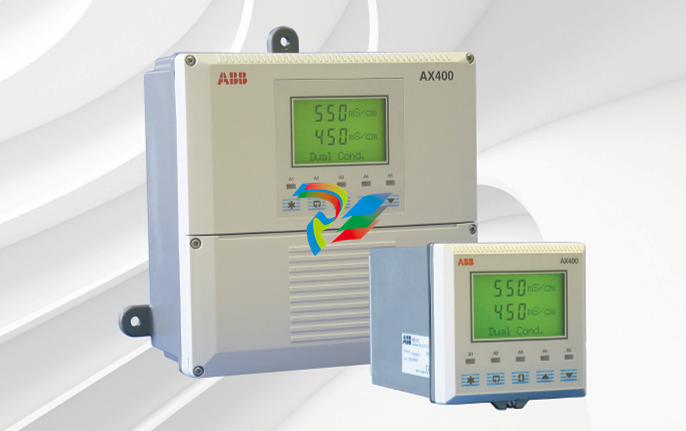 ABB AX410, AX411, AX413, AX416, AX418, AX450, AX455 and AX456 Single and dual input analyzers for low level conductivity
 -
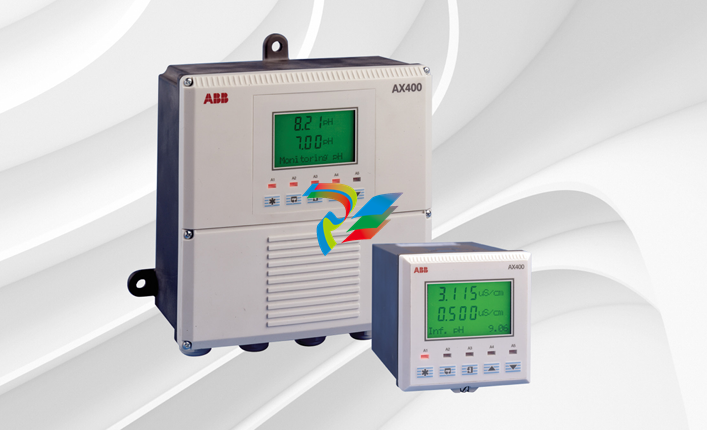 ABB AX410, AX411, AX416, AX450 and AX455 Single and dual input analyzers
 -
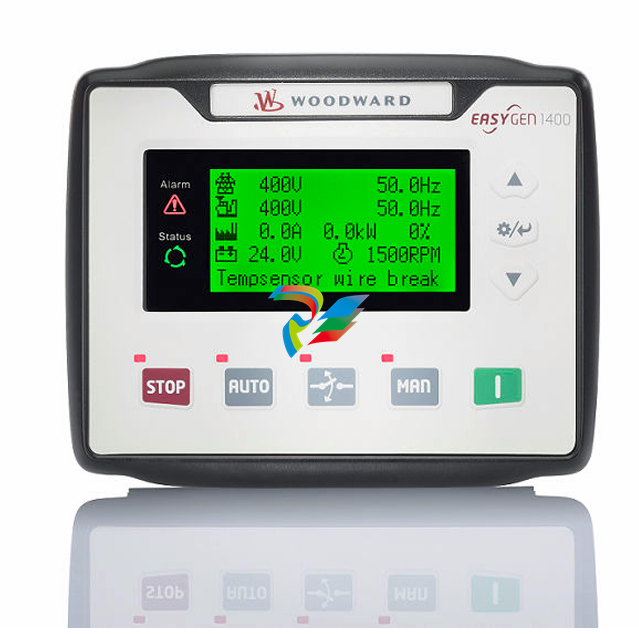 Woodward easYgen-1400 Technical Manual Genset Control
 -
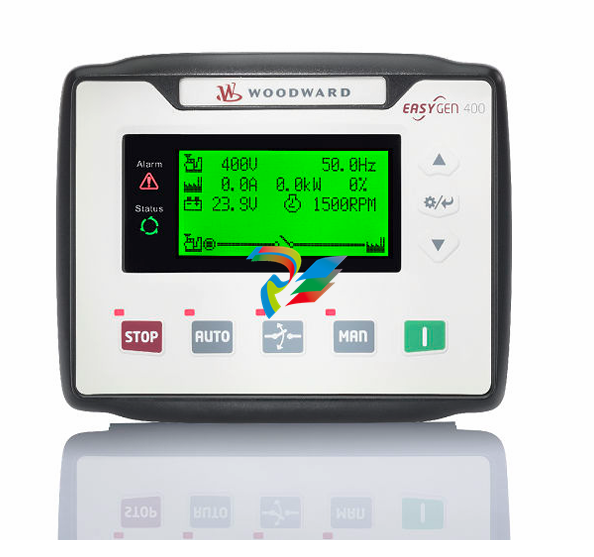 Woodward easYgen-400 Operation Manual Genset Control
 -
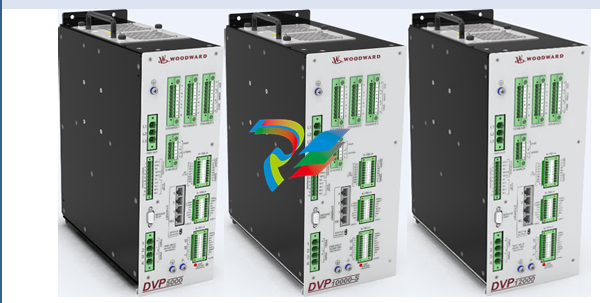 Woodward High Output Digital Valve Positioner (DVP)DVP5000/DVP10000/DVP12000
 -
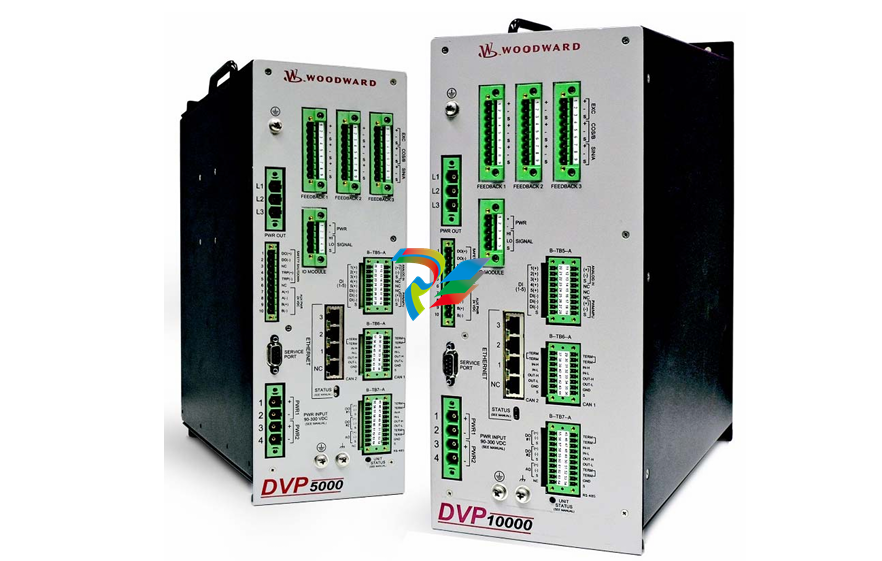 Woodward High Output Digital Valve Positioner DVP5000 and DVP10000
 -
 Woodward TG611-13/-17 Overspeed Test Device Conversion Kit
 -
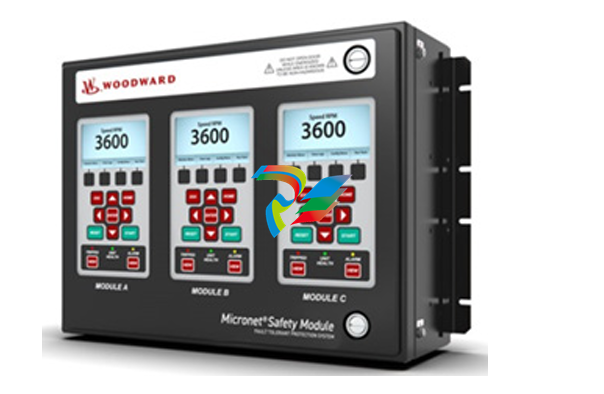 Woodward MicroNet Safety Module (MSM)
 -
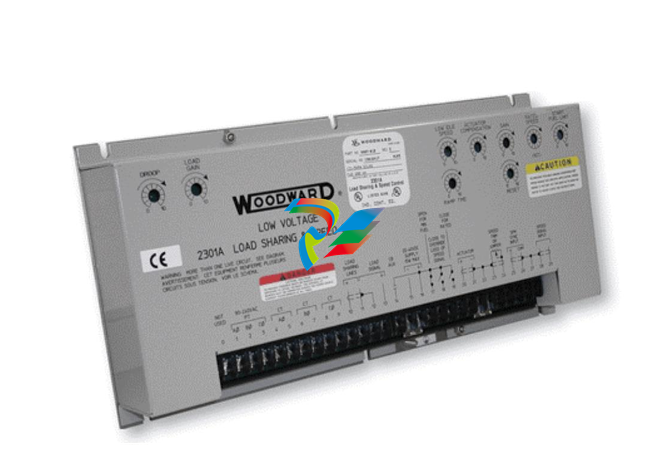 Woodward 2301A Electronic Load Sharing and Speed Control 9905/9907 Series
 -
 Woodward-Service Bulletin 01671
 -
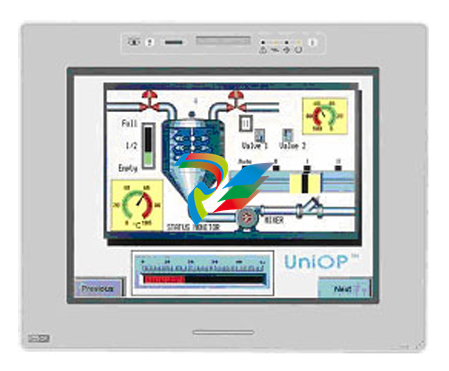
 UniOP eTOP40B 12.1” TFT color display
 -
 UniOP eTOP40 TFT Color display
 -
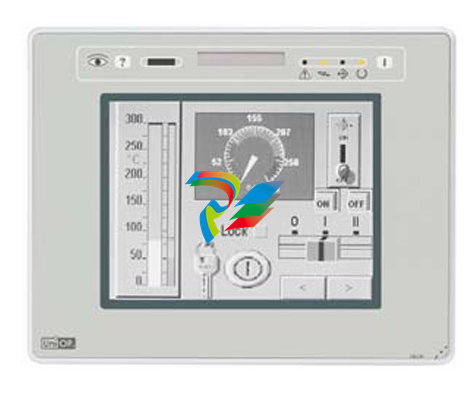
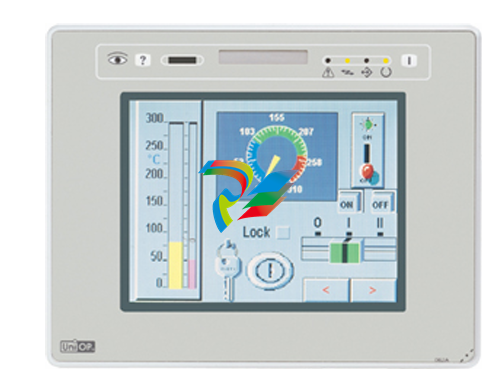
 UniOP eTOP33B 10.4” TFT color display
 -
 UniOP eTOP33C eTOP33-0050 Resistive touchscreen
 -
UniOP eTOP30. eTOP32 eTOP32-0050 Human-machine interface equipment
-
 UniOP eTOP20B and eTOP21B eTOP20B-0050
 -
 UniOP eTOP12 eTOP12-0050 Advanced human-machine interface equipment
 -
 UniOP eTOP11 eTOP11-0050 HMI
 -
 UniOP eTOP06C HMI
 -
 UniOP eTOP06 HMI
 -
 UniOP eTOP05EB eTOP05EB-DF45 HMI
 -
 UniOP eTOP05. eTOP05P Human-machine interface equipment
 -
 UniOP eTOP03 eTOP03-0046
 -
 UniOP eTOP507 507U2P1 eTOP Series 500 Human-Machine Interface
 -
 UniOP eTOP307
 -
 UniOP ETT-VGA Human-machine interface touch unit
 -
 UniOP ePAD32B, ePAD33B and ePAD33BT ePAD33B-0350
 -
 UniOP ePAD05 and ePAD06
 -
 UniOP CP02R-04 Human-machine interface
 -
 UniOP ERT-16 - Industrial PLC Workstation
 -
 UniOP ePAD03 and ePAD04
 -
 UNIOP EPALM10-DA71 state-of-the-art handheld HMI
 -
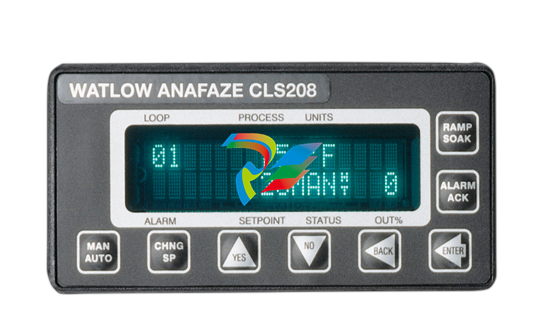 Watlow SERIES CLS200 SPECIFICATION SHEET
 -
 Detailed Explanation of B&R Power Panel 300/400: The Core of Industrial Automation Control
 -
 YOKOGAWA Models ANB10S, ANB10D, ANR10S, ANR10D Node Units (for FIO)
 -
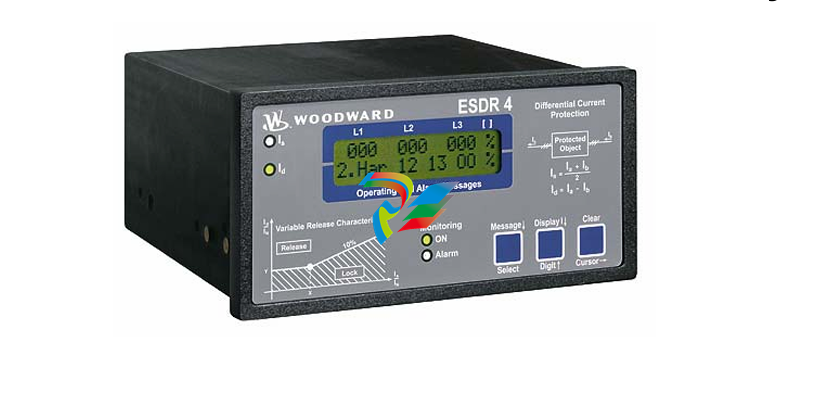 Woodward ESDR 4 Current Differential Protection Relay
 -
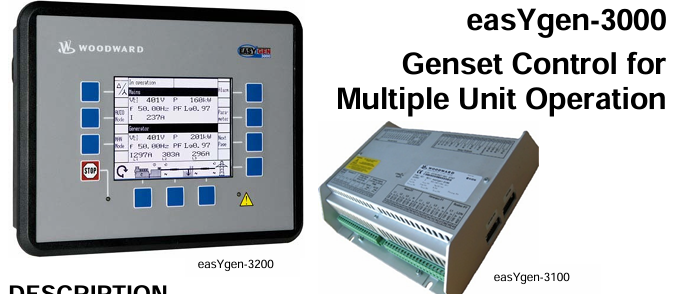 Woodward easYgen-3000 Genset Control for
 -
 Woodward CPC-II Current-to-Pressure Converter
 -
 Woodward 8290-189-EPG-installation-manual 8290-044
 -
 Woodward Product Change Notification 06946A
 -
 Woodward Product Change Notification 06912
 -
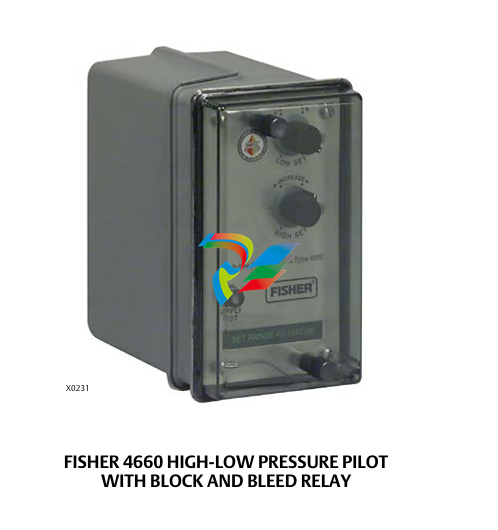 Fisher™ 4660 High-Low Pressure Pilot
 -
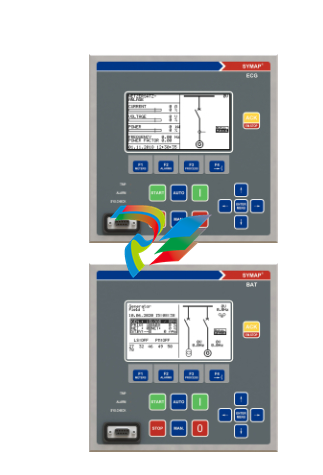 Flexible digital protection and control equipment SYMAP®
 -
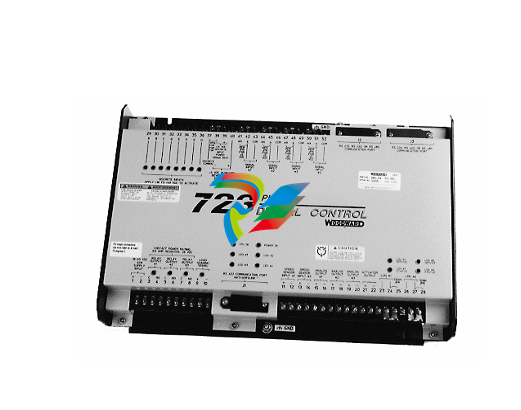 Woodward 723PLUS Digital Control
 -
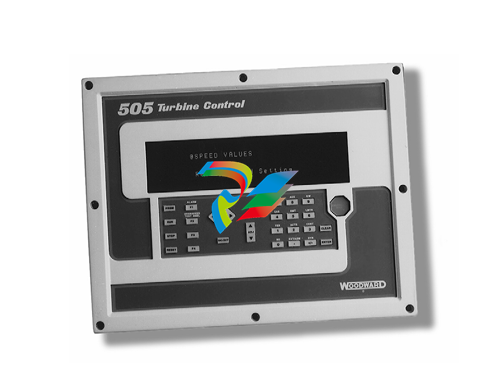
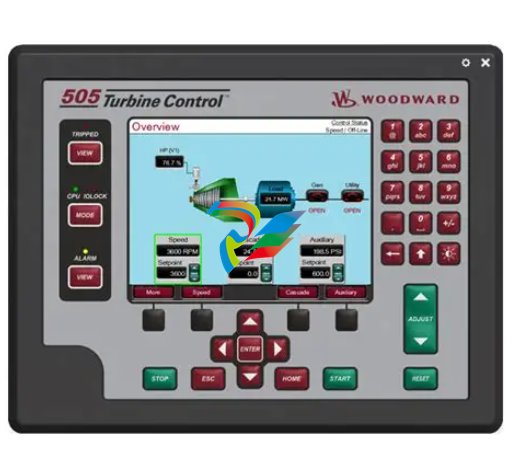 Woodward 505 Digital Controller For steam turbineses
 -
 Woodward 85018V2 505E Digital Governor for Extraction Steam Turbines
 -
Woodward 85018V1 Turbine Control Parameters
-
Woodward 26871 505 Enhanced Digital Control for Steam Turbines
-
 Woodward 03365 505E (Extraction / Admission)
 -
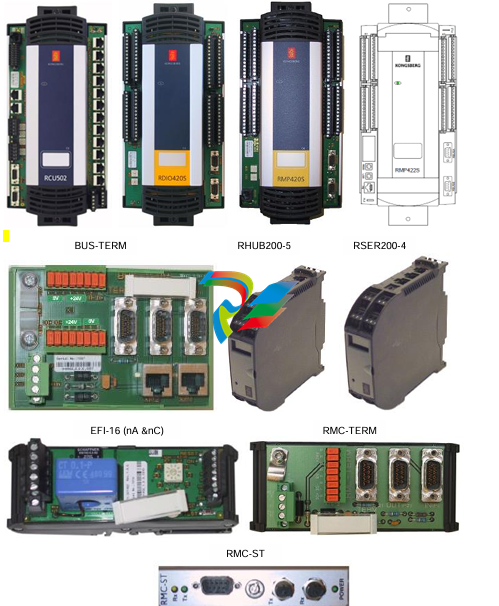
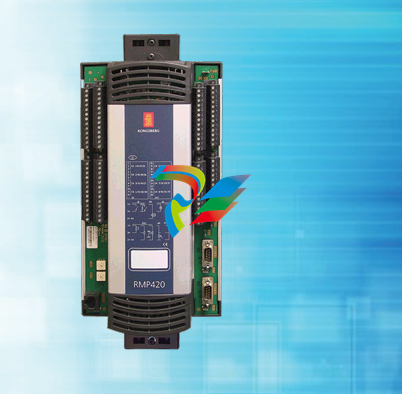 KONGSBERG RMP420-Remote Multipurpose Input/Output
 -
 KONGSBERG RCU501 Remote Controller Unit
 -
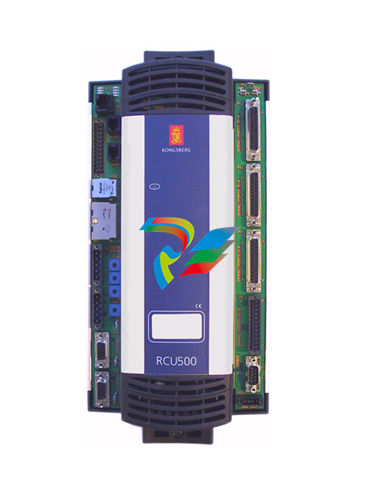 KONGSBERG RCU500 Remote Controller Unit
 -
 K-Gauge TOP KONGSBERG Tank Overfill Protection SystemFeatures
 -
 Kongsberg DPS112 DGNSS (DGPS/DGLONASS) sensor
 -
 Kongsberg d0000930-presafe-atex-report signed
 -
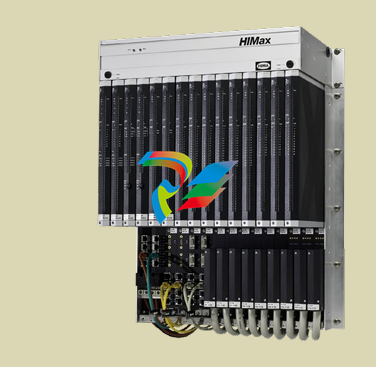 HIMax TECHNICAL FACTS X Series
 -
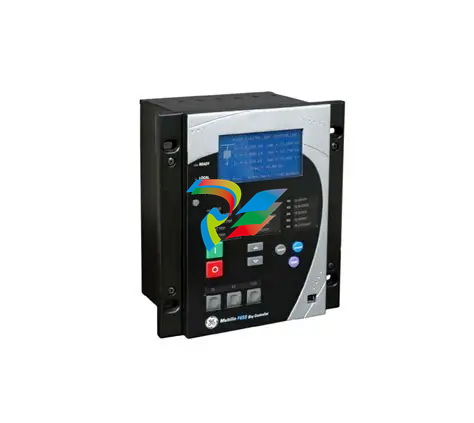 GE Multilin F650
 -
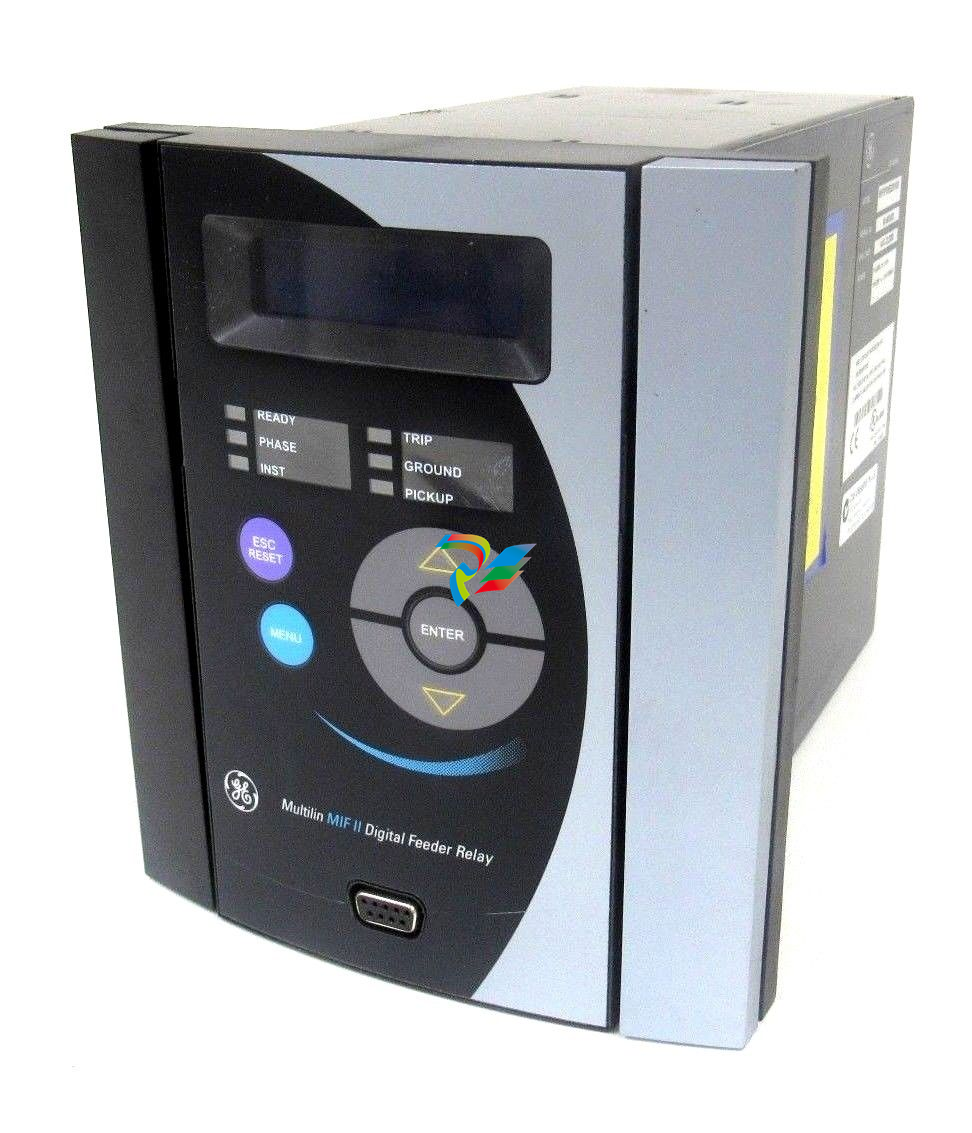 GE MIF II - Legacy
 -
 GE PQM II Power QualIty Meter
 -
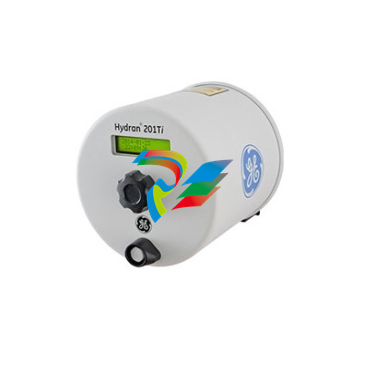 Hydran 201Ti Mark IV Essential DGA monitoring for transformers
 -
 alstom AMS42/84 5B Amplifier SystemAmplifier Technology at its Best.
 -
 GE VMIVME-5576 Fiber-Optic Reflective Memory with Interrupts
 -
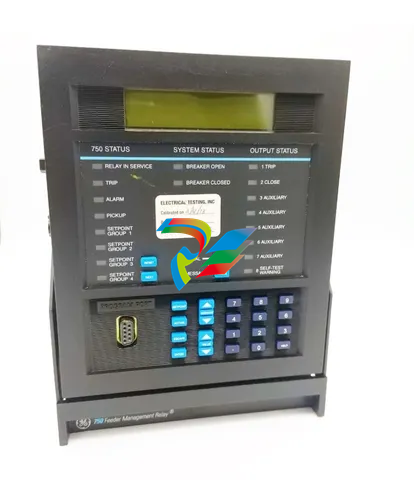 GE Multilin 750/760 - Legacy Feeder Protection System
 -
 GE Fanuc Automation VMICPCI-7806 Specifications
 -
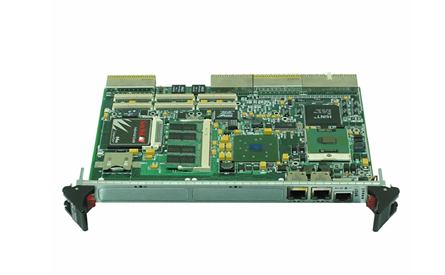
 VMIVME-7807 VME-7807RC* Intel® Pentium® M-Based VME SBC
 -
 GE Fanuc Automation VMIVME-7750 Specifications
 -
 FOXBORO Compact FBM240. Redundant with Readback, Discrete
 -
 FOXBORO FBM208/b, Redundant with Readback, 0 to 20 mA I/O Module
 -
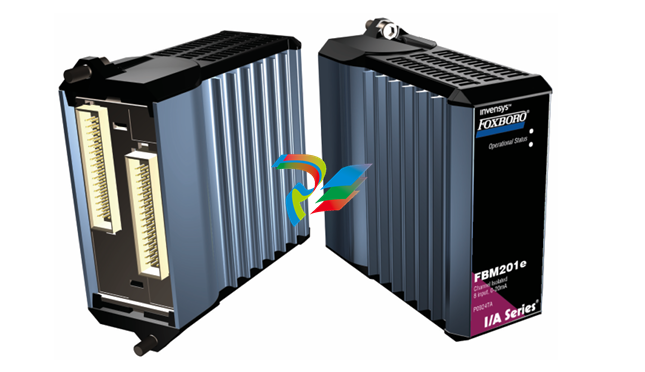 FOXBORO FBM201e Analog Input (0 to 20 mA) Interface Modules
 -
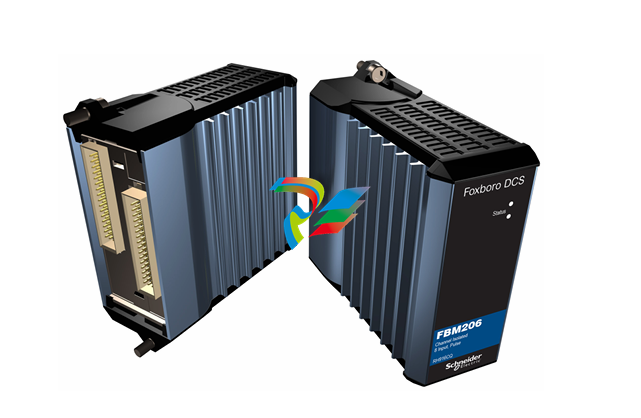 Foxboro DCS FBM206 Pulse Input Module
 -
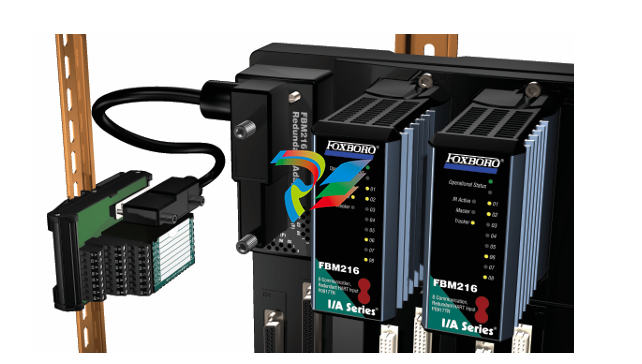 FOXBORO FBM216 HART® Communication Redundant Input Interface Module
 -
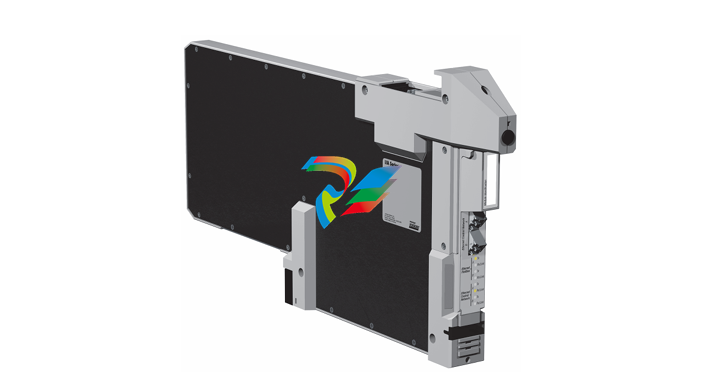 FOXBORO Z-Module Control Processor 270 (ZCP270)
 -
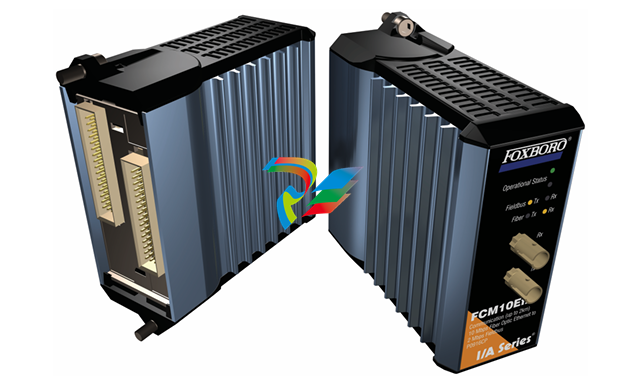 FOXBORO Fieldbus Communications Module, FCM10Ef
 -
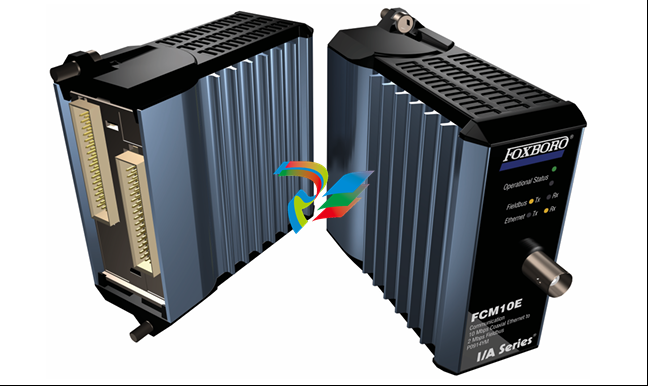 FOXBORO Fieldbus Communications Module, FCM10E
 -
 Foxboro DCS Compact FBM241/c/d, Redundant, Discrete I/O Modules
 -
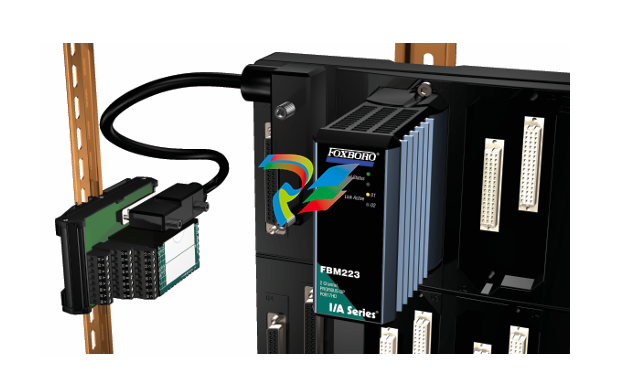
Foxboro FBM223 PROFIBUS-DP™ Communication Interface Module
-
 Foxboro DCS FBM204. 0 to 20 mAI/OModule
 -
Foxboro FBM239, Discrete 16DI/16DO Module
-
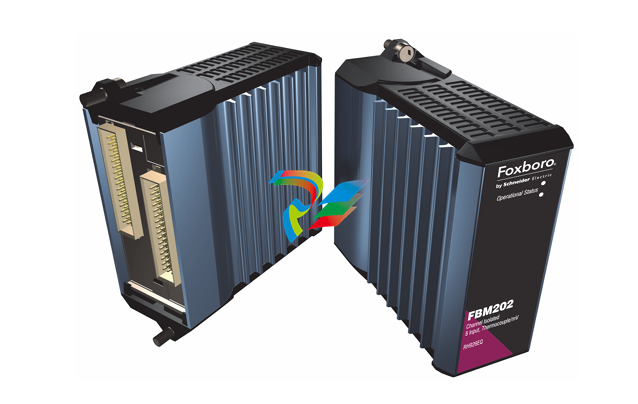
Foxboro FBM202 Thermocouple/mV Input Module
-
 Foxboro E69F Current-to-Pneumatic Signal Converter
 -
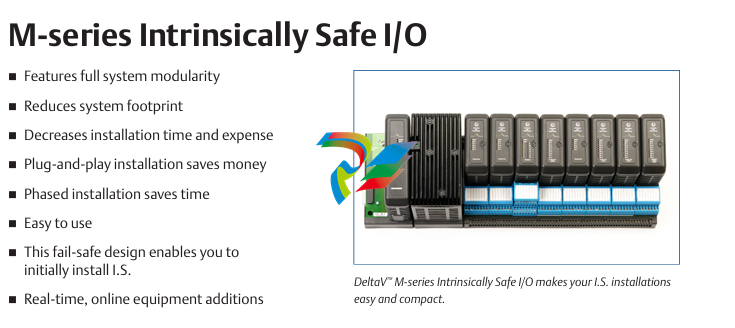 EMERSON M-series Intrinsically Safe I/O
 -
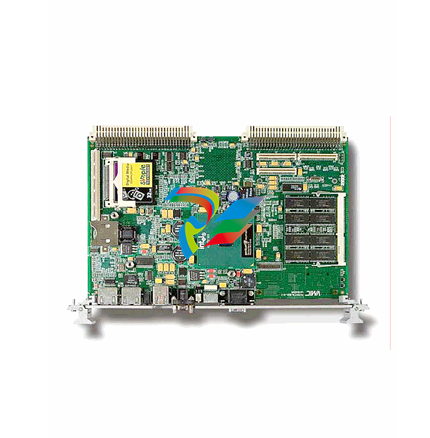
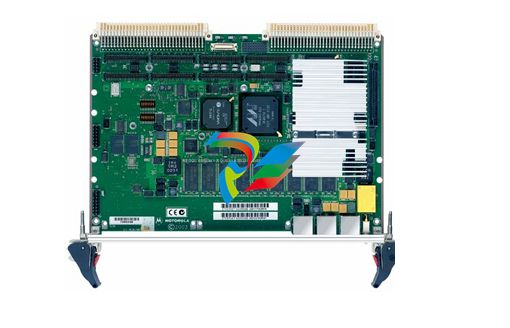 MVME6100 Series VMEbus Single-Board Computer
 -
 Configuration for AMS 6500 Protection Monitors
 -
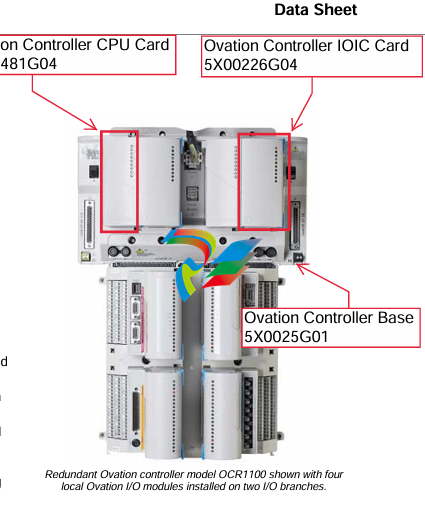 Ovation™ Controller Model OCR1100 (5X00481G04/5X00226G04)
 -
 ABB UCU-22, UCU-23 andUCU-24control units


